

| BMW Garage | BMW Meets | Register | Search | Today's Posts | Mark Forums Read |
|
|
|
 SUPPORT ZPOST BY DOING YOUR TIRERACK SHOPPING FROM THIS BANNER, THANKS! |
|||||||||
Post Reply |
|
|
Thread Tools | Search this Thread |
| 07-13-2018, 07:04 PM | #1 |
|
Why so serious?

141
Rep 743
Posts |
Engine Detailing - No Forced Water "3 Step" Technique
Hi guys!
I'm not sure if this is a "duh" DIY, but for those who would like to detail their engine bay, but are scared of using a hose or pressure washer due all the electronics in the bay? Well, don't fret. Here is how I detail my engine bay without the use of any forced water. Before we start, here were my results  This technique can be used on warm or cold engines. Please work in the shade. Tools: - Bottle Cleaning Brush Set (you can find these at Dollar Tree/Dollarama) - 1" paint brush - Zep Industrial Purple Cleaner/Degreaser - Dawn dish soap - Meguiar's Ultimate Plastic Restorer Black (or any black trim restorer) - 3 x Empty spray bottle (Dollar Tree or Home Depot) - Shop Vac - Clean lint free rags Preliminary steps: - Dilute the degreaser with water and pour into one empty clean spray bottle. 1/4 of degreaser 3/4 water - Fill the second empty clean spray bottle with water - Fill the third with Dawn soapy water Here is what we are starting with. A sandy, dusty, dirty, muddy, greasy, oily (from a previous valve cover gasket leak) engine bay: 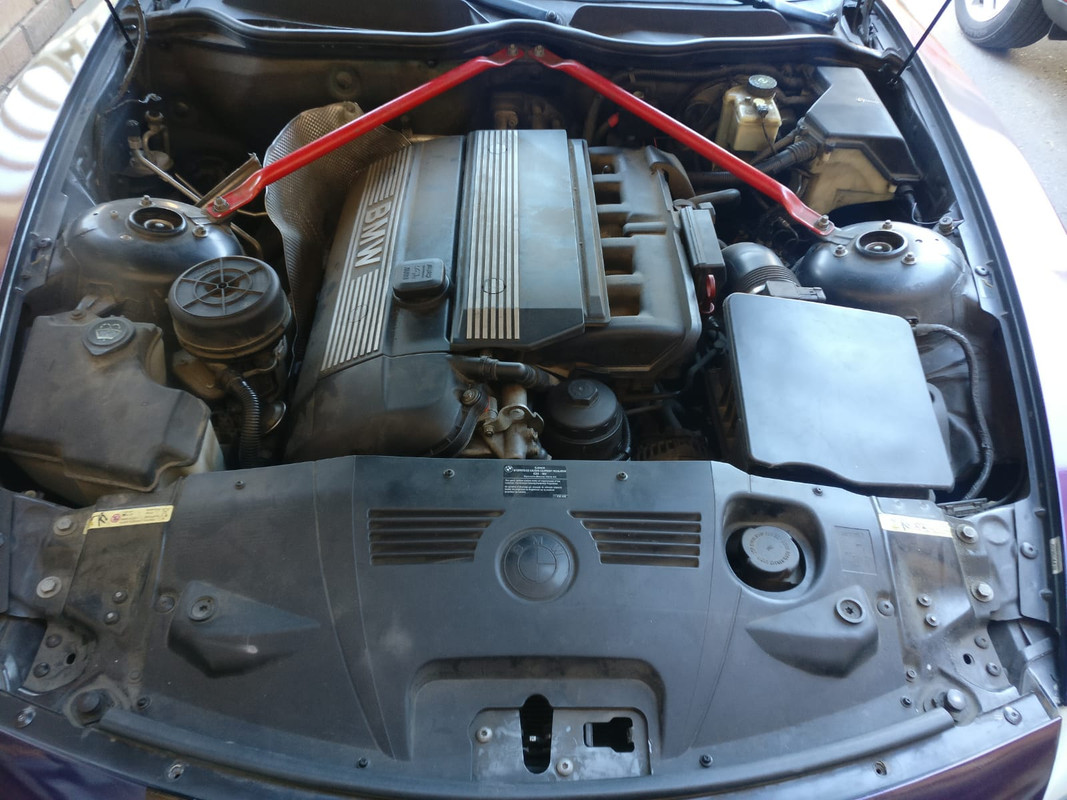 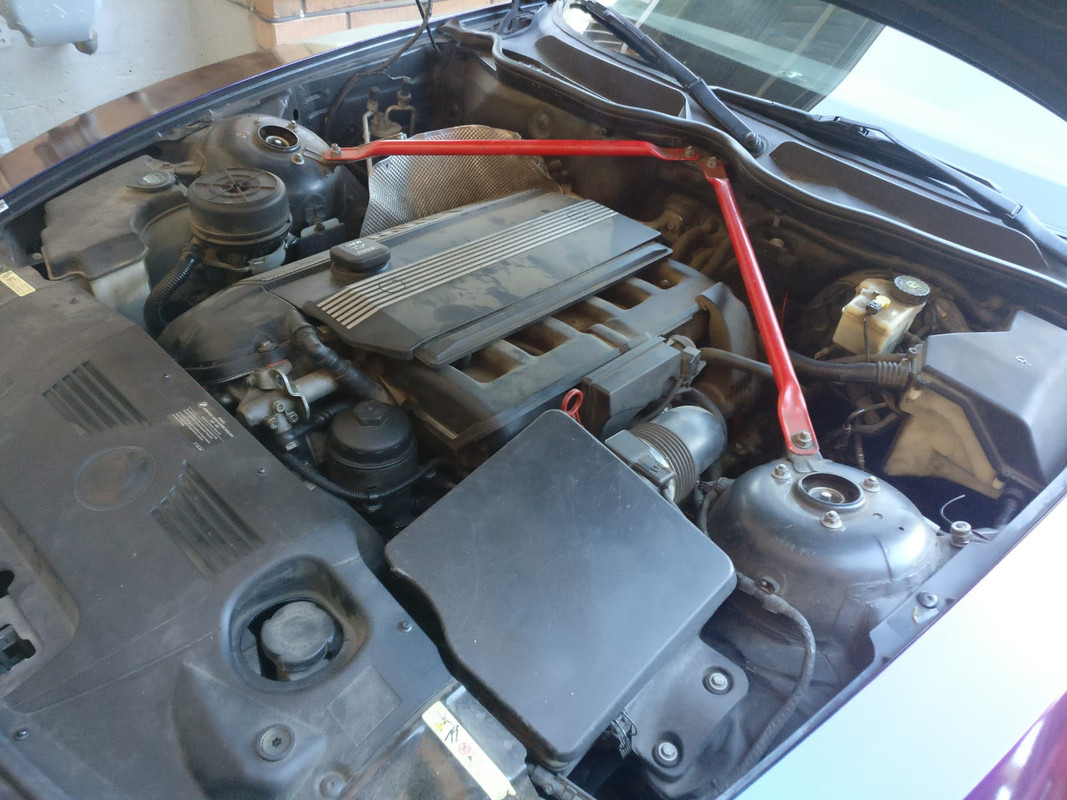 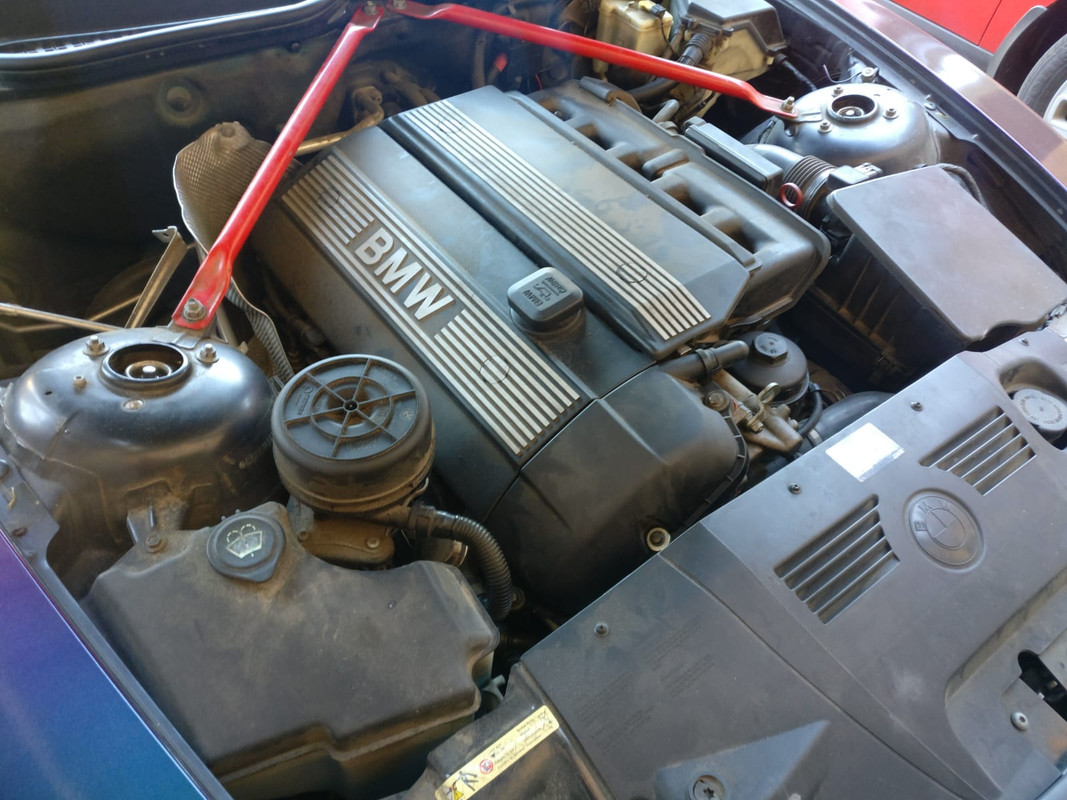 ________________________________ Step 1 Dry Clean the Engine Bay With your 1" paint brush, lightly dust all the loose sand, while sucking up the dirt using a shop vac in the other hand. The soft bristles are good enough to sweep up the dust without scratching the surface so there's no need to put any force. 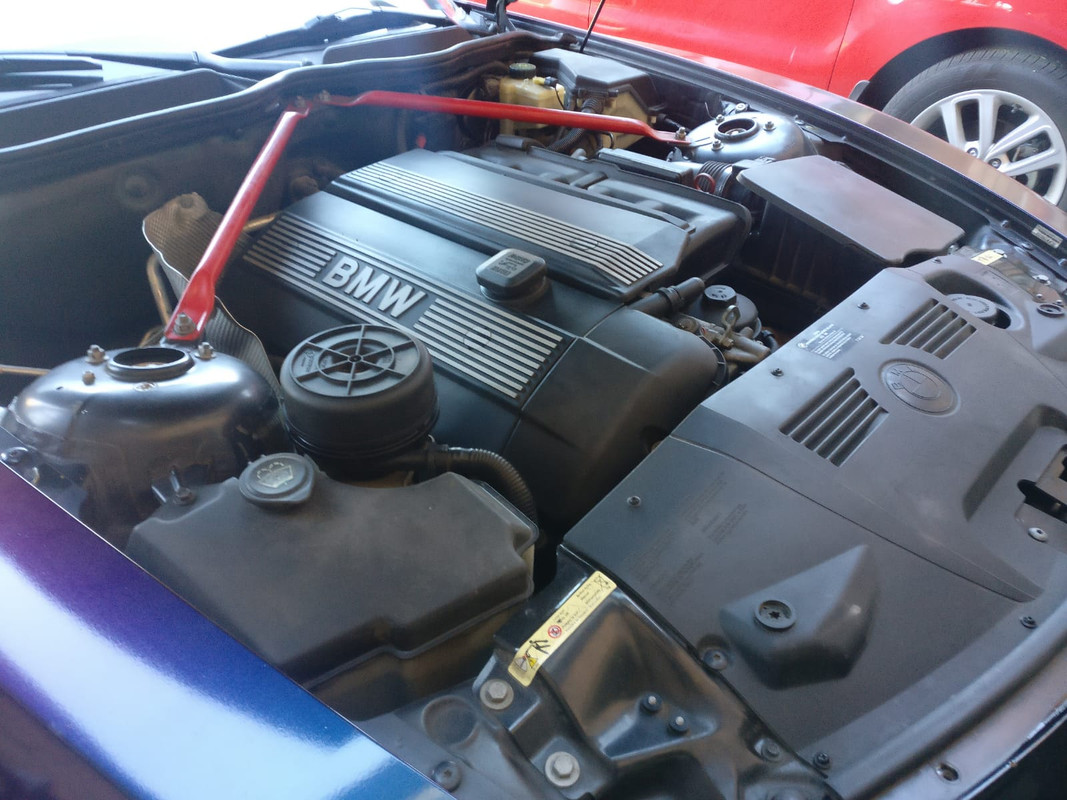 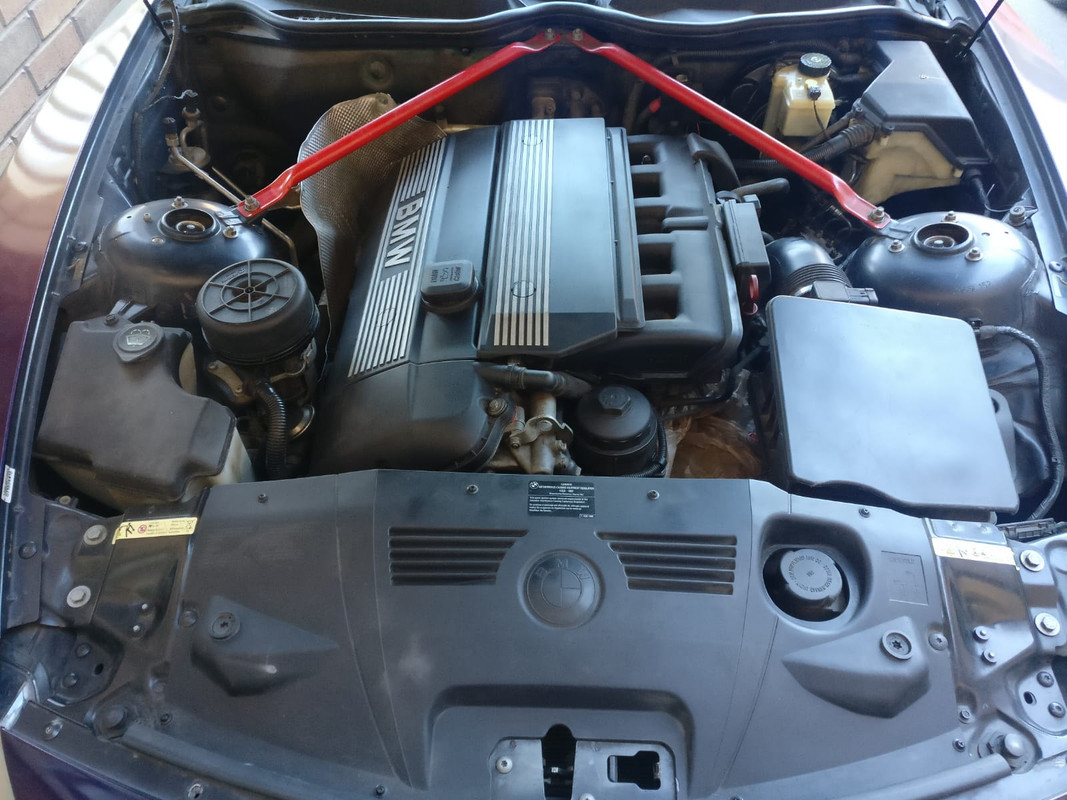 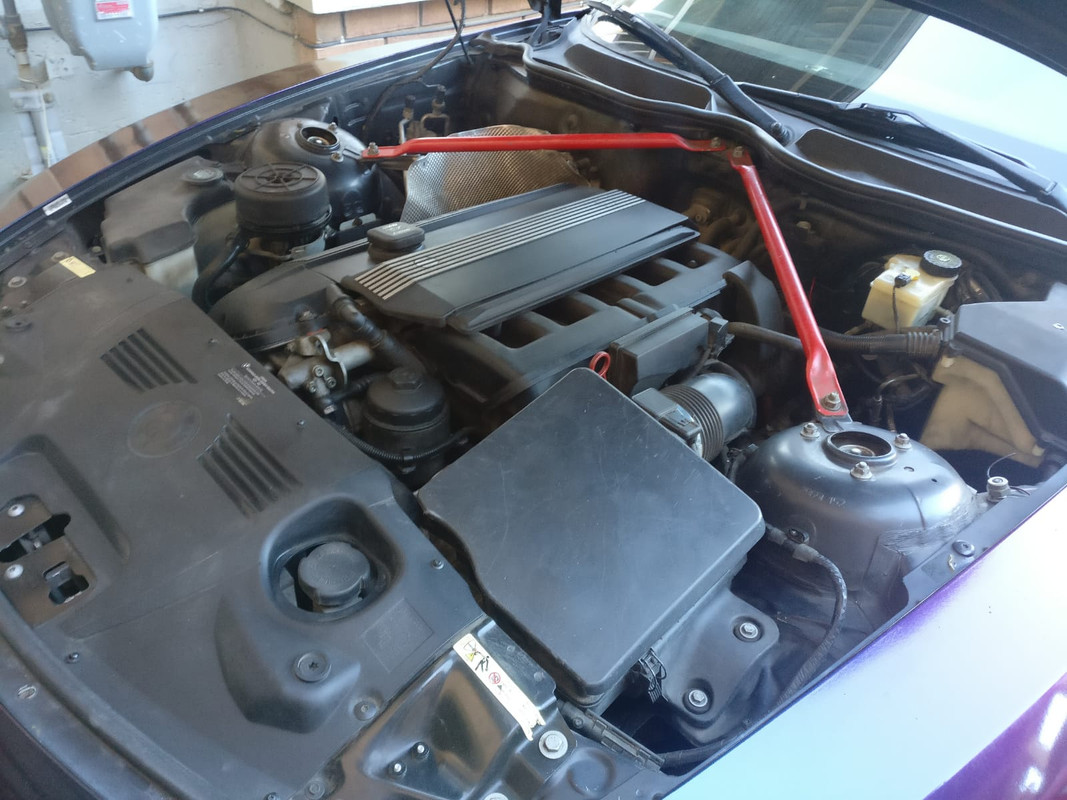 ________________________________ Step 2 Wet Clean the Engine Bay Liberally spray water (using the spray bottle) over the engine bay. Next, while working in sections, spray the degreaser (also liberally) all over the engine bay. Pay attention to the grimey/sludgy areas, and spraythem too. Wait 2 minutes, then, using the bottle cleaning brushes, gently scrub the entire engine down. Work in sections. Again, these bristles should be soft enough to not scratch anything, so have at it. If you need to reach hard to reach spots, use a rag. Next, working in sections again, spray clean water. Use a rag to clean up all the dirt and grime that the degreaser and scrubbing has lifted. You might need several rags depending on how dirty your engine bay is. Once wiped, spray the entire engine bay with soapy water, and wipe again. This will get rid of any left over degreaser and lets you have one more opportunity to wipe down and clean any spots you may have miss. Make sure to clean hoses as these are often missed. Wipe down and dry the entire engine bay. Make sure everything is dry to the touch. 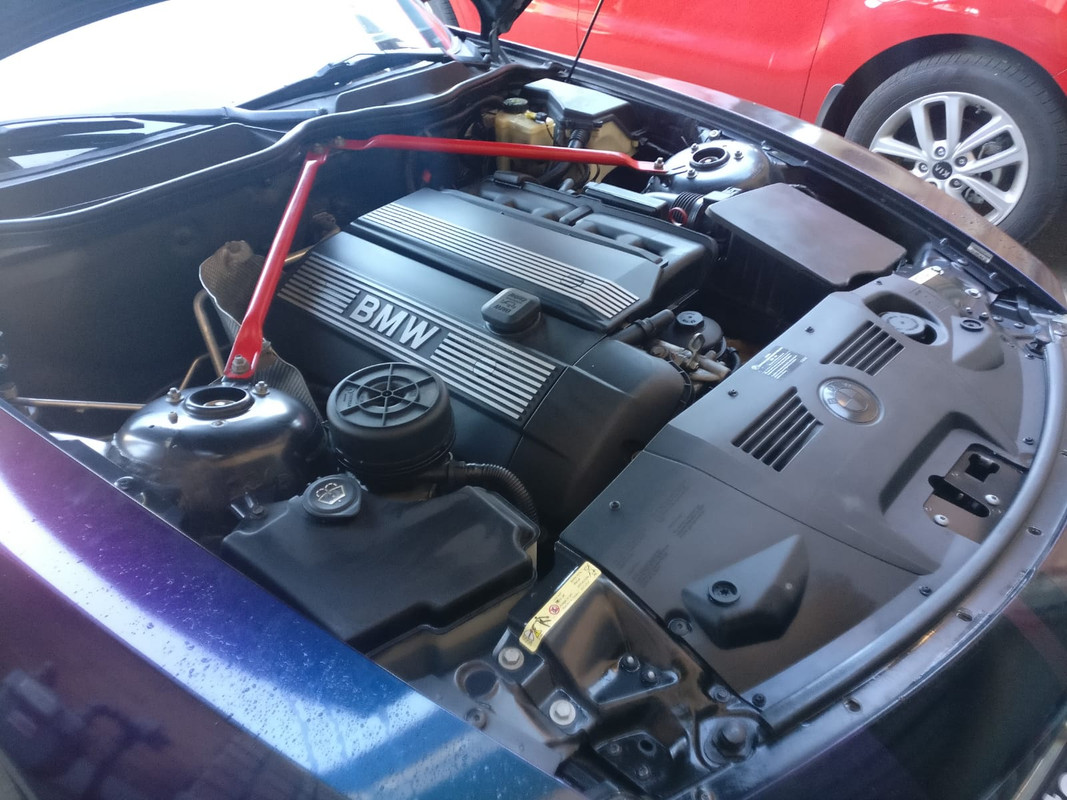 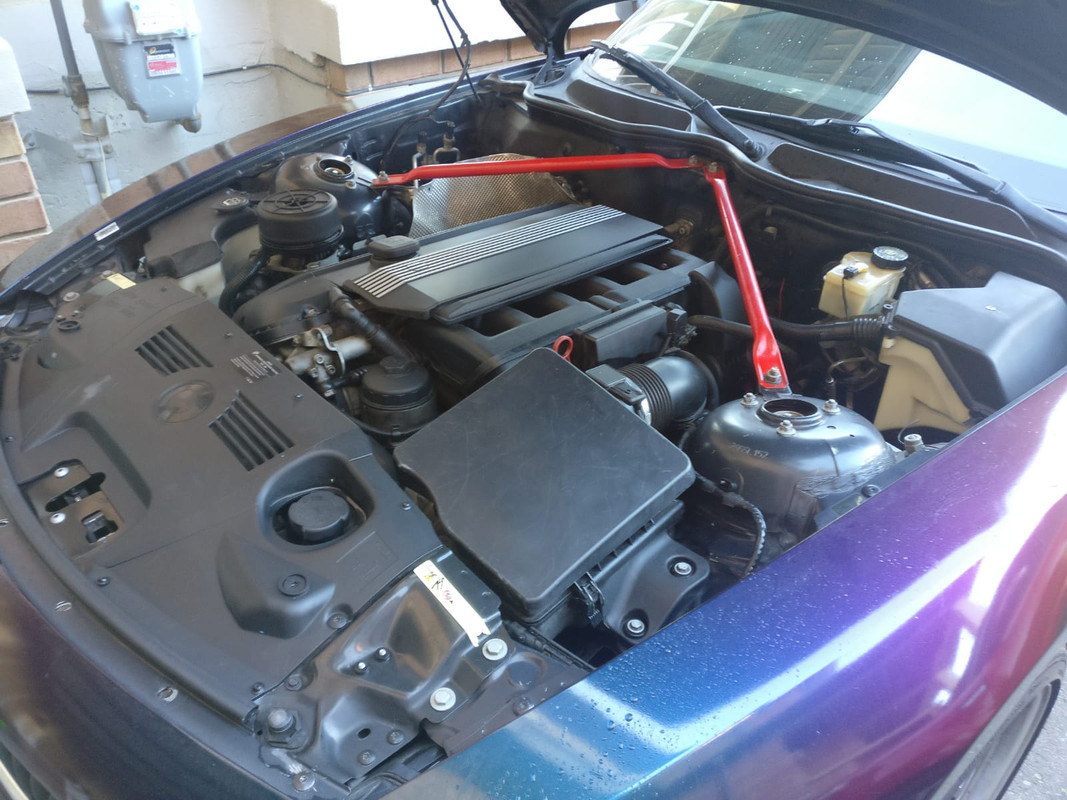 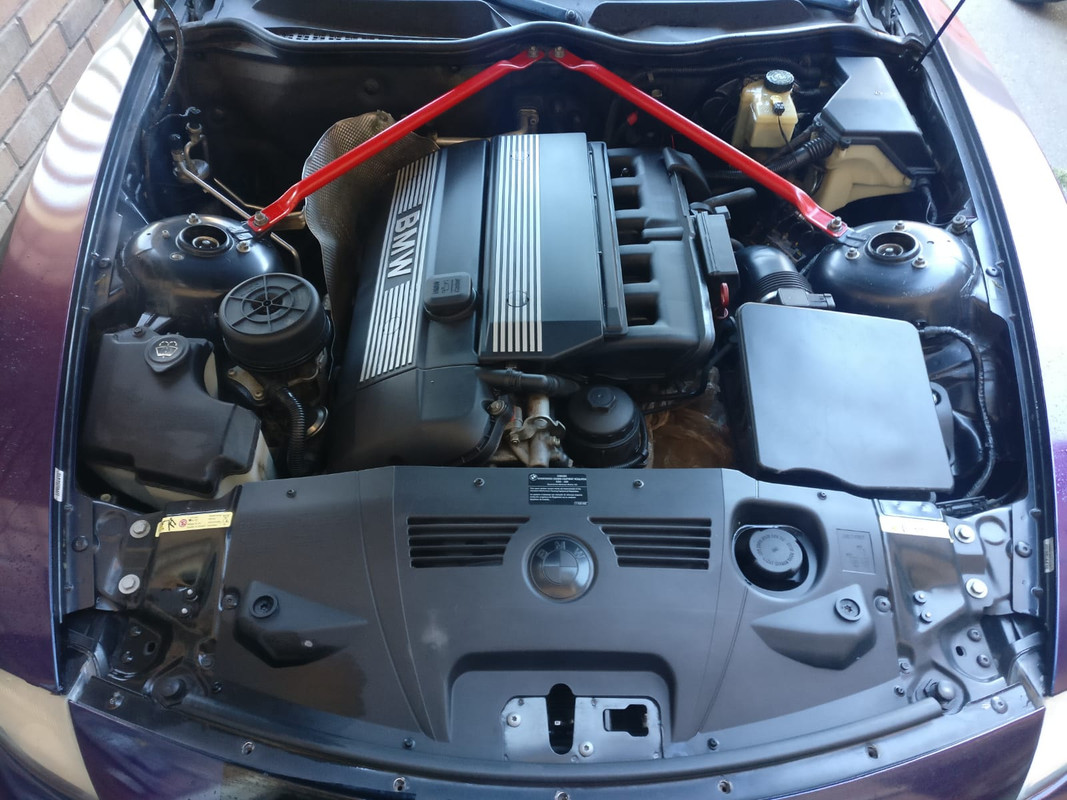 ________________________________ Step 3 Trim Restorer Here is the more rewarding part. Generously apply trim restorer to all the plastics and rubbers (if the product is rubber friendly). I used a microfiber cloth to rub the product into the plastics, but you can use a brush if you'd like. Let the product sit for about 30 seconds, and then using a clean cloth, buff the product off. The result... 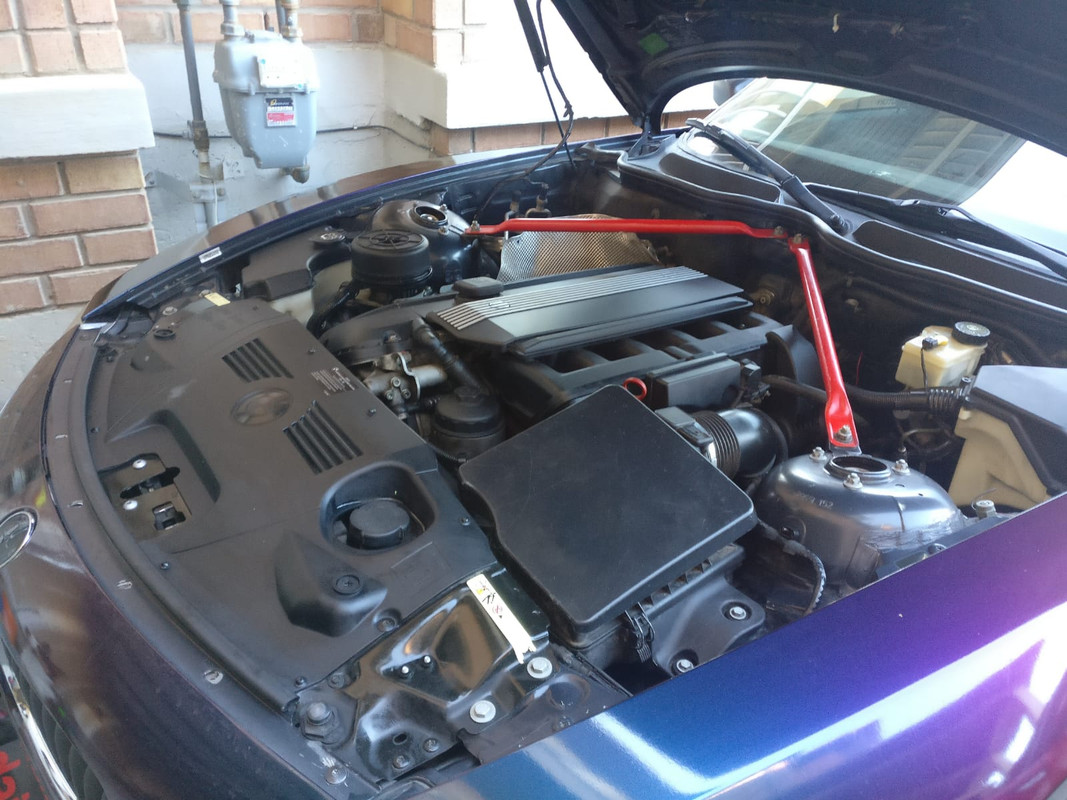 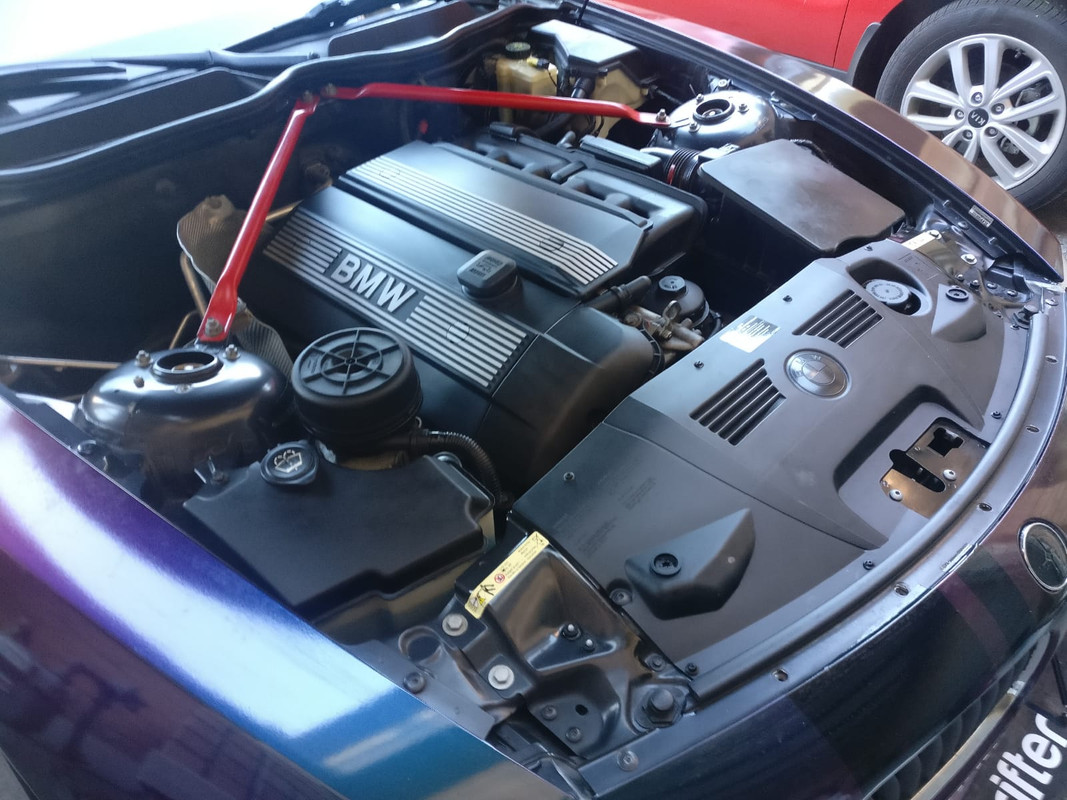 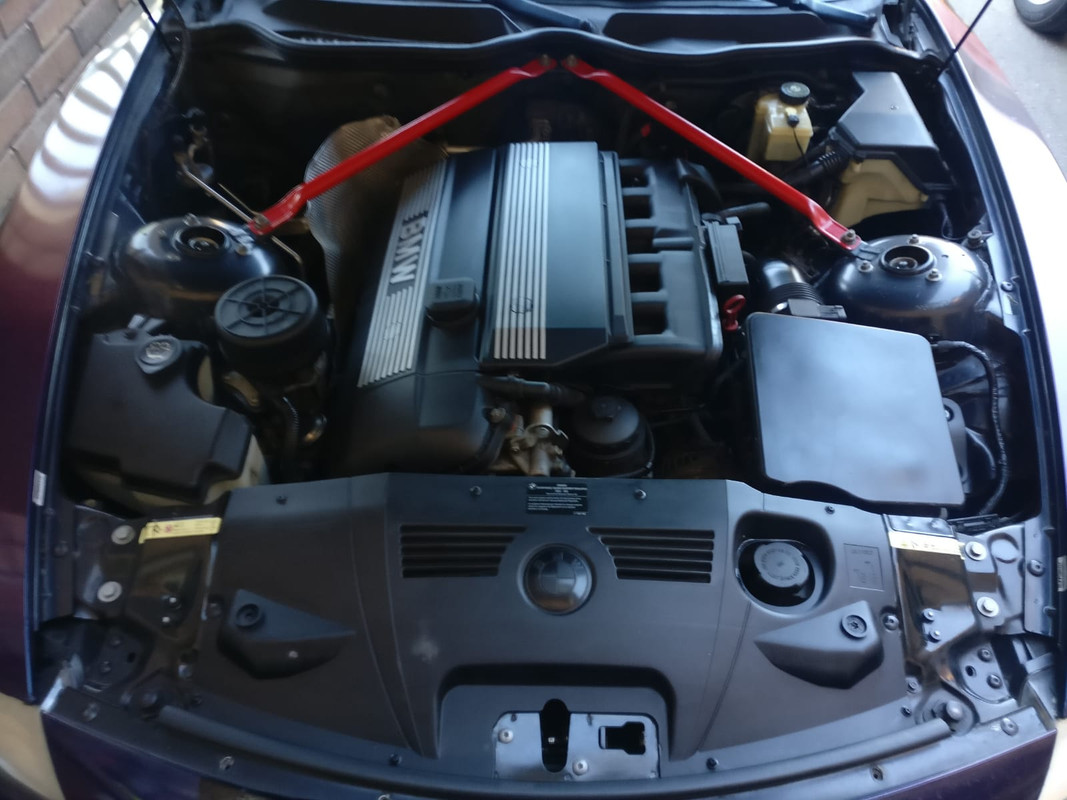 And just like that! You're done! It's a very easy process and very low risk for those who worry about forced water and drenching the components of your engine bay. I suggest letting the car sit for a few hours to let everything dry in case you have missed something. If you have any questions, please post in this thread. Happy detailing! |
Post Reply |
| Bookmarks |
| Thread Tools | Search this Thread |
|
|


