Cut a piece of board to fit inside the box.
Space the switches with washers and nuts.
Use little squares of board to shim the LEDs so that everything's at a suitable height to poke through the box and there's space above the board to mount the rest of the parts.

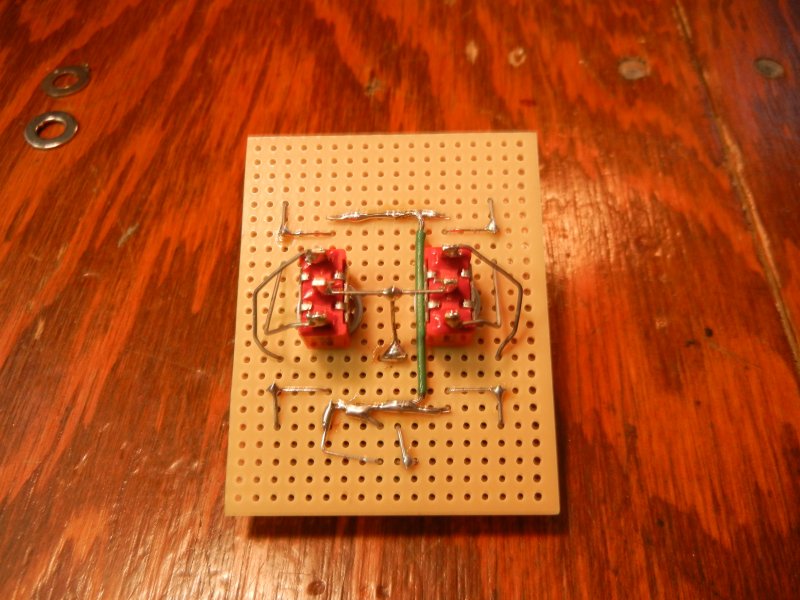
Install the rest of the parts.
Ignore that the diode's the wrong way round in this picture.
I caught that right after, and fixed it.

Notice how the connections to the switch are kris-crossed.
That's how toggle switches work.
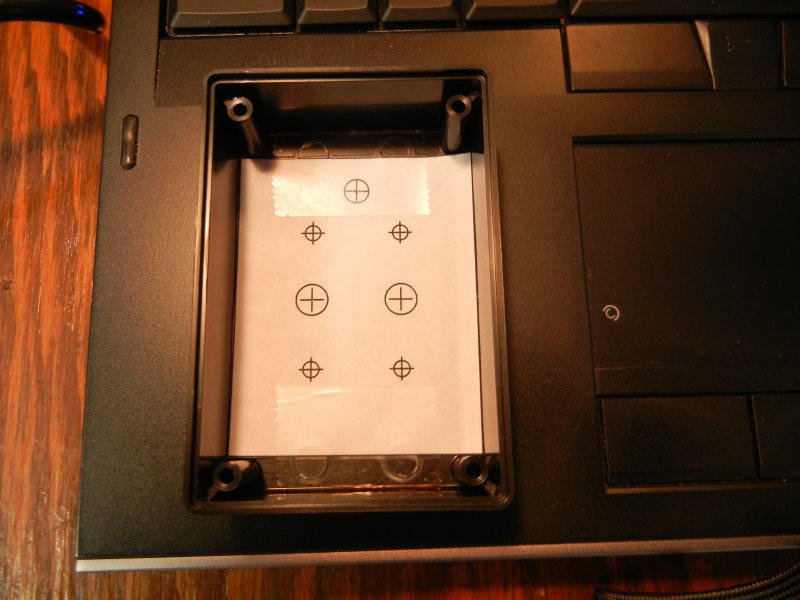
Affix drill template to box and drill away.
Be careful drilling large holes in soft material.
Best to drill small holes and enlarge them by hand with a reamer or a drill bit chucked up in a file handle.
Starting to come together.
Even when drilling by hand you have to work up a slow succession of drill sizes.
I skipped one on the upper right hole and it ripped the plastic a little.

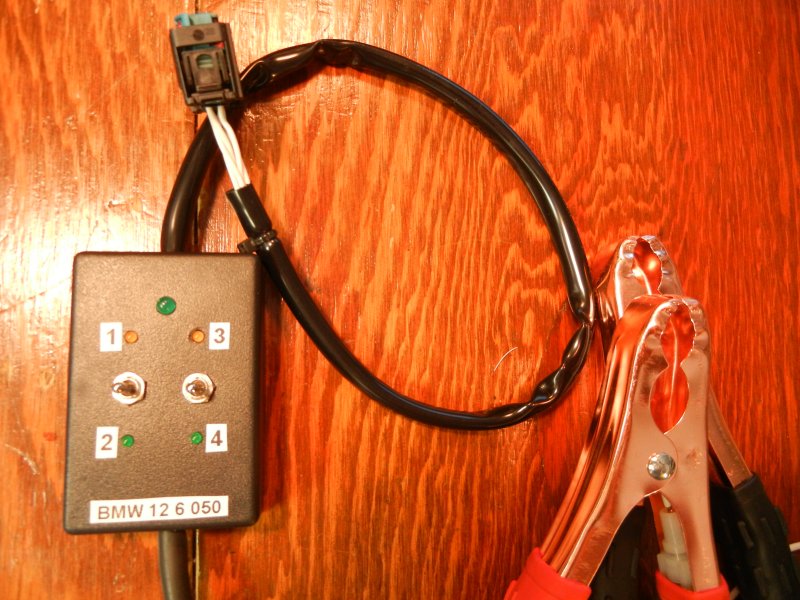
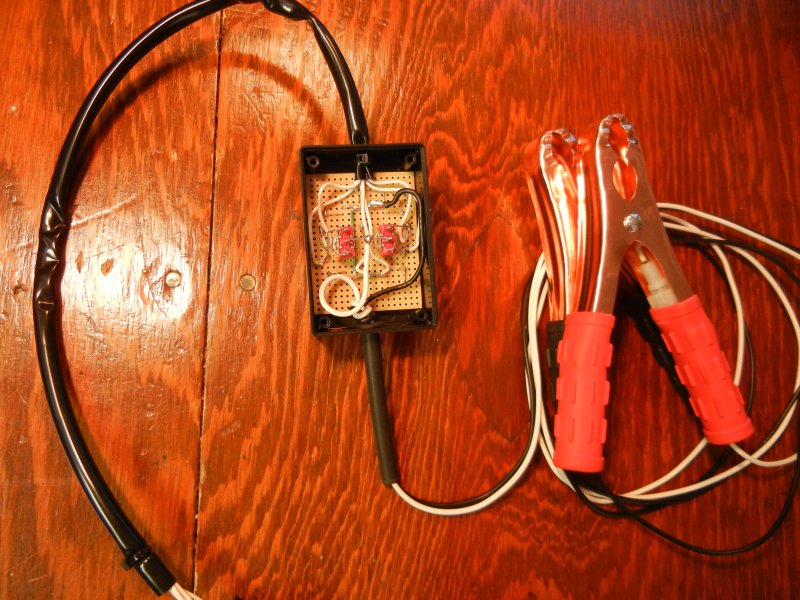
Attach the cables. I stashed the fuse in the handle of the positive clamp.
Smaller clamps would have been nice, but this was the best I could find dirt cheap.
Just add labels, and Bob's your Uncle!!