8/6/18 update. My photos for this got screwed up by Photobucket, and then again by me in my Flickr account. Got everything back in here AGAIN, hopefully for the last time. Shifter is just as good now as it was back in 2011 when I did this install, no development of slop or tightness, still at the very top of my list for the best mods done to my M coupe. I can't say how it compares to other shifters but what I can say is that I really don't ever wish for something else or for it to be any different. If given the chance, this is a must-do mod IMHO. Hope this helps future installs.
I will say that I did this job about a year before we had kids. If I had to do it now, there would be a lot less photos, and it would have taken me a lot longer to do. Before kids, man, I had a lot of time on my hands!!
Finally got around to getting it in the car. There are a lot of great DIYs for shifter installs out there. I found these links to be very helpful:
http://www.madrussian.net/m3/diy_as_ssk.shtml
http://billswebspace.com/bmwmc.htm
I’m not trying to reinvent the entire wheel here. I think I found a few things during my install that may get glossed over or could make it easier. I did mine at home on jack stands. I got the car high up so there was plenty of room to work around/under it.
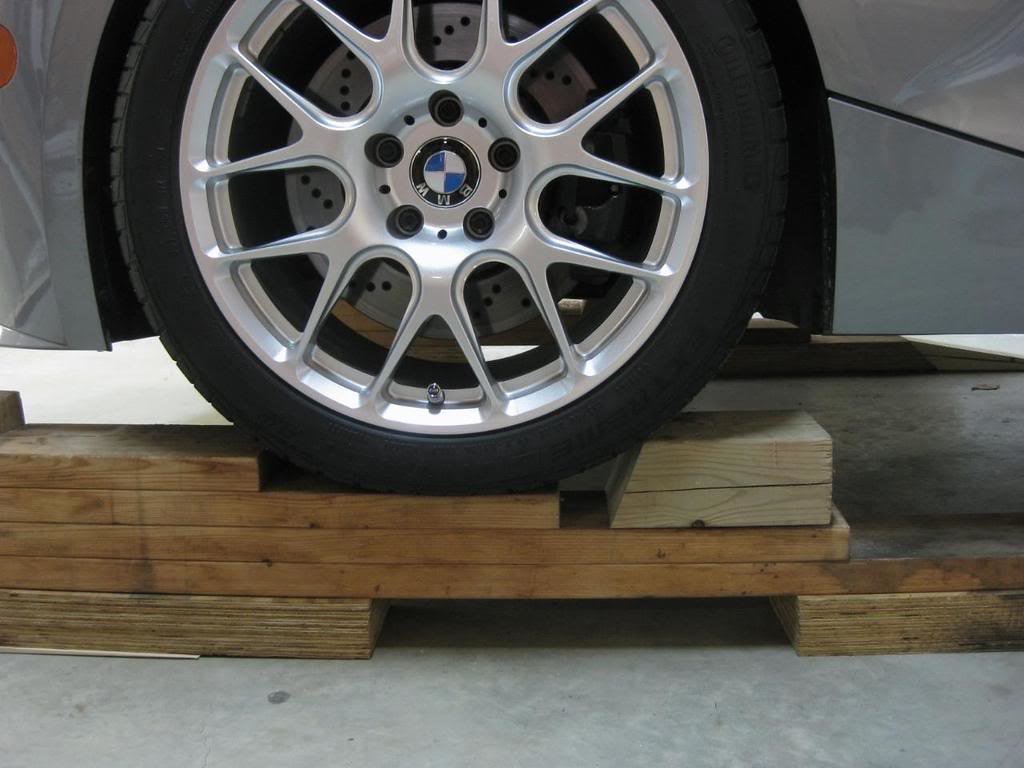
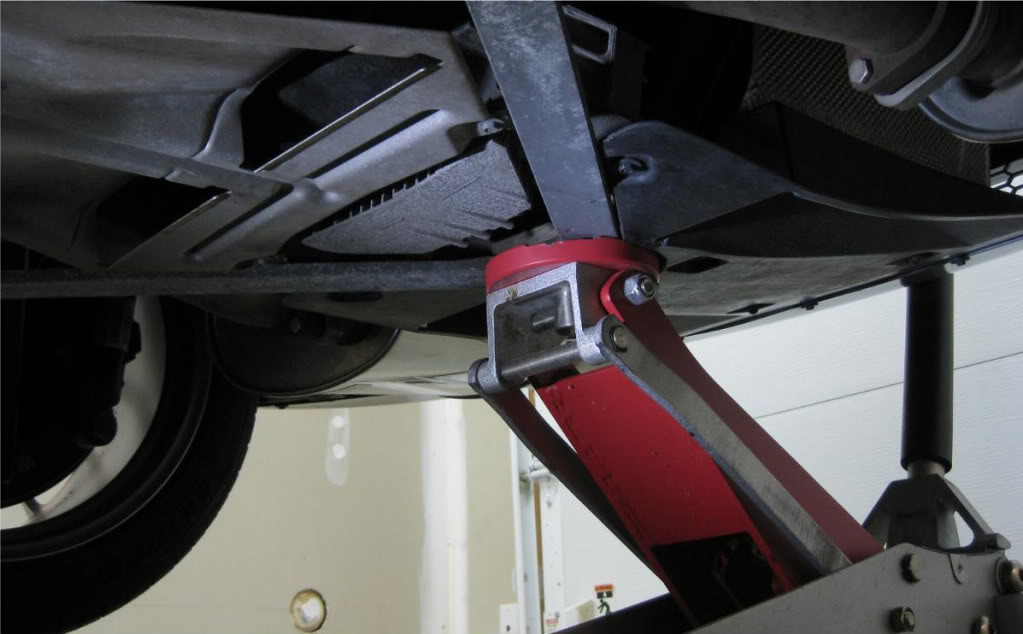
First, raise car and remove exhaust. Roll front end up on some ramps - just ~4-5 inches needed. Rear center jack point - where the tension struts come together is a very solid jacking point. I cut the leading edge of the plastic diffuser piece to help locate the jack head. Raise the back end enough to get jack stands under the two rear side lift points. With the rear of the car on jack stands and stable, go to the front and raise the car from the center jack point. Place jack stands under the two front side lift points. I made spacers for the jack stands out of wood. Then I just alternated front to back raising the car incrementally. I ended up with about 20 inches clear space to work under the car.

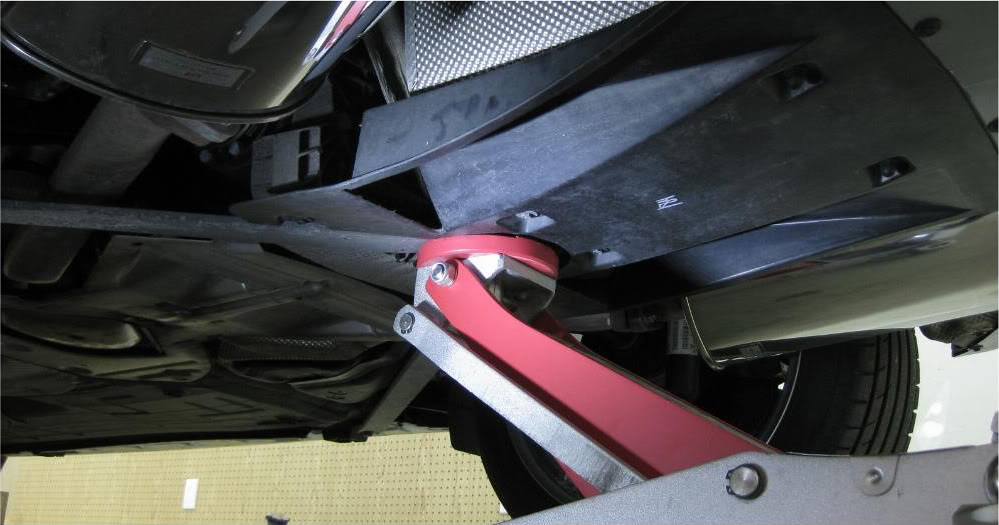
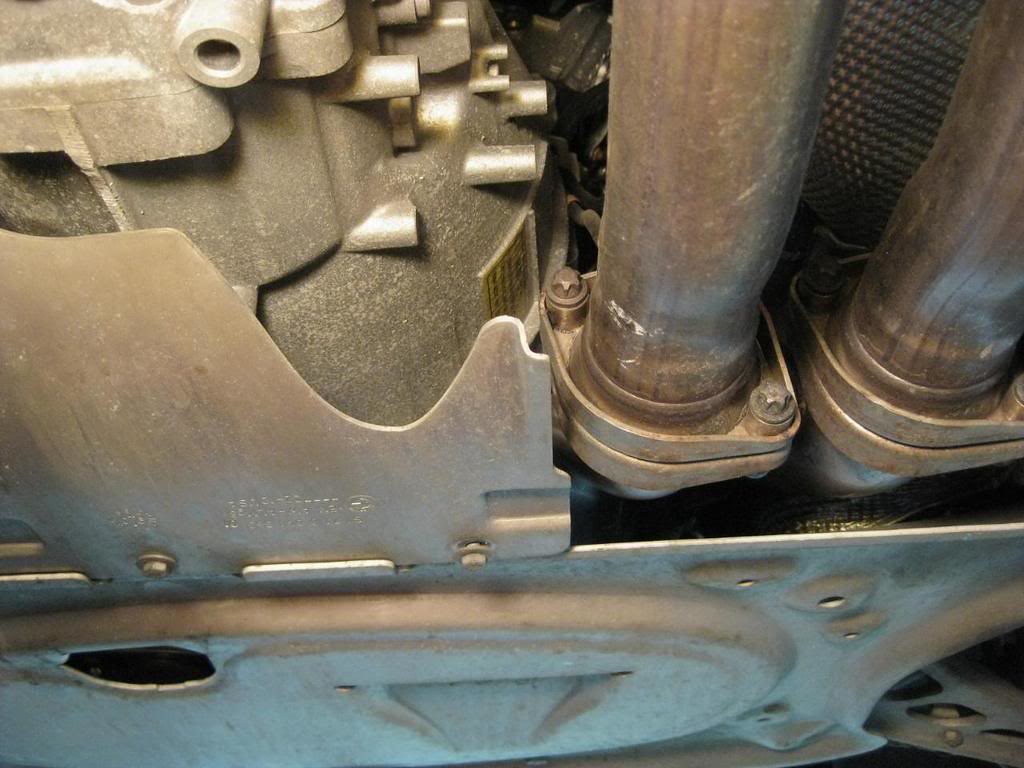
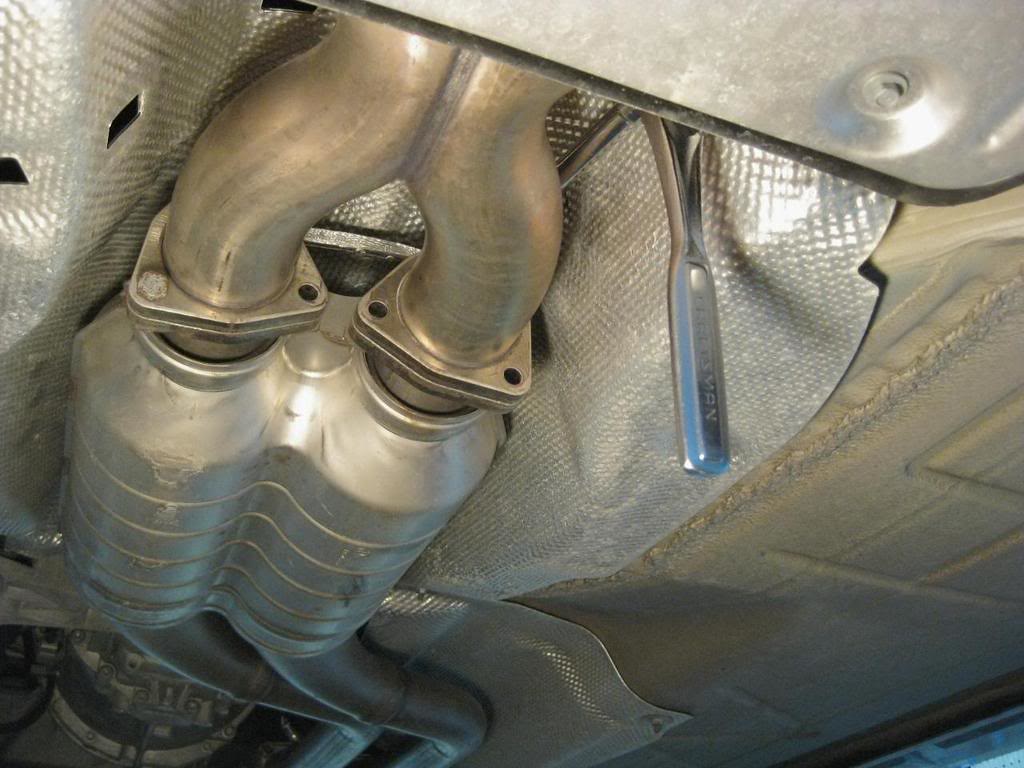
Some part of the exhaust has to come down for this job. It’s best to drop the small aluminum shield that bolts to the front stress plate for better access to the top bolts on the header flanges. After first trying to get Section 1 down by itself, I would say the easiest thing is to just drop section 1 and the x-pipe as one unit. Where section 1 joins the x-pipe, the two bolts on top are really hidden – I ended up making a specialized wrench to get them loose – cut the box end off a 13 mm end wrench and then had to put a bend in it to fit it in the available space to hold the nut. I eventually got it loose and separated section 1 from the x-pipe but I still had to drop the x-pipe in order to get section 1 out. Bottom line – easier to deal with it as one piece.