DIY Roundel Guide
Part 3
Step 8: Remember building models?
And here we go, the final stretch. This is where it all pays off, so take your time! This is the trickiest part of the whole thing, but I personally think it’s the most ingenious.
The big question I had was “How do I get a custom design on the roundel once I have a blank canvas, I’m no artist” and so I thought about it for a while. Then one day I was thinking about something totally unrelated and remembered building model airplanes as a kid and how they had the decals that you put on by soaking them in water and that’s when the idea hit me. Why not just do a big water transfer? With modern photo printers it is easy to generate high quality images, I just had to source the paper and thankfully we live in the wonderful times of the internet.
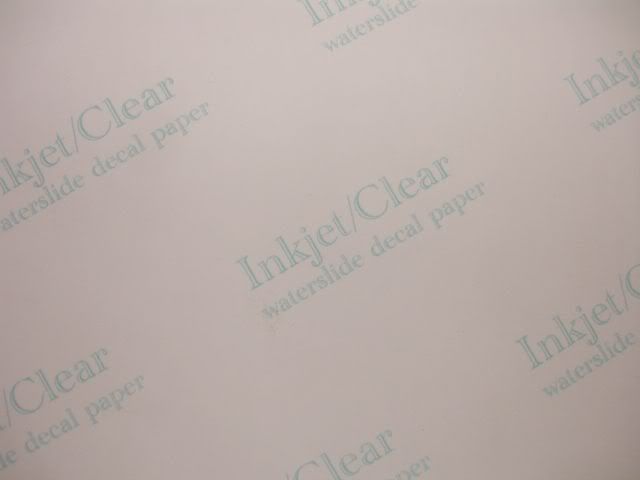
A quick Google search of “inkjet water decal paper” will lead you to many sources, here is one example
http://www.decalpaper.com/product-p/25c.htm . Just to be clear, I am in no way affiliated with that website nor have I personally ordered from them. They’re just an example of someone who has such products. Be sure to buy the right paper for your printer and for your design, they offer paper for inkjet or laser printers and clear or white transfer paper. The paper you choose will be based on your design, the clear paper works best for bright colors like I wanted, just use a white or other bright color basecoat for your roundel. If you want a darker design, I’d suggest the white decal paper.
Step 9: Pick out your design
This part is entirely up to you, and it calls for a little creativity. You want to find high resolution images to use and I suggest Google image search or something similar. You’re going to be printing this out at 3.33” x 3.33” so be sure that the image is large enough and of high enough resolution that it will print cleanly at that size. I HIGHLY suggest doing lots of test prints on regular paper to ensure you get what you want.
Once you have your image, you can resize it and manipulate it in your design program of choice. I suggest something like Photoshop or one of the free photo editors such as GIMP or Irfanview. Once I had an image I was happy with, I pasted it into Microsoft Word so I could print several of them onto one sheet. If your image editor can do that as well that is fine.
For my particular design, I ended up with an image that was 3.33” x 3.33”. This gave me about 1/8” worth of image to wrap around the back side of the roundel. If your image is smaller and doesn’t fully wrap behind (you’ll see what I mean by wrapping behind it shortly), you’ll be able to see whatever your basecoat color was around the edge of your image.
Step 10: Print your image
Be sure and follow the directions that came with your transfer paper. You’ll be printing on the glossy side of the paper, and I suggest setting your printer to its best possible settings and assigning it to glossy photographic paper. Again, the transfer paper you buy will have directions
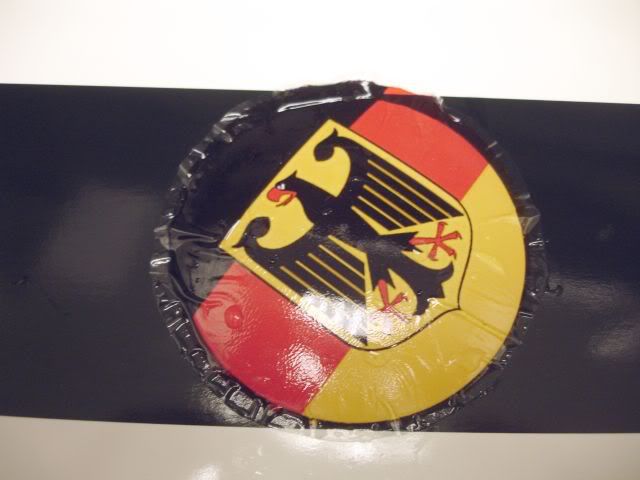
Here is my image freshly printed on the decal paper:
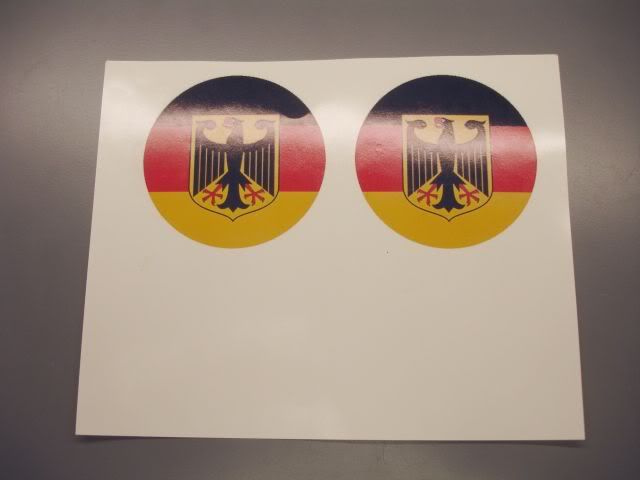
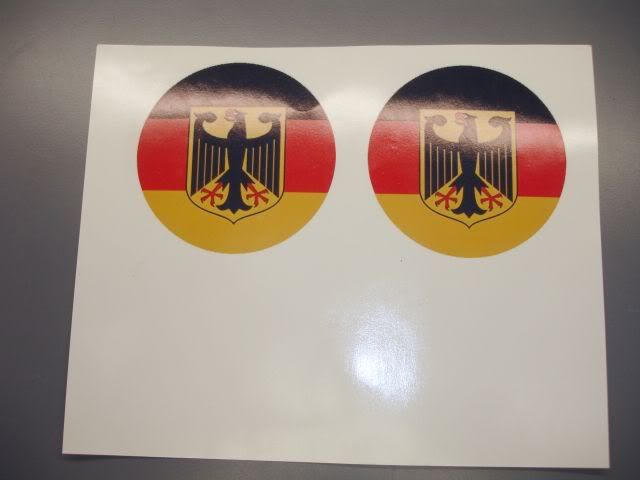
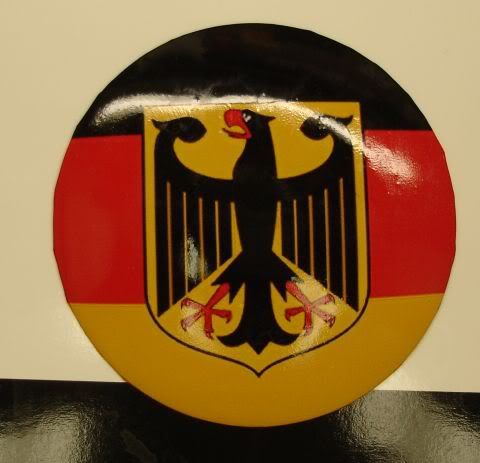
The next step is important, but it may depend on the type of decal paper you buy. I know for my particular example it was essential. Allow your printed image to fully dry for a couple of hours, then apply several very light coats of clear spray paint. The clear paint “sets” the ink and makes it smudge proof, it also makes the decal paper much more durable and easier to work with once you soak it and remove the backing paper. Without the clear coat, the free decal would tear very easily. Your decal paper instructions should clarify if this step is necessary, but for the intents of this DIY guide I’m saying it is. Here’s a picture of my clear coated decals, notice how much glossier they were than in the previous picture:
 Step 11: Time to transfer your decal to your roundel
Here comes the tricky part, getting that image onto the roundel. First cut your image out, making sure to leave excess around the edges so you can more easily manipulate the film once it’s off the backing paper and onto the roundel
For the paper I bought, it was recommended that I soak the trimmed decal in warm water for 45-60 seconds. The decal will start to curl and it should be very simple to slide the image off the backer paper. I simply slid the decal off the paper directly onto the roundel. However you do it, make sure the now free image doesn’t start folding into its self. It becomes very difficult to separate it without tearing it. Just picture pulling off some cling wrap and what happens when it touches its self.
Once you have the image sitting on the roundel, it’s not going to look the best but don’t worry.
Just very slowly manipulate the decal as it dries, working the bubbles out one by one. It should smooth out fairly easily as it begins to dry and the adhesive kicks in. As you can see from my picture I have excess decal over the edge of the roundel. You can choose to cut that off once it’s dried, or you can fold it over the back like I did. You’ll end up having to trim some of it when it comes time to completely re-assemble everything but I found folding it back worked for me. I think that’s a personal preference on how you work it at this point.
I suggest putting the decal in the sunlight once you begin to be happy with how it looks. As it dries down and cures out more, the surface will tighten and more bubbles will disappear. Just try to get as many out as you can while it’s wet.
Here’s mine in the drying stage:
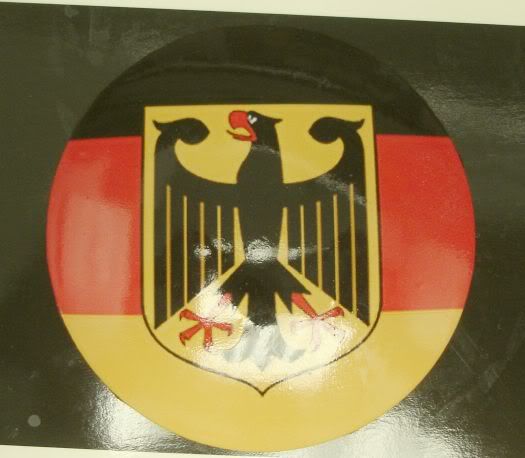
And the fully dried decal:
I would allow this to sit around for 7-10 days to ensure all of the water is out and the adhesive is cured, then apply 2-3 coats of clear coat. If you prefer, you can re-assemble your complete roundel before clear coating, but do not apply too much clear coat as it’ll be visible in the seam where the aluminum disc sits into the plastic backing.
A word to the wise, when re-assembling your roundel practice with it on the car especially if the roundel you’re using has pins on the back. You want to make sure that new image is aligned horizontally, otherwise if you put the aluminum piece back into the plastic backing before you test it on the car your new roundel will likely end up crooked. If the roundel attaches with double sided tape to the car it doesn’t matter. But like I said, if the roundel uses the guide pins make damn sure the aluminum front half ends up being horizontal on the car. You’ve been warned!
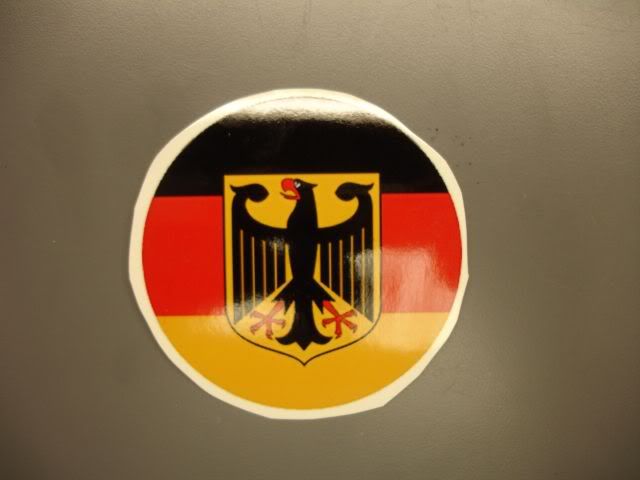
And here’s what makes it all worth it, a one of a kind roundel:
And by the way, the BMW roundels aren’t the only thing that this treatment can be done to. I’m in the process of making custom center caps for my newly refinished Breyton Inspirations as well:

To my surprise they came apart and were made exactly like BMW roundels. I don’t know if the OEM BMW centercaps are made this way as well, but I don’t think the ones on my Z4 were but in all honesty I never looked that closely.
So good luck and have fun!