Installing the airbox:
Grab your airbox, because it's time to go outside to the hot weather again.
There no way to show how to exactly install the airbox to the engine. Just try to mate it to the throttle bodies.
Some have used soap or olive oil to slide the boots easier, but I didn't want. It just went on with some pushing and wiggling.
Take your time. Loose the clamps little if required.
Make sure the screws of the two rubber mounts is lined up with their location at the bracket underneath. They will help to guide. I did this way by installing the mounts before, because I think it's better than searching for the holes later.
Front side mount.

Rear side mount.
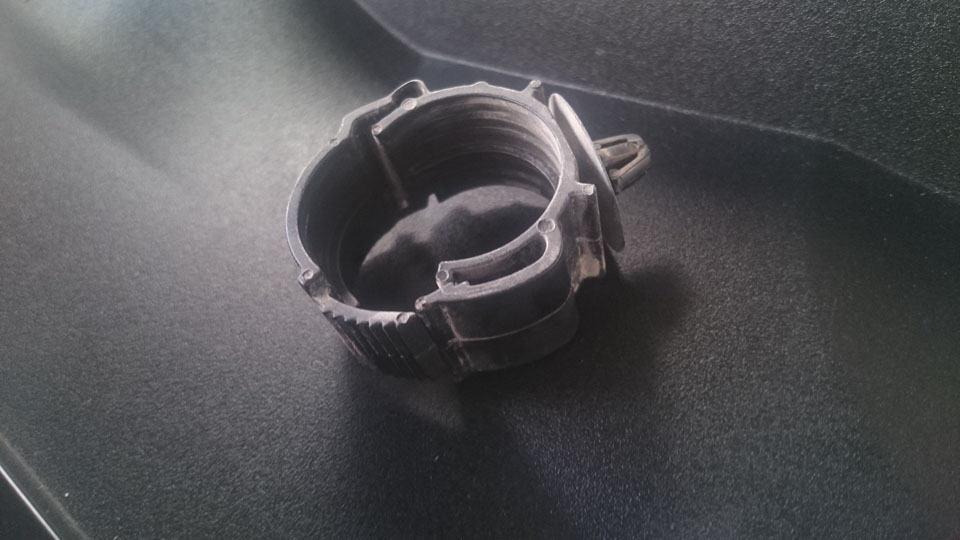
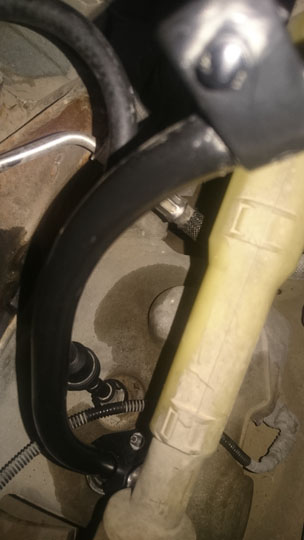
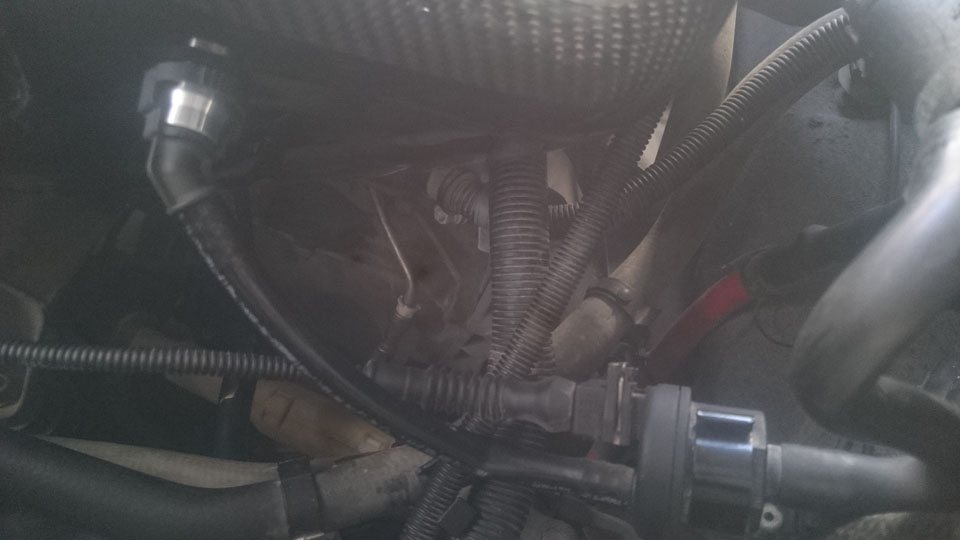
If you find some resistance at the back side, then it's a cable plastic clamp behind the airbox. Open it and push the cable away.
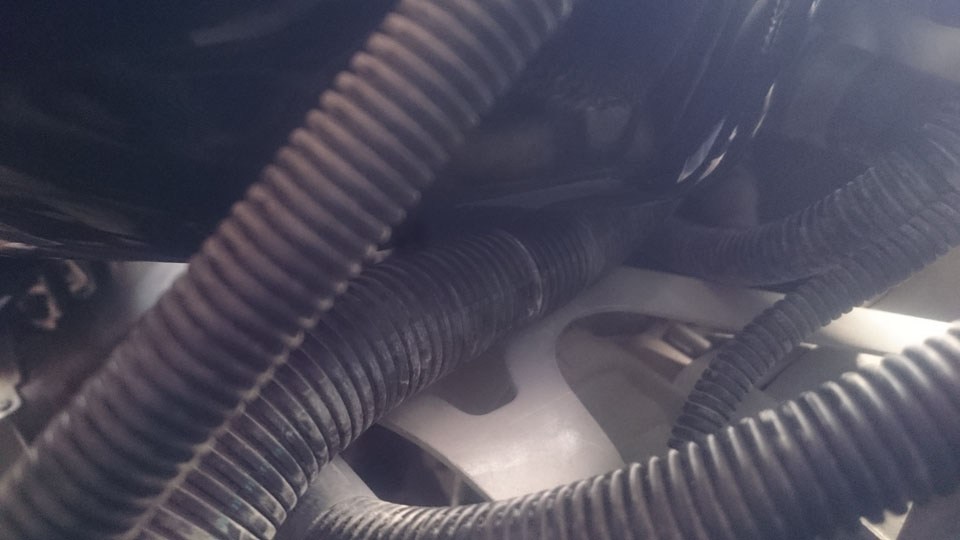
The cable is tight so I don't think the plastic clamp is required.
After some sweat it was installed.
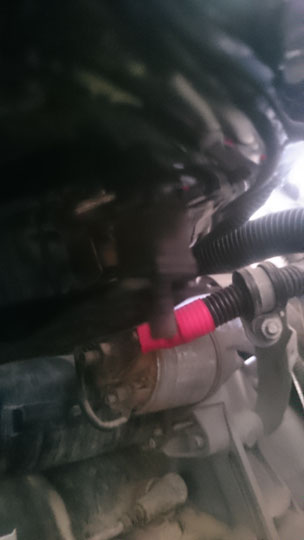
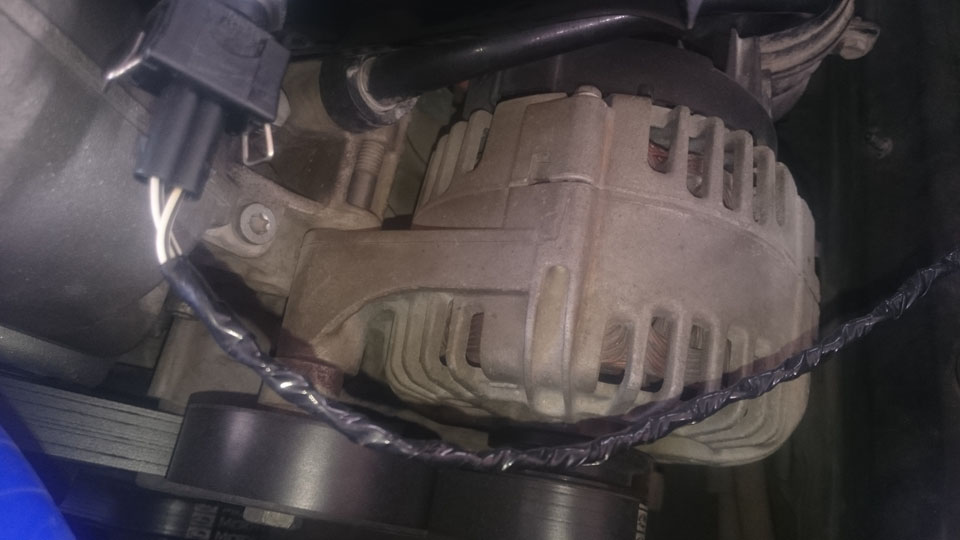
In my case the hose connector near the alternator, refused to go in.
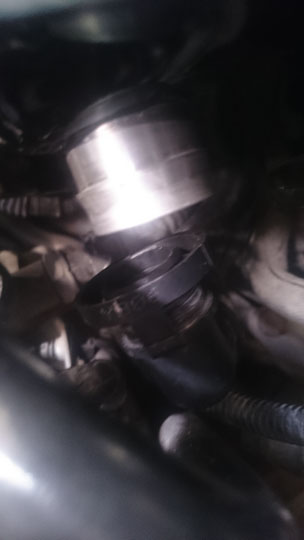
So I removed a rubber gasket in it.
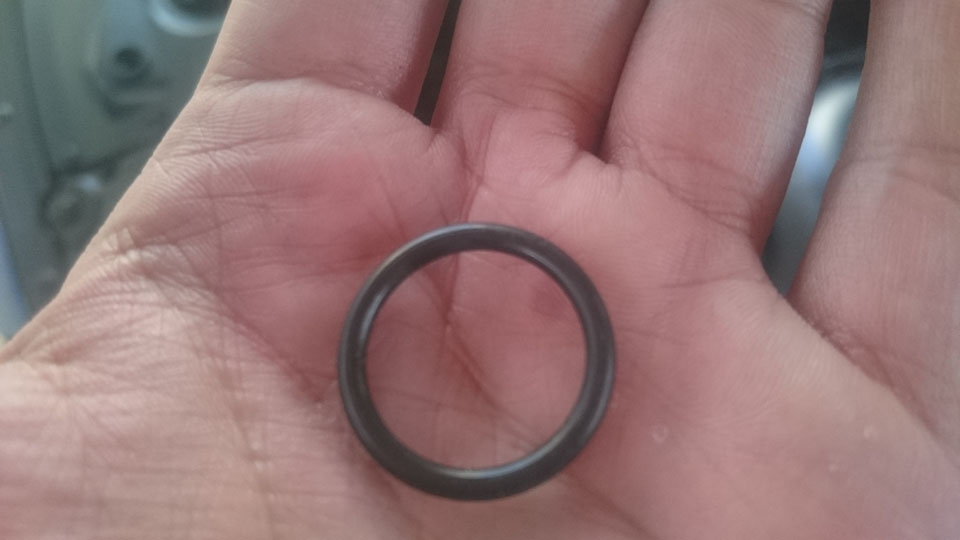
It went in, and seems tight enough.

View from inside airbox.

Connect the air valve going down.
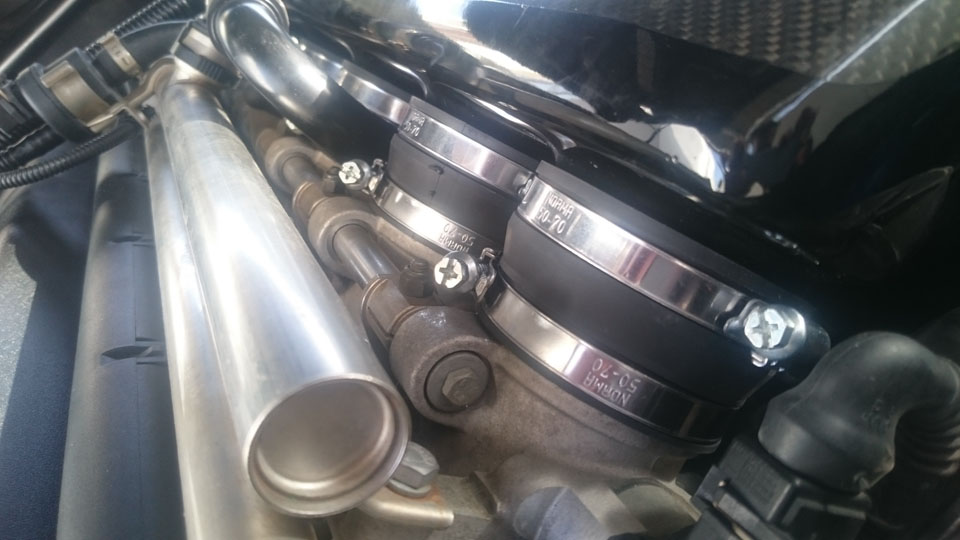
If your are using same as my clamps, you must align them correctly. In picture below, right is correct, left is wrong. You don't want it to interfere with the black screw on the throttle shaft.

Here you see the two ventilation pipes. Right is OEM, left is CSL. Unfortunately I have used another pipe because I damaged it by mistake while heating it. Refer the picture showing the airbox fully installed in to see the hose I used.

Here is proof that you can open it using a hair dryer.

Connect the hose on the side. The one which was on the elbow before.
Insert the air filter.
Almost done here, but we will jump to wiring now.
For the wiring I had a good friend that is experienced in wiring to do it for me.
The Bosch EV1 connector.

A special tool is required to cramp the terminals to the wires, which my friend had.
Don't attempt to do it by another way, it won't hold properly, or it will break. Also use the yellow weather insulators which came with the connector.
Unfortunately I didn't take a pictures in the middle of doing it.
The wires you use should have enough length to go under the snorkel part of the airbox reach the MAF connector.
MAF Connector.
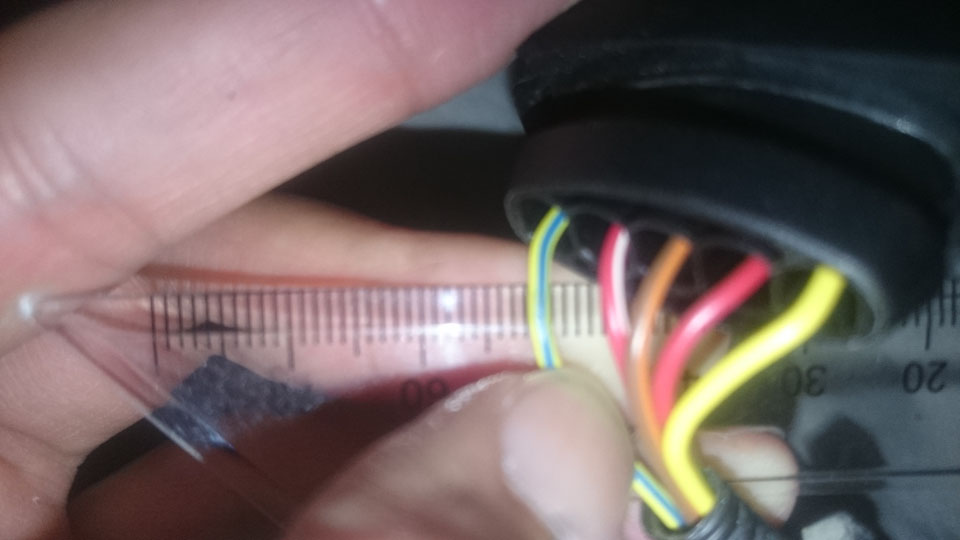
Open about 1cm of the insulation of following wires: Yellow/Blue-Striped (Pin 1) and Brown (Pin 3). Do not cut them! It's not required really.
Now if you don't have something to connect the wires like me, just tap them very securely.
Do not solder them, the solder could act as permanent resistance which affect the IAT sensor readings.
Doesn't matter which poles, as long one goes to the Yellow/Blue-Striped wire and other goes to the Brown wire.
Tape everything very very securely.

Go bring your snorkel part of the airbox, and install it. It's easy really. Make sure its fitted all around. Tight the screws.
(Side note: For those who have same as my bonnet/hood this airbox will slightly rub, but I was able to install the mesh for that last opening.)
Find some safe places to secure your IAT to MAF wire. Maybe use a double face tape or cable tie under the airbox. You don't want the wires to reach your engine belt.
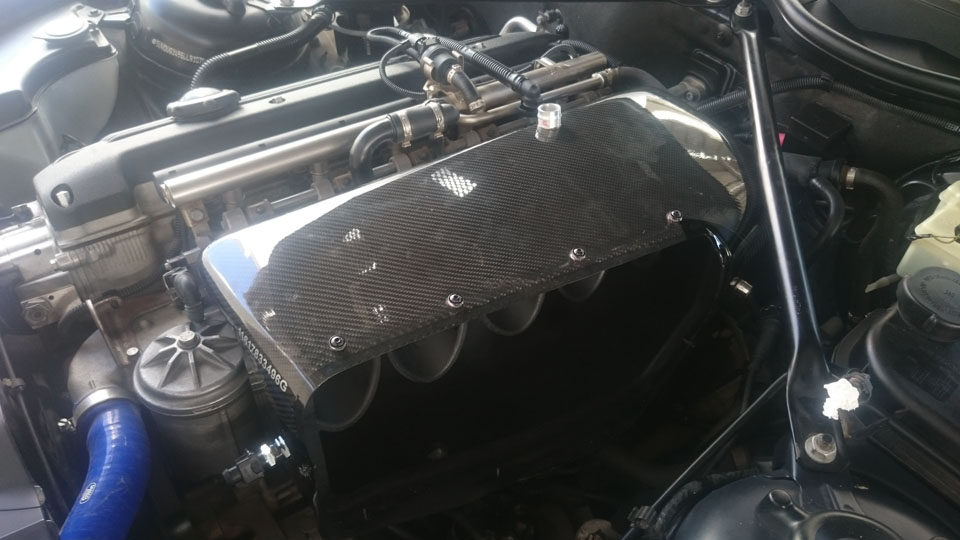
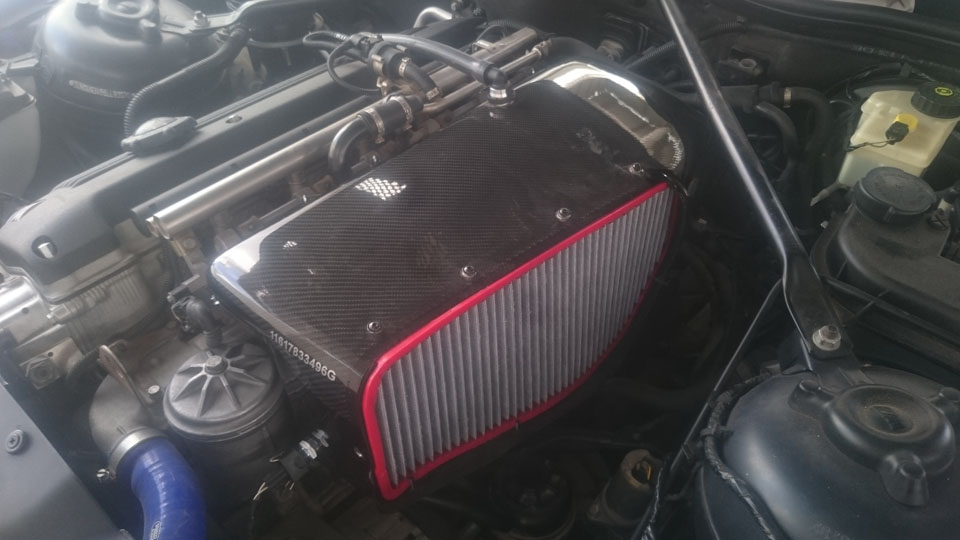
Completed the airbox installation.

Installing your tune:
If you are slow like me, by this time you should have received the tune file from your tuner.
Follow the instructions from your tuner and my instructions in reading your ECU. (Again repeating, do not blame me if you damage your ECU).
Uploading the tune to your ECU should take about 20 minutes.
Once you are done, it's time to enjoy your airbox.
Maybe when I get the opportunity I will post a video, but as others has said recording doesn't give it justice, it can only be enjoyed in real.
I like the tune, it's smooth and amazing at high RPM's. I raised my RPM limit to 8000 only.
"Full ears open, full throttle open

"