My AiM Solo DL GPS lap timer and data logger finally arrived about 10 days ago. Though the base Solo started shipping back in the summer, the DL was just releaseda bit later than AiM promised and after my last HPDE of the year. So, I havent had it on-track myself yet, though we did literally take it out of its wrapper and slap in on my friends AH Sprite at last weekends Gold Cup vintage races at VIR. Using it there in basic mode--the equivalent of the $399 base Solo--proved useful, for example evidencing a better line around Oak Tree with a 7 mph increase in exit speed that paid off all the way up the back straight. Heres a comparison of two laps, plotted with distance around the track on the X axis and speed on the Y. Remember that this is 948cc from 1964 when looking at a 98 MPH top end.

The DL version ($699 at BimmerWorld) adds in data logging from a variety of stock and race ECUs includingget thisthe Z4 M. This was surprising, given the dearth of aftermarket support for our low volume cars with their unique ECUs. Note that, after consulting with BimmerWorld, I learned that the simple OBD II connection wont work, and instead the RS232 CAN hard-wire-in cable is required on the M. Even so, if it delivers the promised goods, its a much more compact and easy to install product than TraqMate, has much superior data logging capabilities than TraqMates tach-only ECU interface, and its priced $350 less than the otherwise equivalent TraqMate with a dash display. Sounds almost too good to be true, huh?
With the Solo DL just landing, so few Z4 Ms around, and instructions poorly translated from Italian, I wasnt looking forward to breaking trail in actually hooking the thing up to the ECU. But, I gave it a shot this morning: hooked it up according to the not-exactly clear instructions, put the car back together (wondering, why am I doing that?this thing cant work on the first try), connected the Solo and cranked it up. Lo and behold, Im seeing RPM and throttle position and brake pressure and steering angle and fluid temps, and more!
Now, Im pretty new to this track stuff and Im far from the fastest guy out there; at going on 50 I dont really need to be either. I do like the idea of learning to drive well and consistently, and getting the fundamentals right. I think the Solo will help me do that, plus its just downright cool. I dont do time trials and I run with BMW CCA, and so right now I dont need/cant use the Solos live or predictive timing featureshave to pore over the speed-distance plots and ancillary channel data on the back end. Everything you hear about AiMs RaceStudio configuration and analysis software is trueits not very intuitive and the documentation SUCKS (that Italian thing again). But once you claw your way up the learning curve its powerful and robust. Ive been playing with the software and test data since I ordered the Solo back in July (the s/w is free and can be downloaded from AiMs website), and now with a weekends real data from the Sprite I think I have it about 85% figured out.
AiMs SmartyCam and DaVid solutions are crazy-expensive compared to my HD GoPro, and so I found $49 software from DashWare that lets you overlay gauge and other data on video. You simply relate the video file and a csv data file (easily exported from RaceStudio) via a DashWare dialogue box, synchronize the two, and then build the gauges. All pretty simple and easy, so long as you put a marker in both the data and the video to aid synchronizinga couple hard jogs of the steering wheel on the out lap works fine for that. Heres some video from the Sprite as an example.
Anyway, heres the install in case anyone needs a hand sorting it out:
1. Disconnect the negative terminal on the battery. Better safe than sorry!
2. Pull the ECU from its nest under the black cover next to the master cylinderno need to disconnect it from its wiring harnesses, though. Itll be easier to maneuver everything if you slide out the rubber boots/grommets routing the wire bundles into the ECU housing. Info on how to access the ECU is here, about 2/3 of the way down:
http://www.billswebspace.com/bmwmc
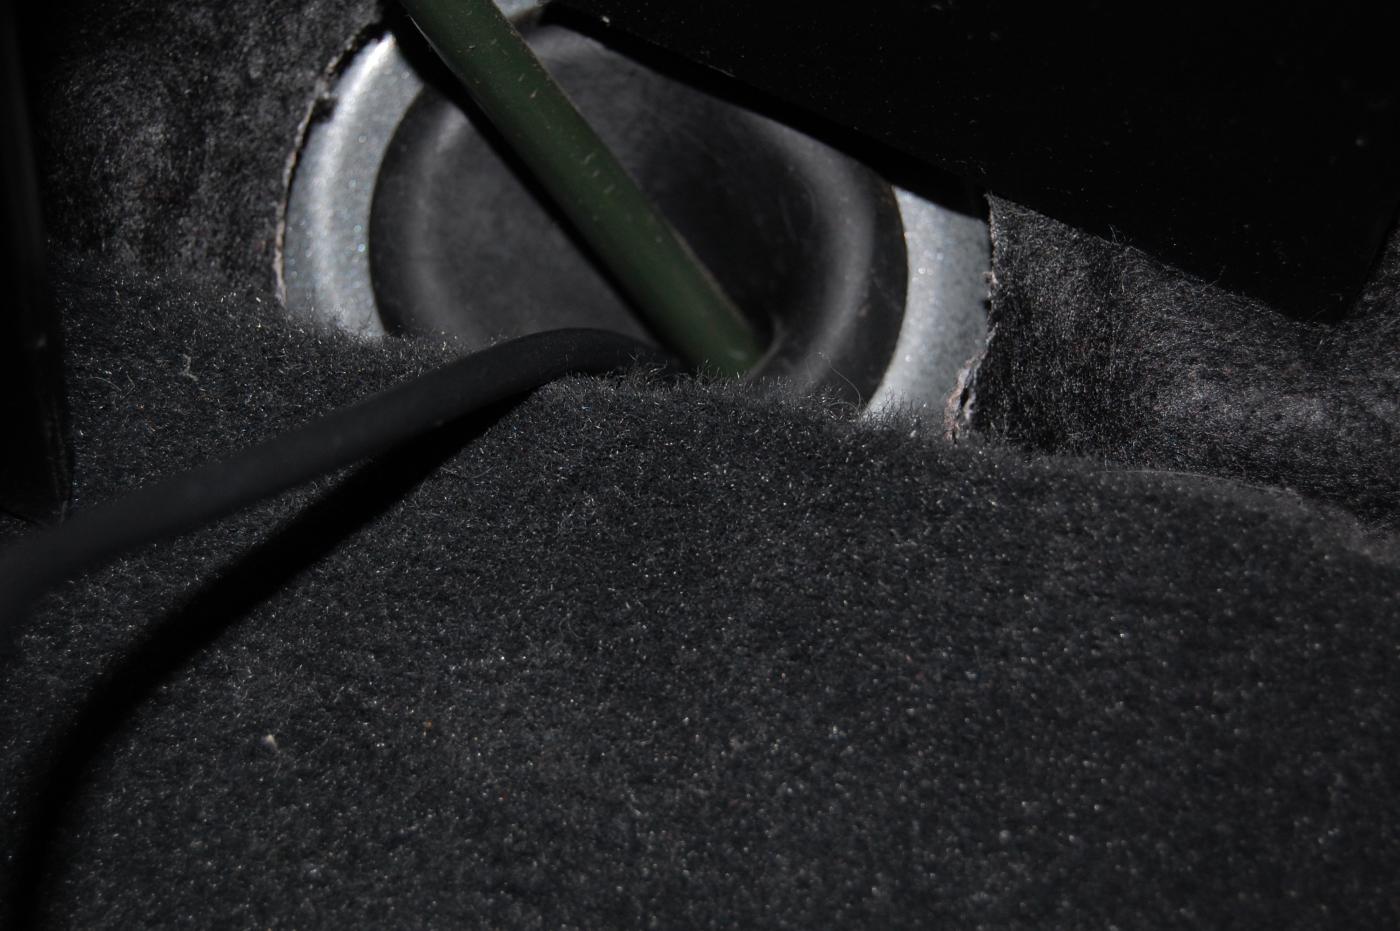
3. I fished the AiM cable from the cabin through the firewall via the clutch lines grommet, then up behind the brake booster, and then through the big cable bundles rubber boot at the rear of the ECU housing. Carefully slip a small screwdriver through the boot to make some room, and then push the cable through.


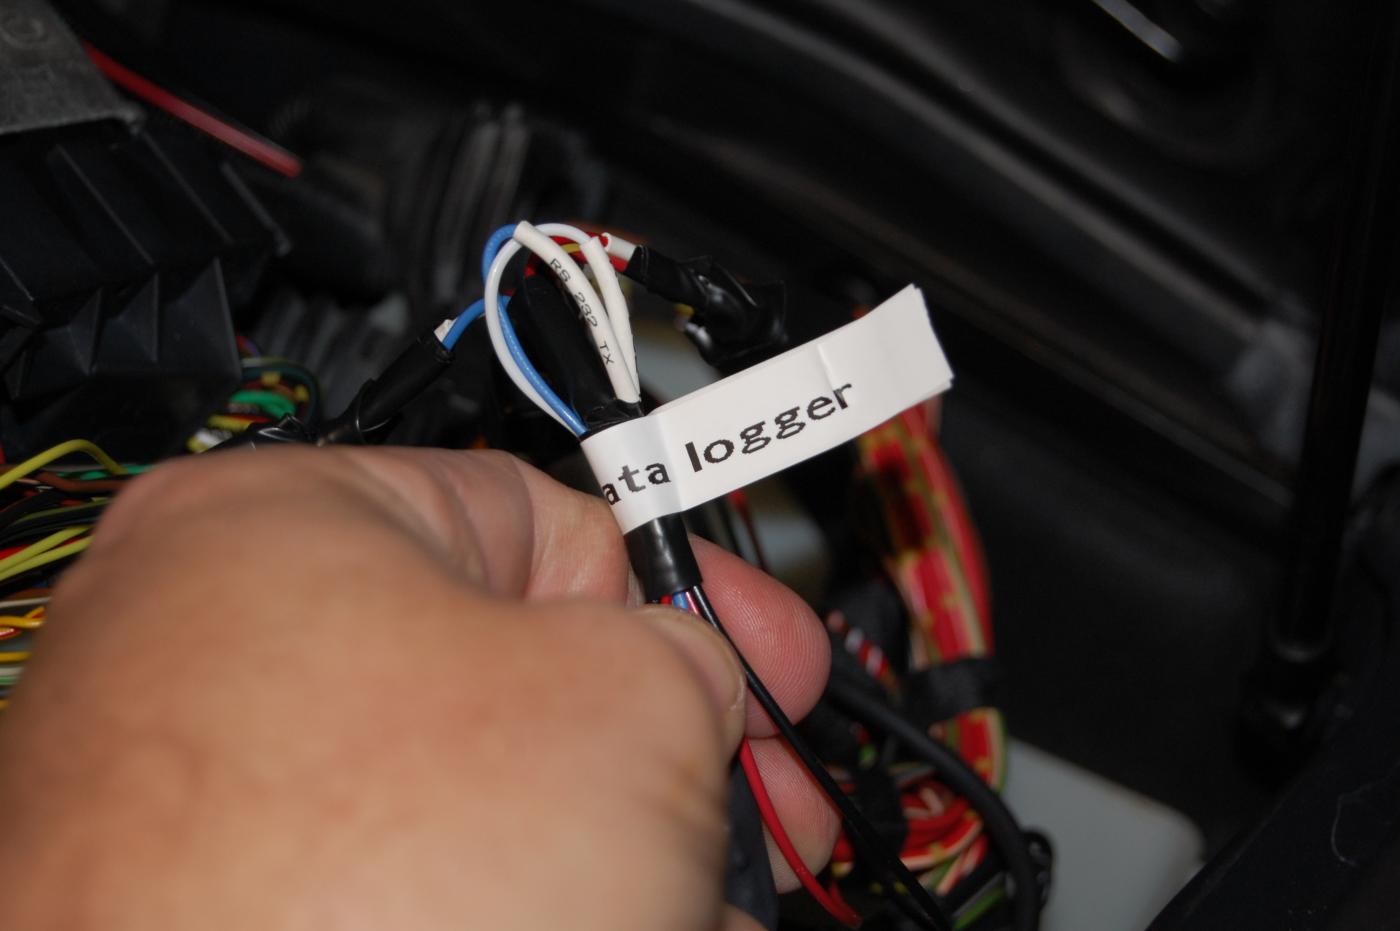
4. The wires in the AiM cable come labeled. The white lead marked CAN+ and the blue marked CANget spliced into the ECU wiring, and the red and black leads are power and ground, respectively. The blue and white leads marked RS232 (knotted in the pic below) dont get used in our application.

5. Now the fun part: finding the correct two wires from among the bazillion connected to the ECU. Youre looking for two wiresone yellow/red, the other yellow/brownthat are twisted together.

6. Using 18-22 gauge quick splice connectors (Radio Shack), connect the CAN+ lead to the yellow/red wire. Connect the CAN- lead to the yellow/brown. CONFIRM THESE ARE THE CORRECT MATINGS YOURSELF!!!! The two wires from the ECU are twisted tightly together, and theres not much working room in there, so proceed carefully.

7. Wanting to minimize splicing into the ECU, I brought new 20 gauge wires for power and ground into the ECU housing via the same route as the AiM cable. The new leads were quick-spliced to the appropriate leads on the AiM cable. This gives the Solo external power, so youre not reliant on its internal battery during a long track weekend. I took the power from the positive jumper terminal in the middle of the firewall, and theres a chassis ground on the firewall right next to the brake booster. I used crimp-on terminal connectors that fit onto the studs at these two locations. It cant hurt to put a low amperage in-line fuse in the power lead, too.

8. Tape and tie everything up neatly. I labeled the AiM cable in case someone else goes in there somewhere down the road, and cant figure out what this odd cable is.
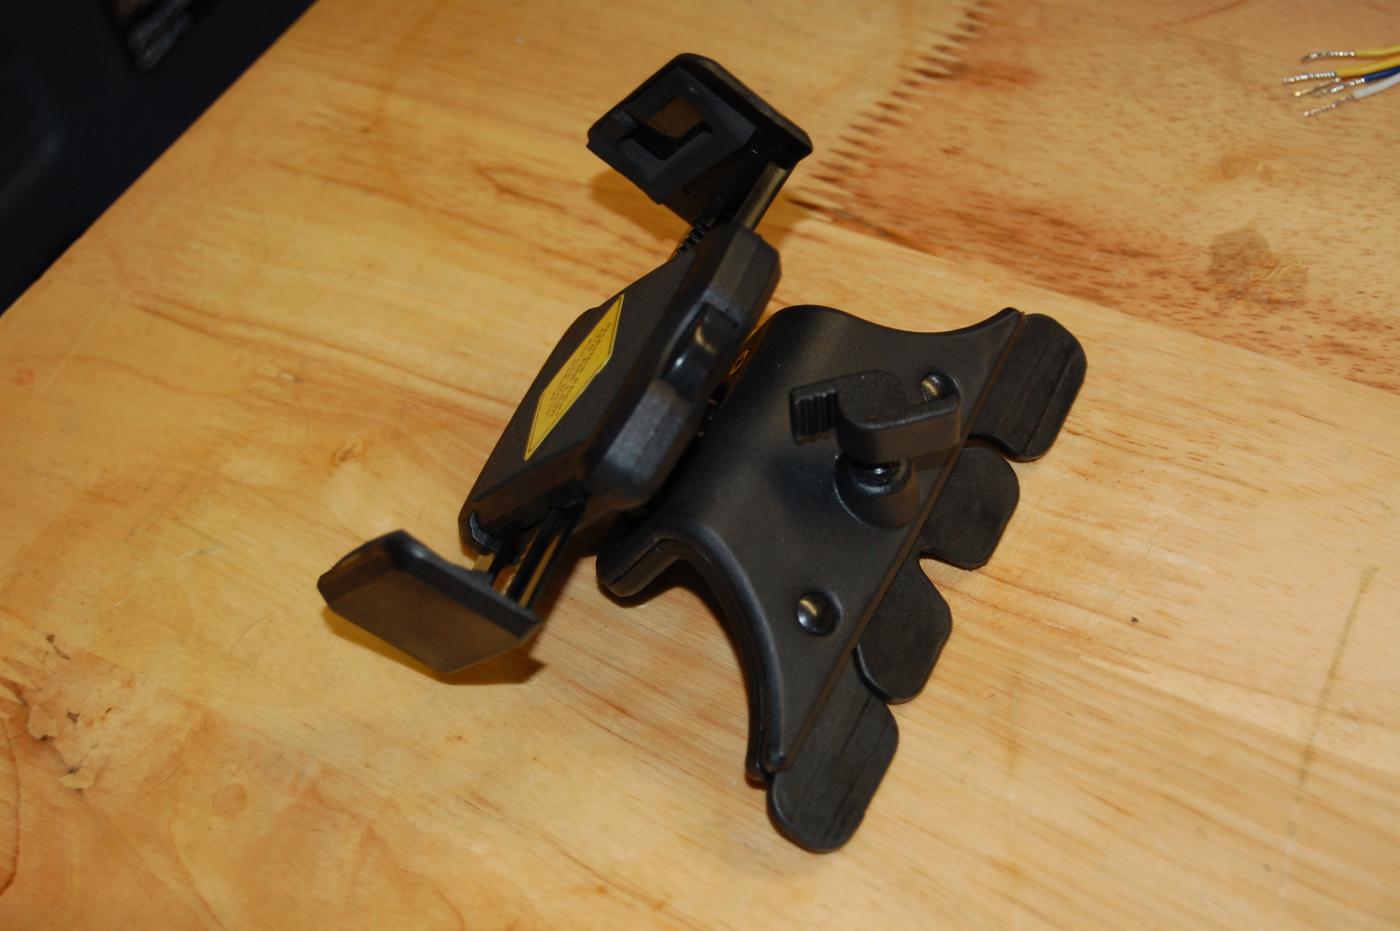
9. Inside the cabin, I ran the AiM cable inside the dash under the steering column and then into the center console. Remove the panel beneath the HVAC controls to do the latter. I then routed the AiM cable up through the ashtray enclosure, leaving enough slack to connect it to the Solo; when not in use, tuck it into the ashtray area. I use a nifty Mountek CD slot mount to hold the Solo. Its visible and accessible there, and gets great satellite reception.
10. Reassemble the ECU covers and interior bits. and reconnect the battery. Connect the AiM cable to the Solo, say a prayer, and crank the car up and turn the Solo on.
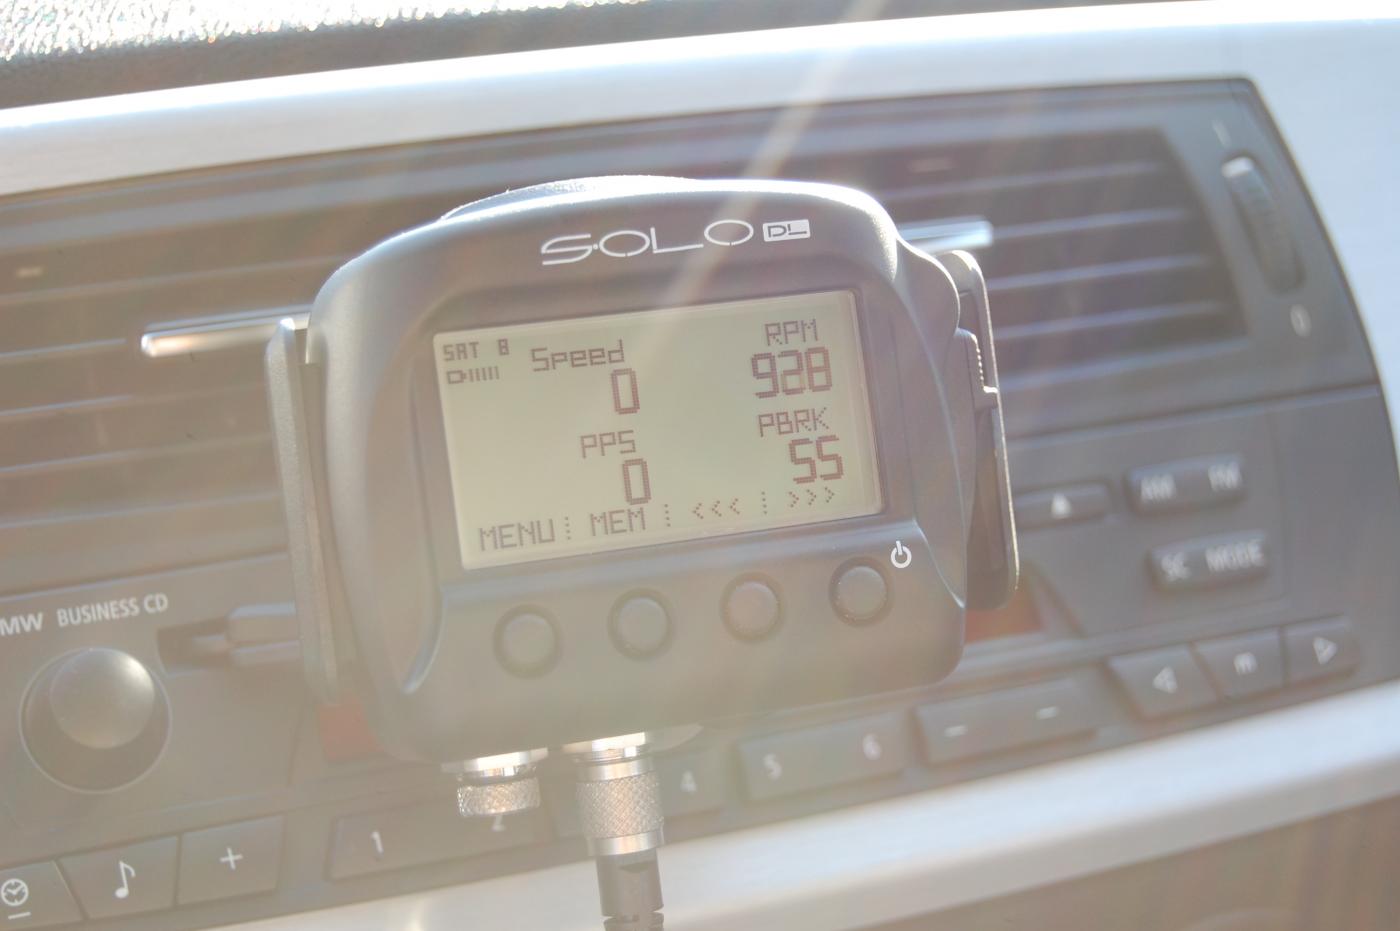
11. The Solo lets you configure custom screens (remember, BMW CCA doesnt allow live timing at HPDEs), so I configured a screen with temps, and another screen showing speed, RPM, throttle position and brake pressure that might be useful to an instructor. The (badsorry) pics below were taken sitting still, hence 0 speed; the first shows 17% throttle (PPS) while the second shows 55% brake pressure (PBRK). The Solo is logging all this info at 10 Hertz, along with steering angle, calculated gear (it learns the relationship between rpm and speed in each gear), speed per the ECU (identical to the GPS speed, by the way), all four wheel speeds, clutch and brake switch activation, intake air temp, and some other channels that I havent yet deciphered.

I dont think Ive ever posted a pic of the car, so what the heck, heres one.
Enjoy. Ill report in after the Solos first real use, but thatll probably be in February. Post here if anyone else is getting one of these.