Preparing for your airbox:
Okay, let's start with oil dipstick.
I have seen some people bending or twisting their oil dipstick so they could install the airbox. My method doesn't require that!
Follow the oil dipstick tube to the bottom.
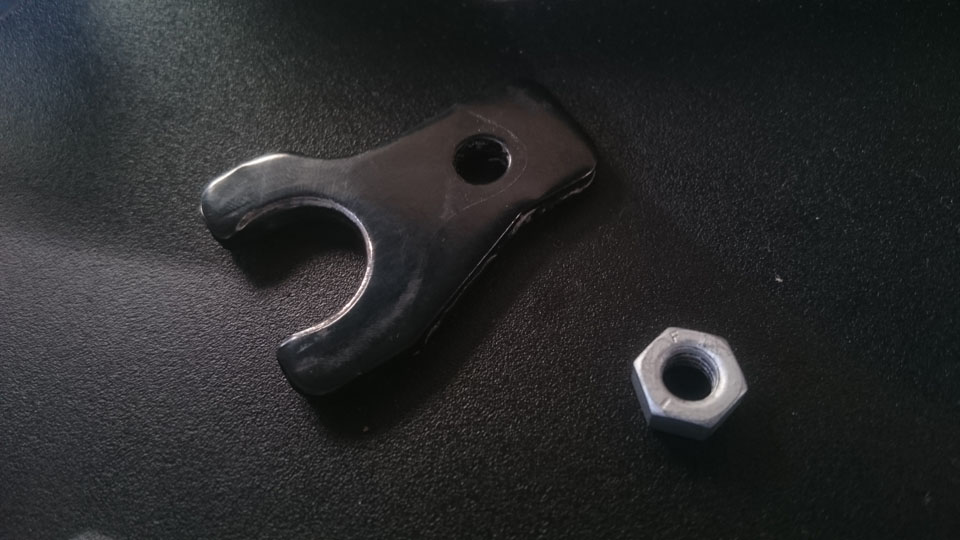
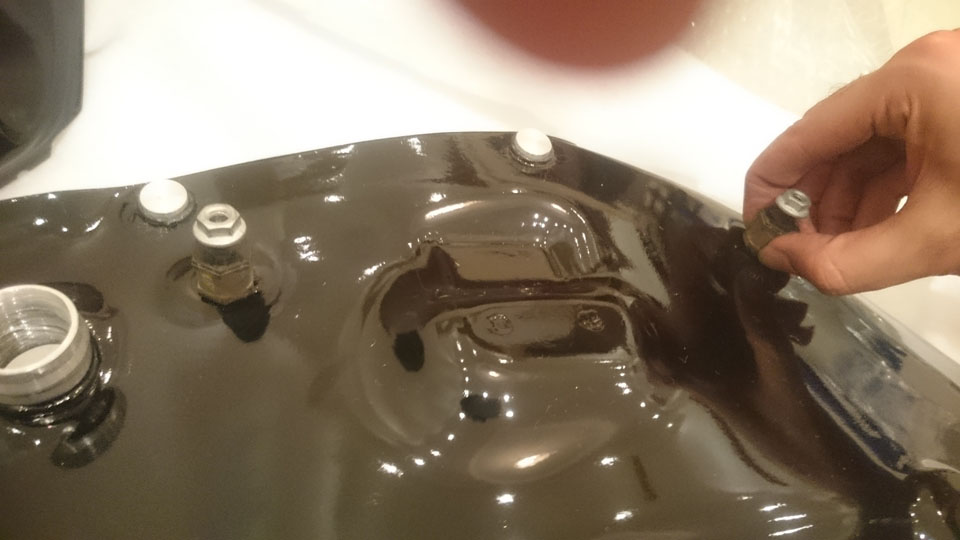
You will find a bolt on a black metal part shaped like a spanner securing the oil tube.
Unfortunately I didn't take a picture before removing.
If you are smart clean that area before, but don't use some solvent that could go into your oil.
Loose the bolt and remove the metal part.
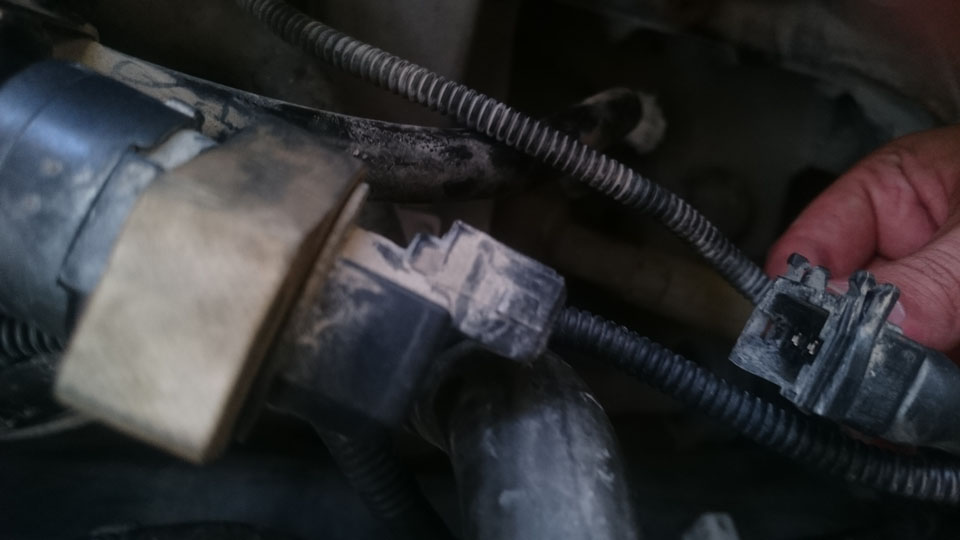
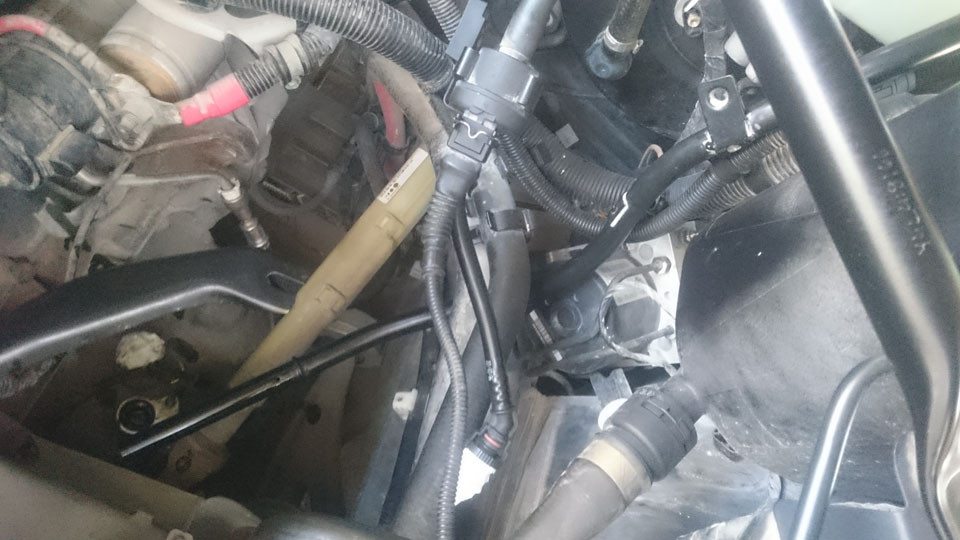
Go back to the air valve which was under the intake manifold.
Disconnect the connector, this will help so the line won't get in the way of the oil tube. Don't forget to connect it back later!
Pull your oil tube. You could use a towel because it will be dripping oil, or just wait till is stops dripping.

Cover all open holes with a tissue.
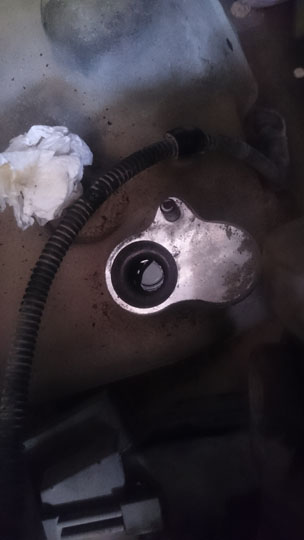
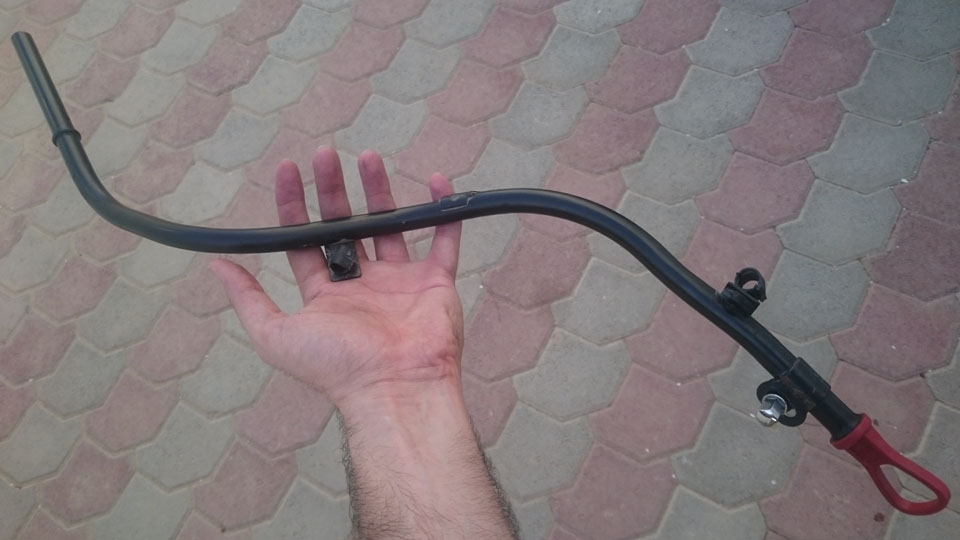
Here is your oil dipstick tube.
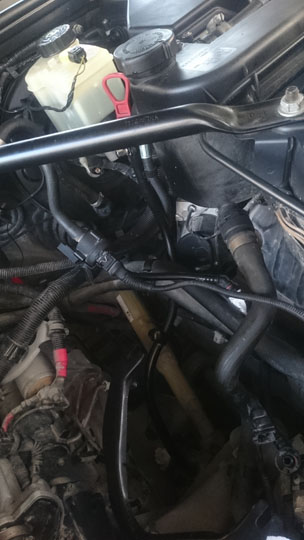
Now from an angle behind the tower struts between the ECU box and the radiator expansion tank/brake fluid tank(I guess), insert your oil tube.
Rotate it. Find your way to reach the hole, and insert it simply.
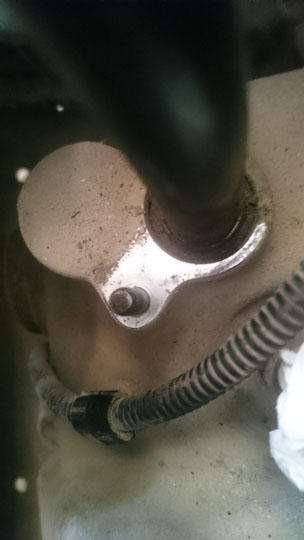
This how it should look after installing the metal part and bolt.
Bottom.

You could find somewhere along the tube to secure it, but I didn't do that.
Let's go inside house, where it's cool.
Flip your OEM intake manifold upside down.
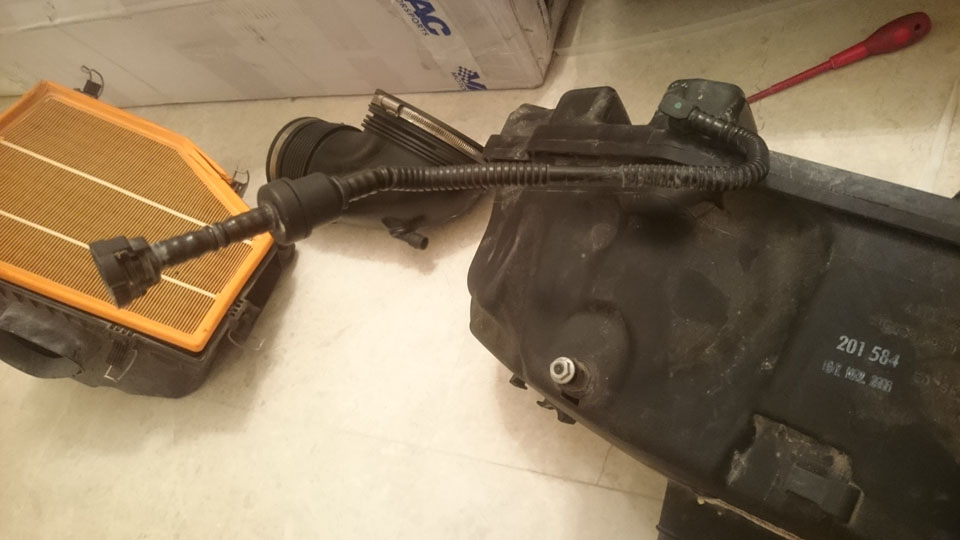
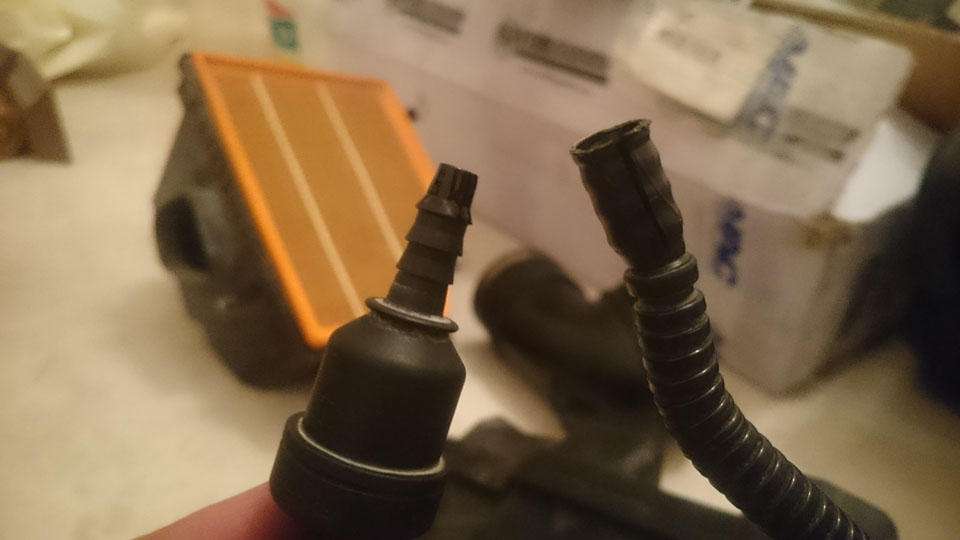
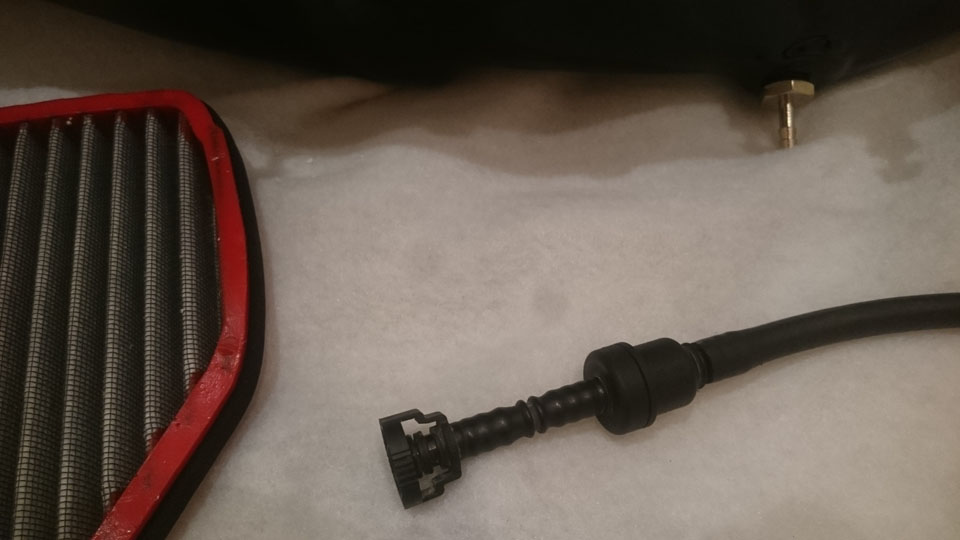
Disconnect the tube from where I am pointing, because we need to reuse the air valve.
Note that in my case it was not possible to use the hole tube because the fitment is different inside the airbox from OEM.

I didn't think of, so I just cut it, but you can use a hair dryer, I am sure it works.
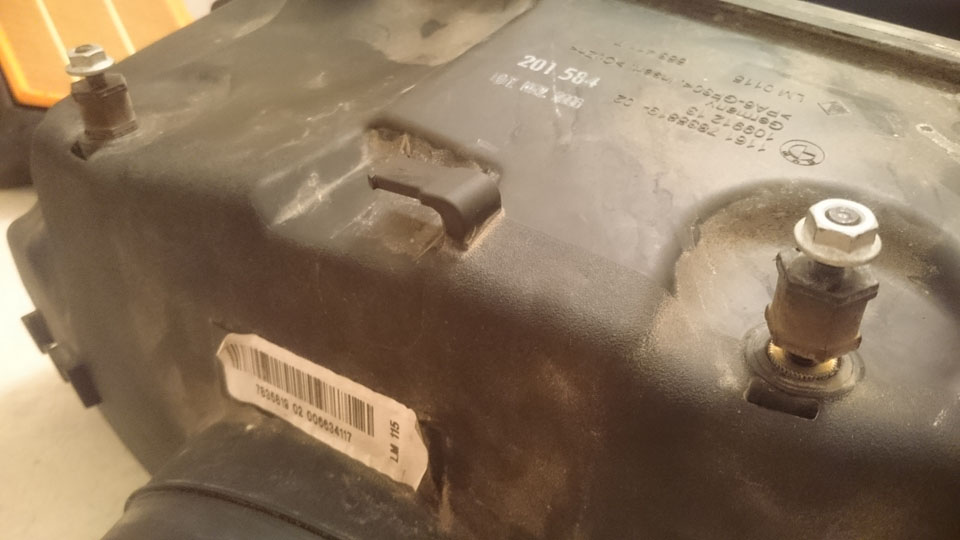
Loose the little rubber pieces near the body of the manifold. You might need a tool.
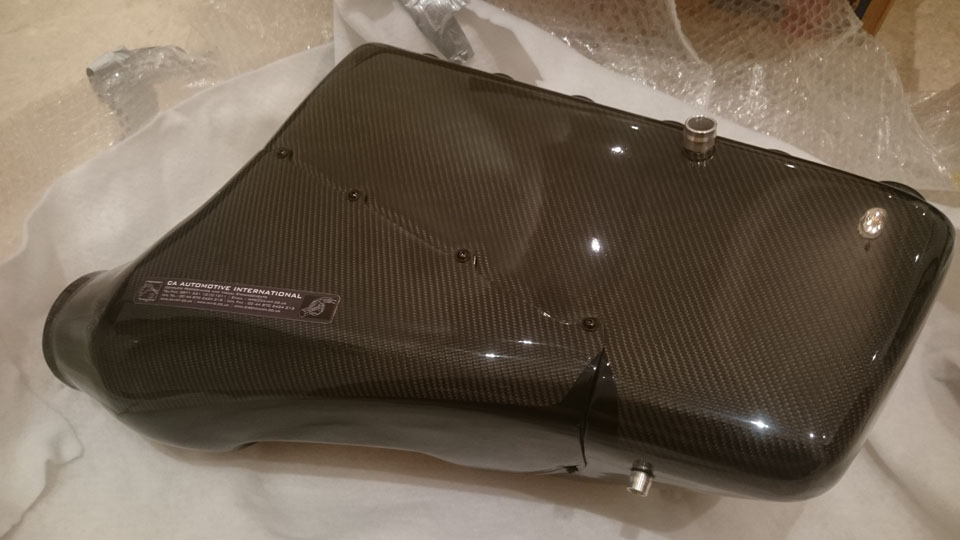
Unpack your airbox.
Loose the 6 bolts. Notice there is a shorter one. Remember it's location. I remember it was at the front.
Tight the two rubber mounting pieces to your new airbox. These will sit on the bracket at the engine bay.
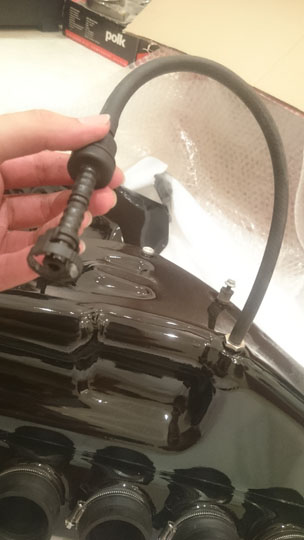
If your seller supplied you with a tube, insert the air valve into it.

Insert the other side to your airbox.
This how it looks after connecting.
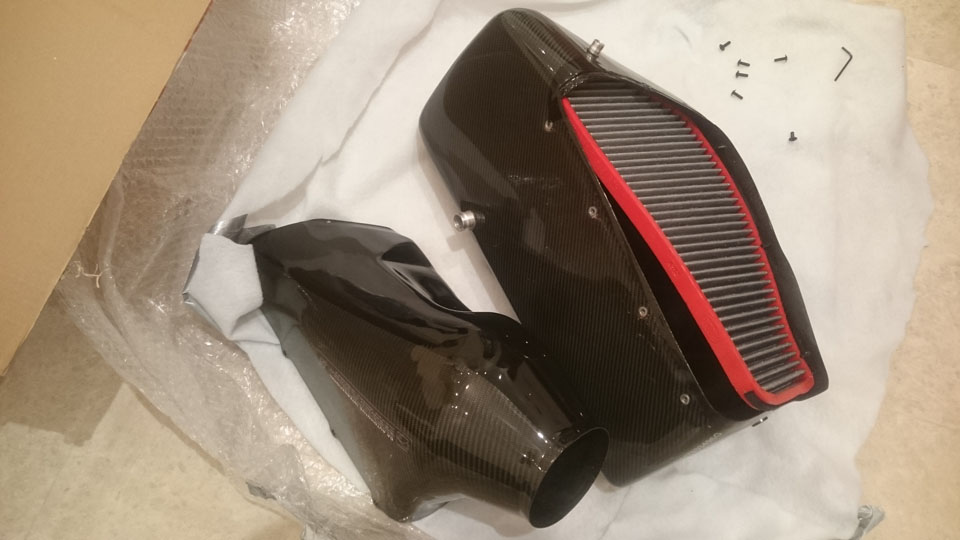
Remove the filter to look into your airbox.
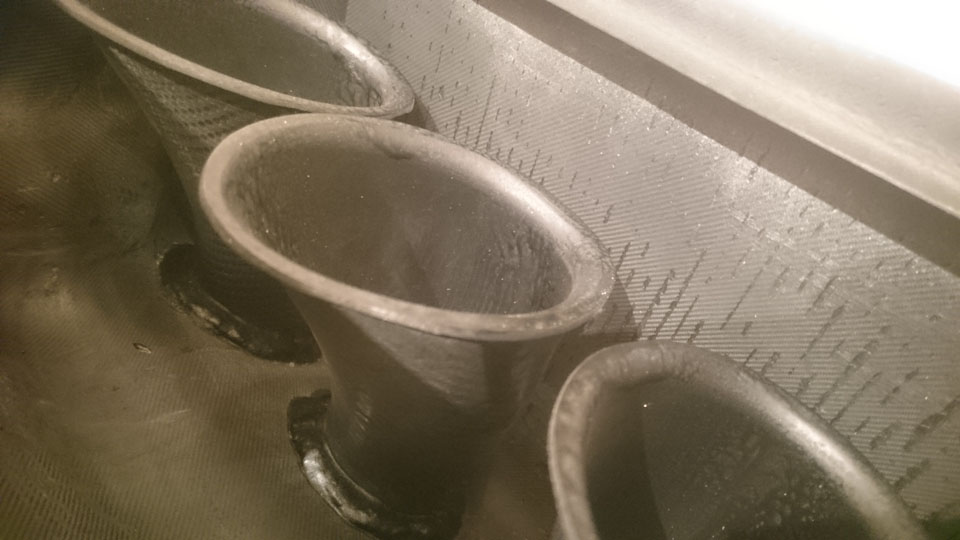
My airbox came already mounted with the throttle bodies boots.
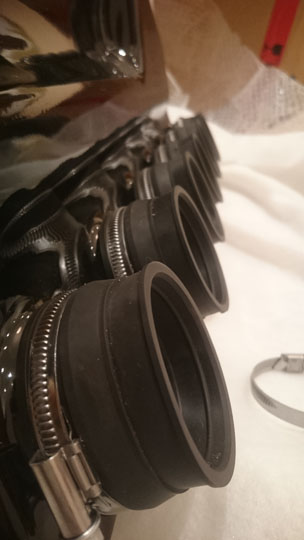
Put on the other 6 clamps, but keep them little loose for flexibility.

The IAT (Internal Air Temp) sensor.
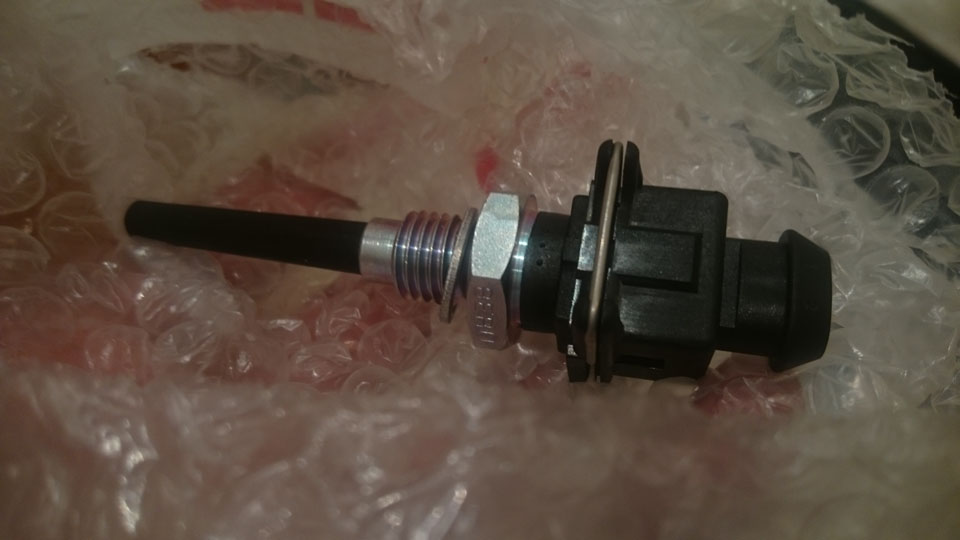
You could insert the IAT sensor if you want, I did just to test.
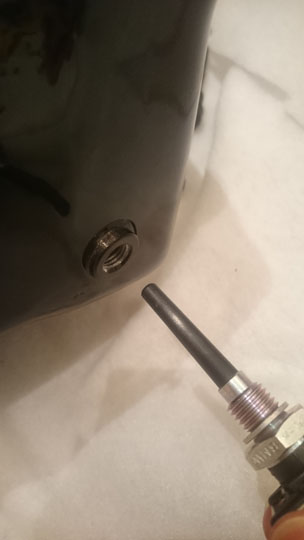
Tight it.

Next post will be about installing the airbox in the engine bay, doing the wiring, and uploading your tune.