CAUTION! this DIY will ruin your factory tips. do not attempt this if you are avoiding permanent damage to them.
disclaimer out of the way...
I was super rushed taking the pics for this, so they are of super low quality. I do apologize for them.
step #1: get yourself qty 4 of PN 18307610633. these are the f30 335i sport package tips. they are also available in chrome
(luxury pkg) and matte silver (modern pkg). I chose these for two reasons... first, they look bigger in the darker color when matched to sepang.
and two, they hide any dirt/carbon buildup caused by the straight through mod that I've done to the mufflers...
 step #2
: inside you'll see three pressure tabs that allow the tip to center on the f30 exhaust.
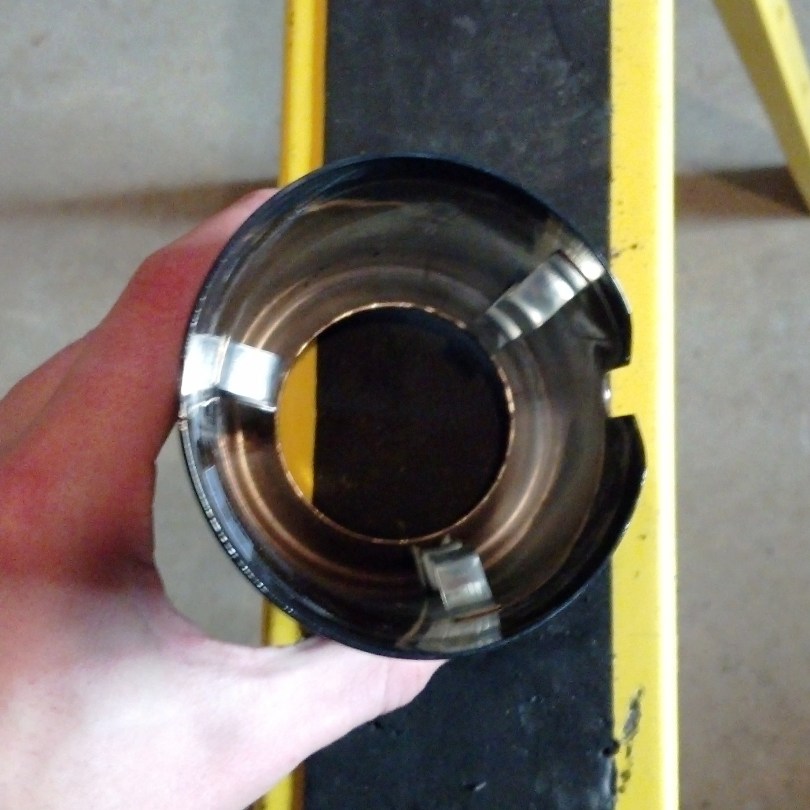

obviously this won't do for us, so these need to be modified. select the orientation (rotationally) that you want them to sit on each muffler.
I chose to have the seams on the bottom so that there was no visible line seen from above. this is not required, just my preference. once
you've decided for yourself, pick the two tabs farthest from the space between the tips and cut them like so (I just used a pair of side cutters).
DO NOT remove the tabs entirely. they are critical to these staying on the car...

the remaining tab on each tip should be trimmed thusly...
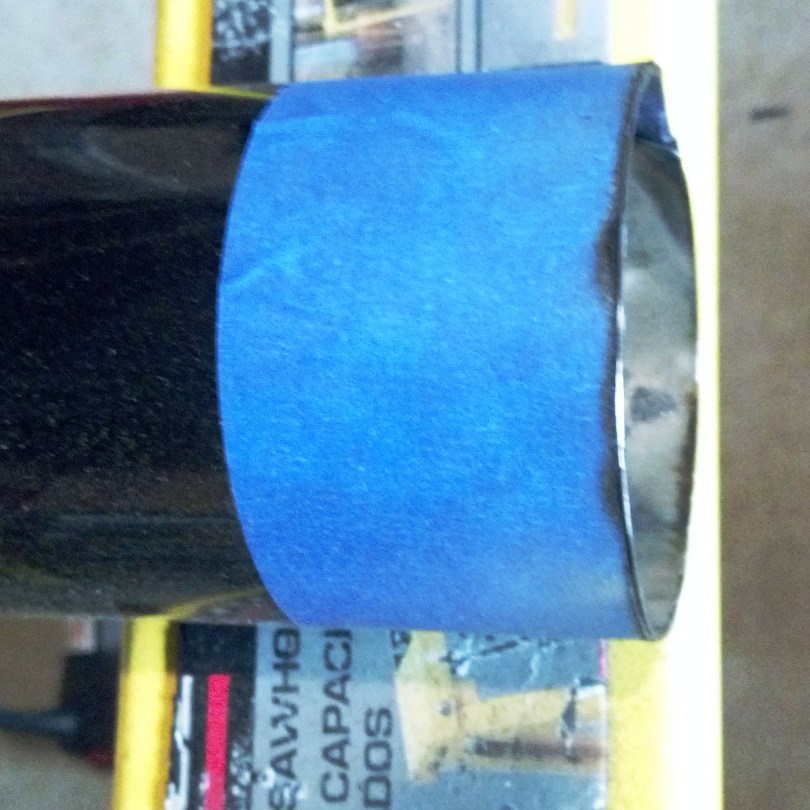
 step #3
: measure from the tip end back 4 1/8" and place tape around the circumference...


using the edge of the tape (farthest from the tip outlet) cut along the line, then deburr...
 step #4
: cut a section of wheel tape weight (i used 3M PN 61405) to a length of 2 1/2"...

place the weight inside the tip between the tip's lip and the shortest/smallest tab that was cut previously...
 step #5
: install on vehicle! make sure that the weights on each tip are close together and SLOWLY press them over
the OE tip. if you go too fast, you risk peeling the weight off. i recommend partially installing the outer tip first so as to not mar the finish on
the inner tip's surface that is still visible. you may need a mallet and a block of wood to get these on (i certainly did)...
