Made some low wooden ramps to be able to get the hydraulic jack under the car (car is so low)
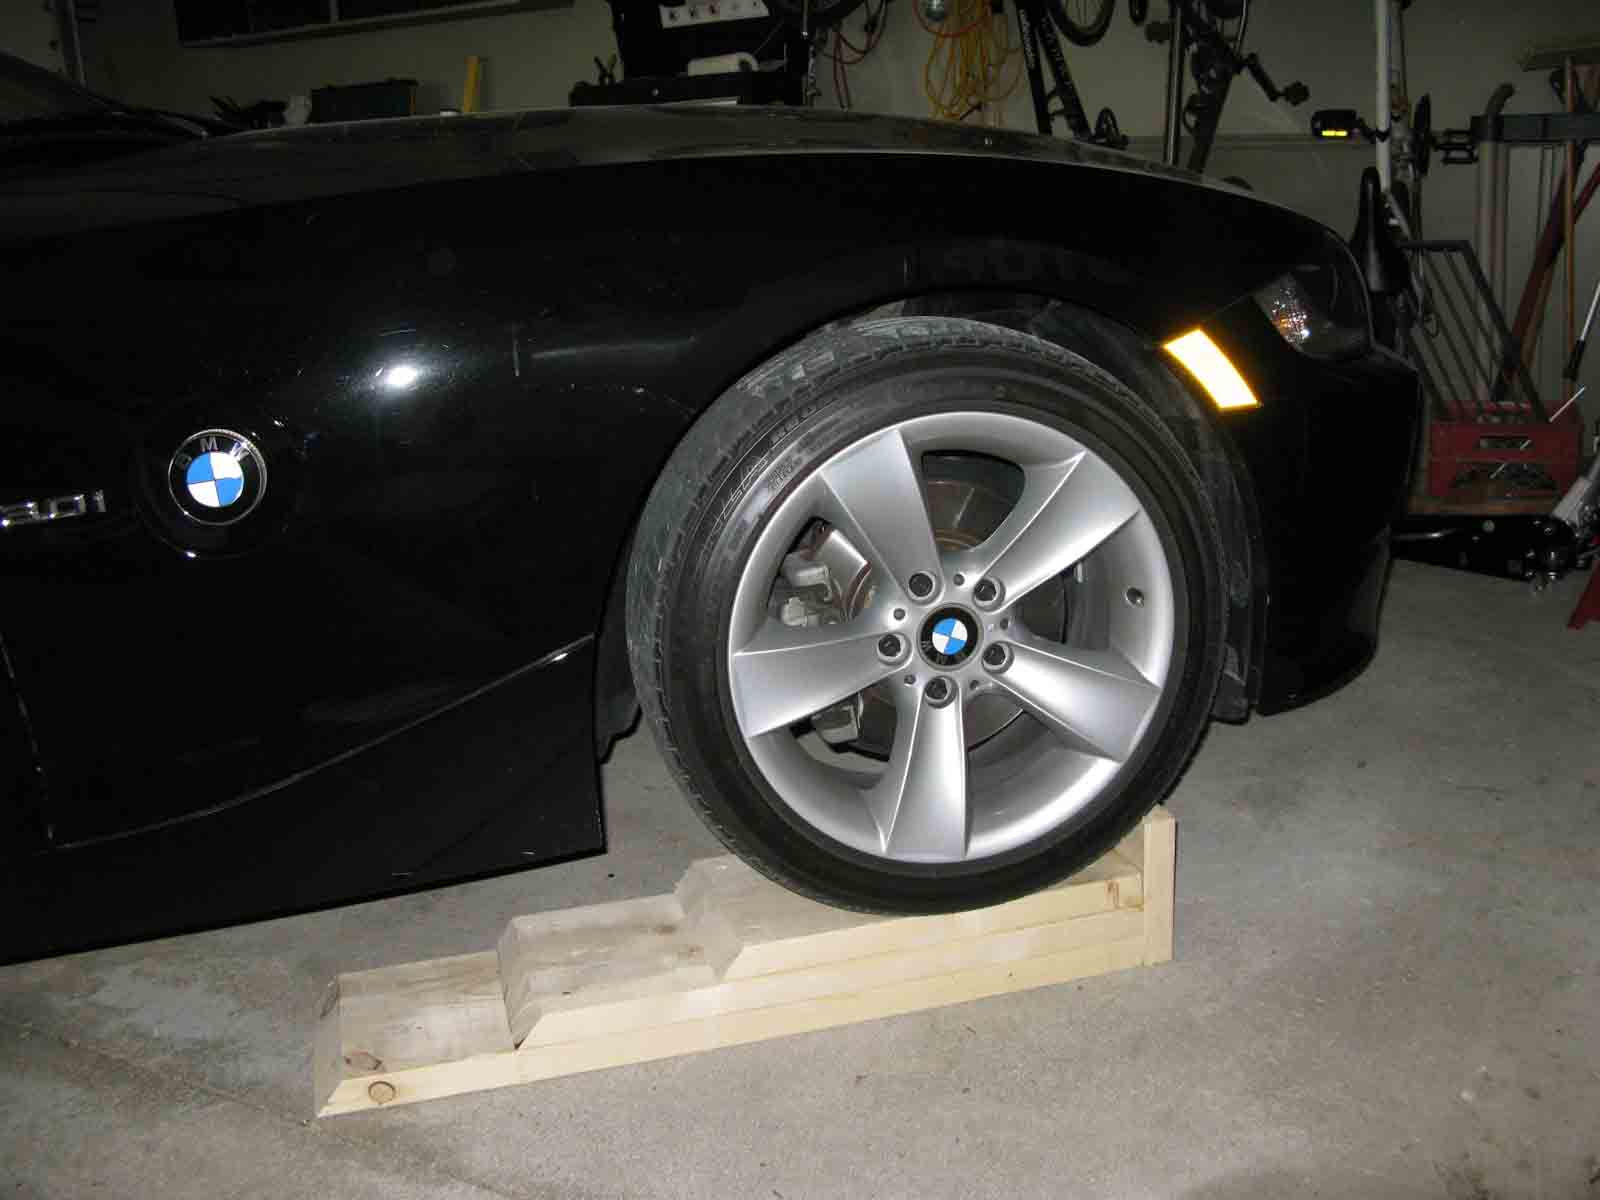
First jacking up the front from the jack point under the engine.

Then jacking up the rear from the jack point just in front of the rear differential.

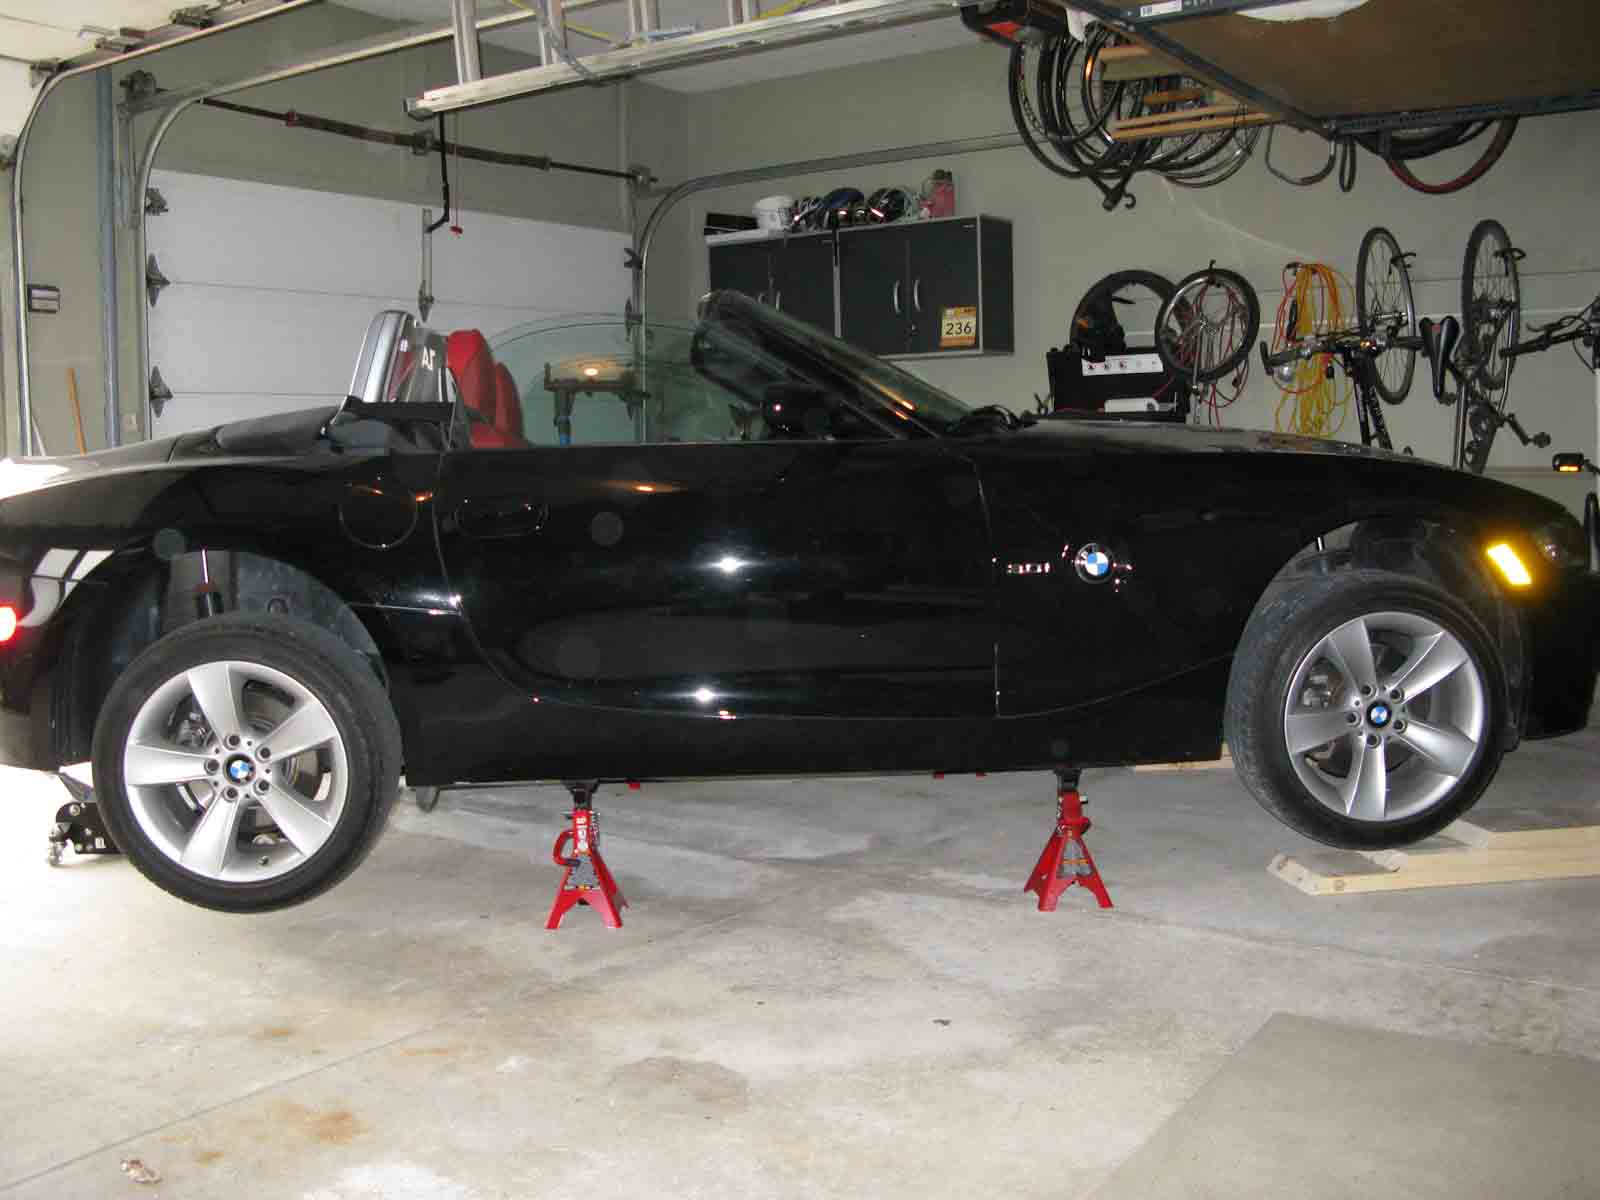
All four wheels off the ground on 4 solid jack stands.
Using wheel lug pins makes it a lot easier to get the wheels off without damage

Calipers were pretty dirty with that BMW organic brake pad goo (like dry creosote)

Next step is 30-60 minutes per wheel of disassembly of calipers, removal of pads, several iterations of spraying with brake cleaner and scrubbing with a wire brush. I did a small amount of grinding with a grinding wheel on the dremel to reduce the appearance of the lines from when the calipers were cast. I inserted the slider pins to hold the caliper together for the process. This is what mine looked like when I was done cleaning - turned out to be good enough for the paint to stick.

Then I applied 4 coats of G2 epoxy caliper paint with a small brush, by the time you get back to the 1st wheel it is ready for another coat.

I only painted the visible part of the caliper. I think it might be good in the long run because it is easier to work on the caliper without worrying about all the surfaces that might get damaged during a repair. As I was replacing 50% worn pads with new ones I had to push the caliper piston in with a c-clamp, and draw off some brake fluid every two wheels to prevent overflowing the brake reservoir.

I saw someone chromed the anti-rattle clips but I didnt get around to it
so I used a dremel tool with an 80 grit flap wheel to polish the clips and finished off with some scotchbrite pads and polish (not sure how long the shiny finish will last, perhaps I can get another set and have them chromed one day

The finished product (note the reconnected brake wear sensor, I had one on the right rear wheel and one on the left front I was surprised they were not on all 4 wheels). The sensors only need replacing if you wore the pads to their limit destroying the contact on the sensor in the process, I reused mine. I replaced the stock pads with ceramic Akebono Euros to hopefully avoid the creosote-like brake dust from the stock pads, after a few days there is some dust but it is clear in colour and not noticeable. I was pretty tired of washing the wheels every week. Dont forget to grease the brake pad contact points with proper brake grease during reassembly, and I like to put a thin layer of anti-seize paste on the wheel where it contacts the hub to ease future removal.

My five spoke rims dont show off the finished product as well as more open designs, but I still like the look.
