UPDATE - 5:00pm, Sat. 08, 2011
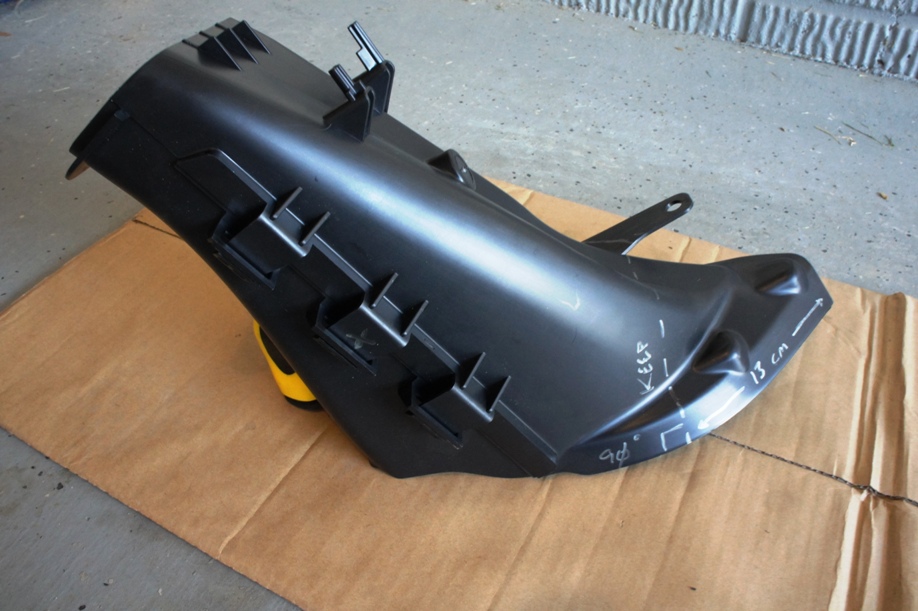
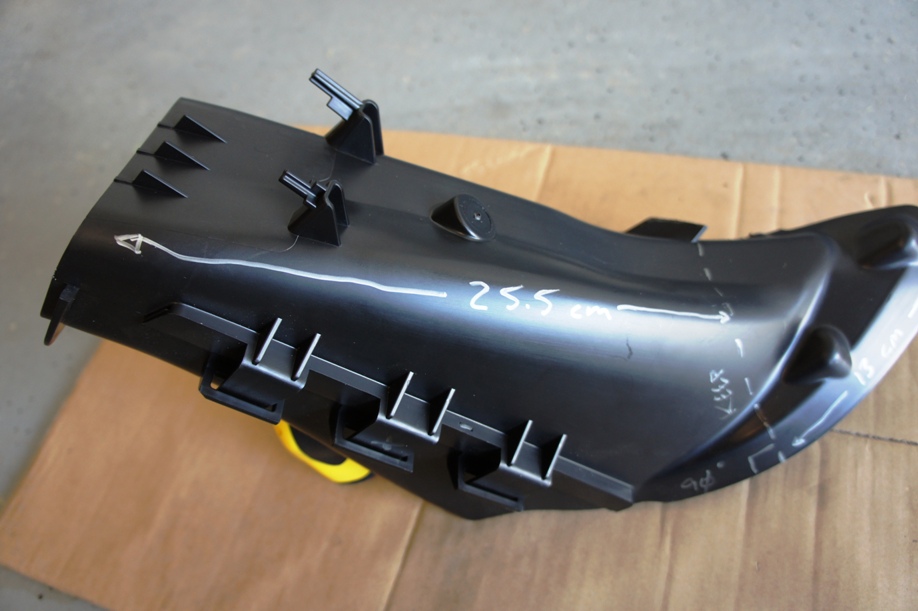
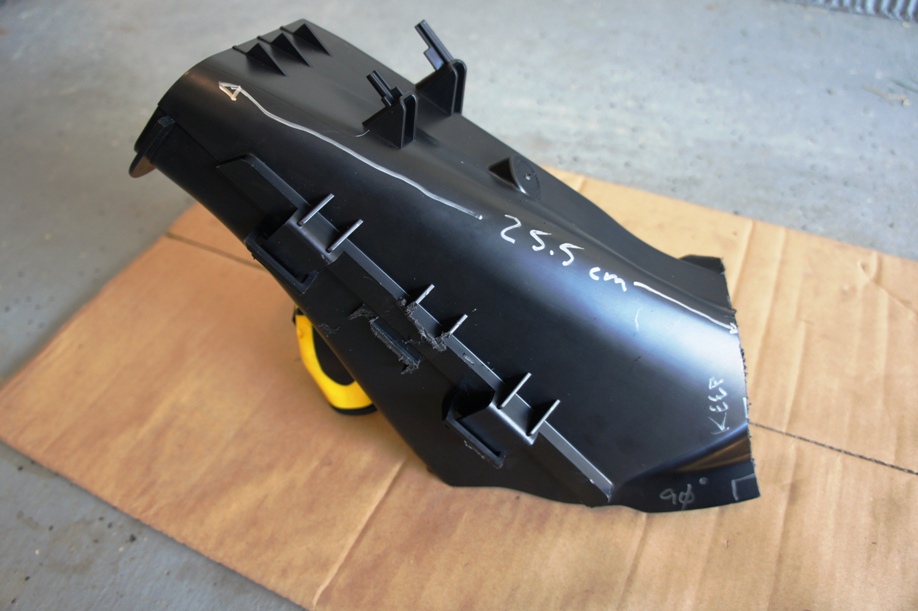
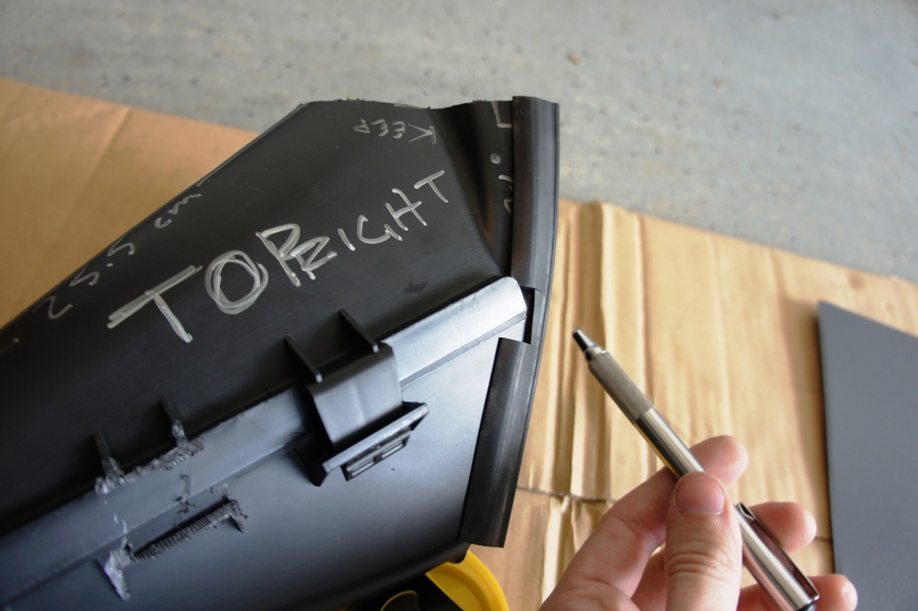
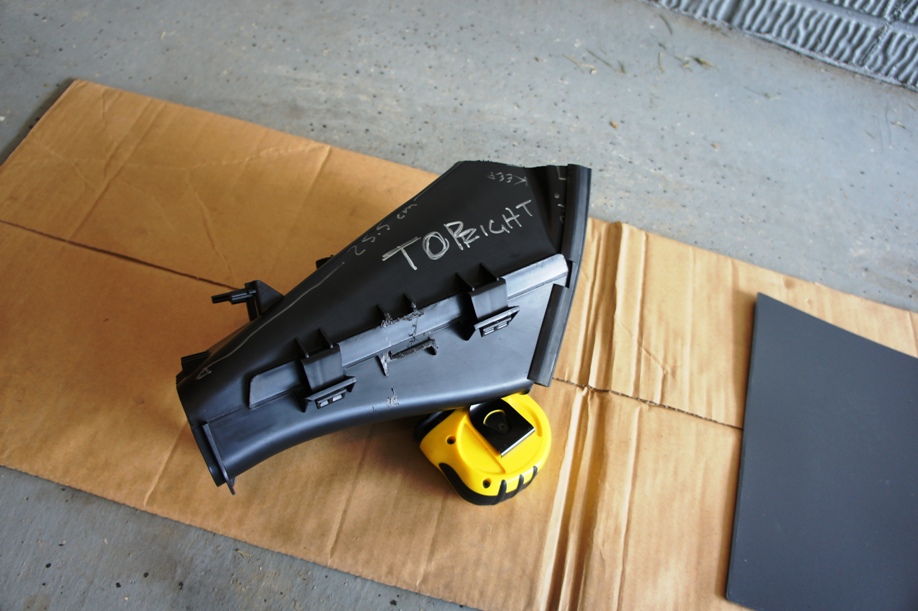
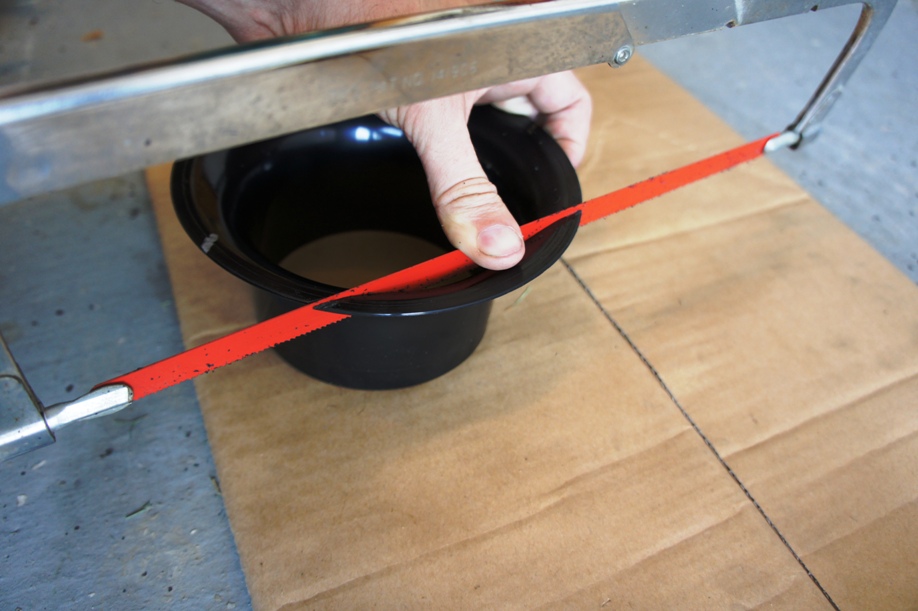
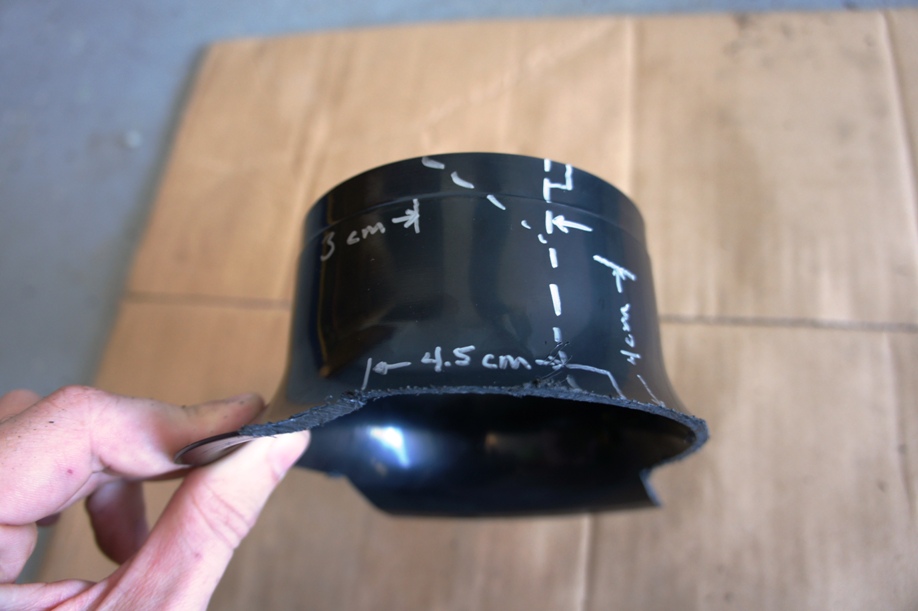
3) Trim each brake duct like so


 4) Additional weather sealing can be added here
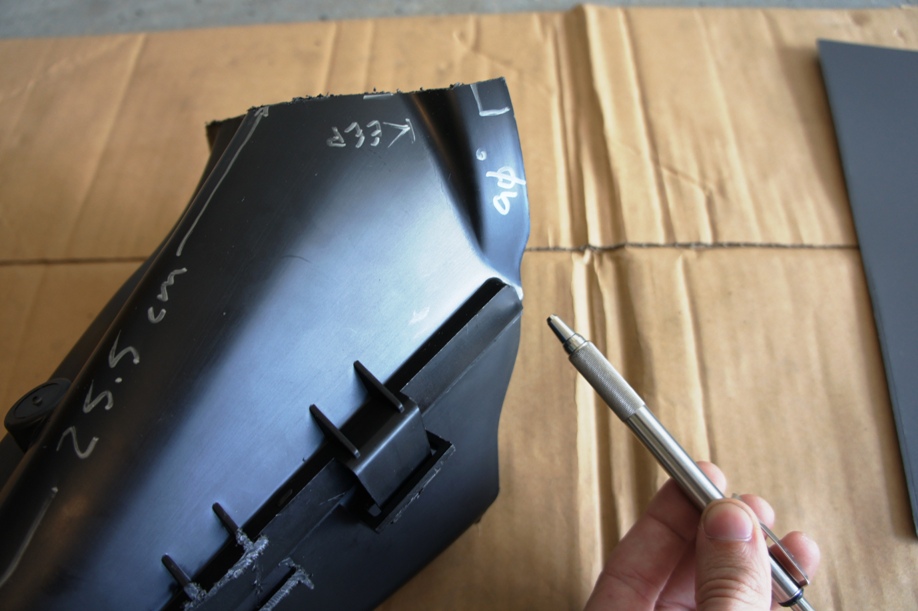
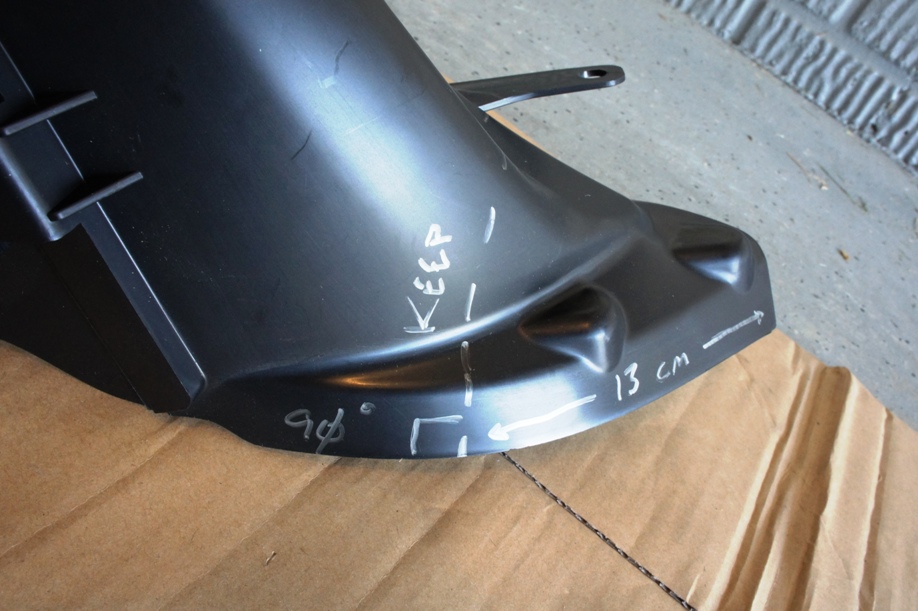
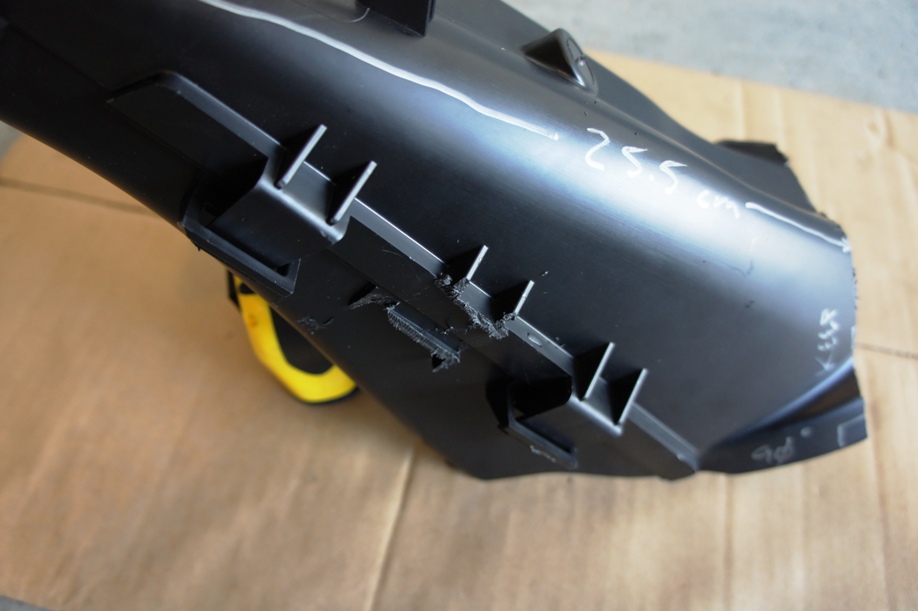
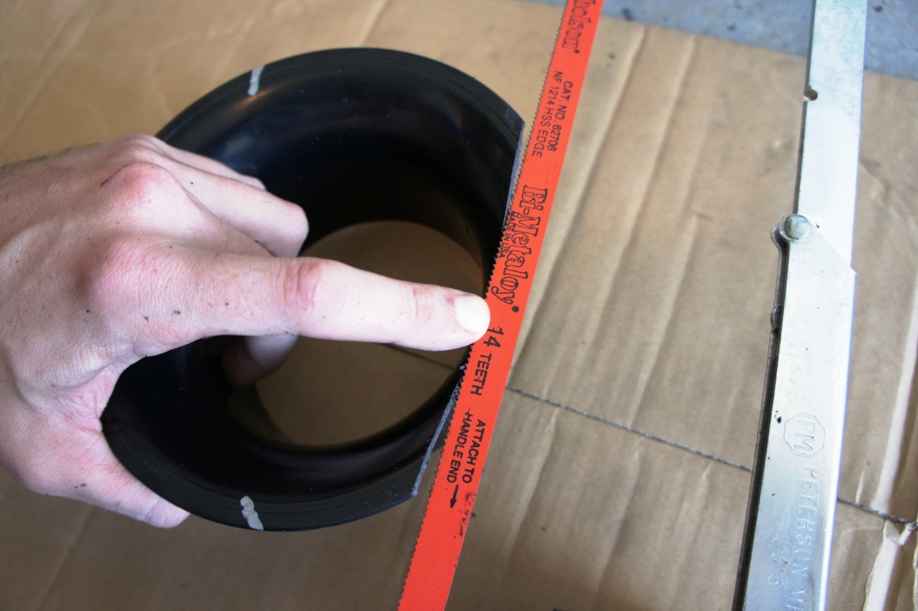
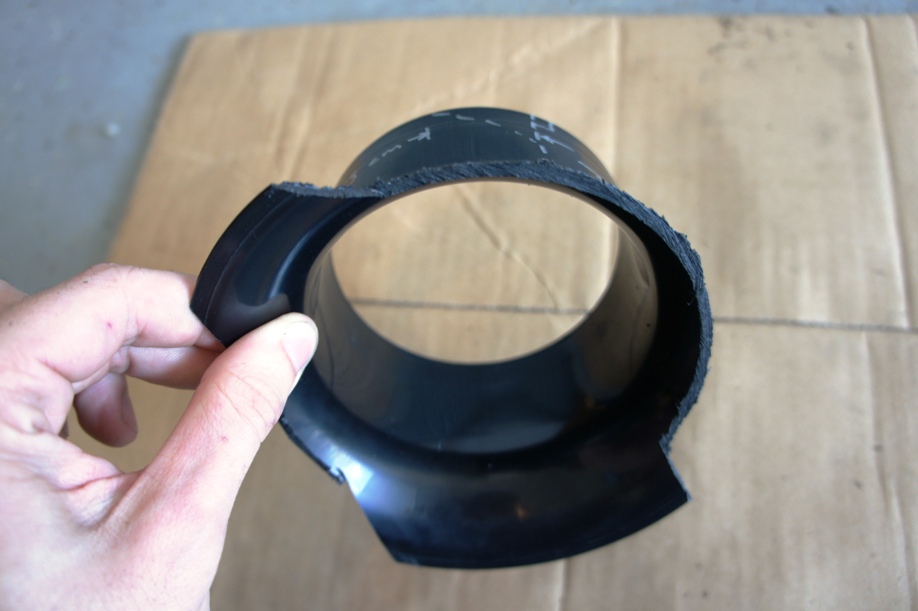
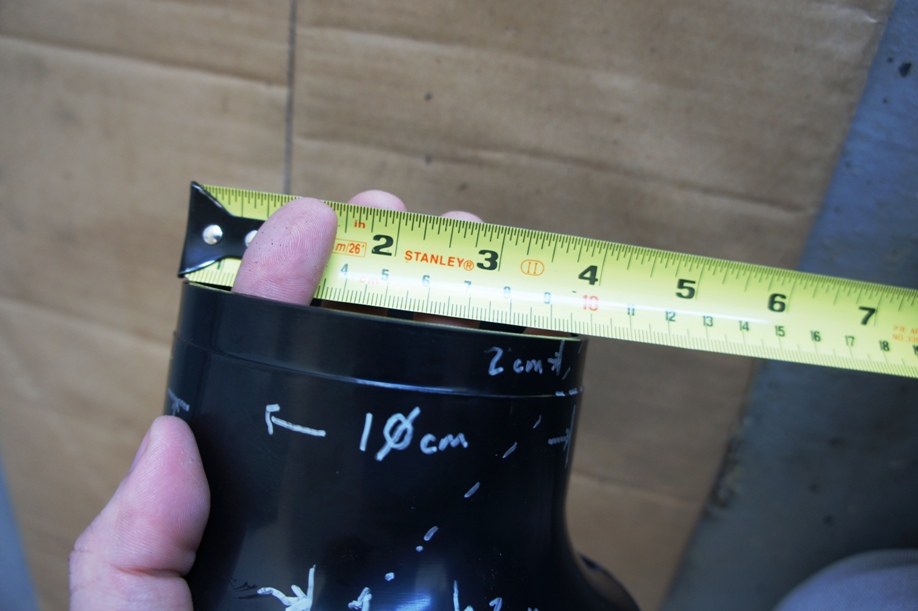
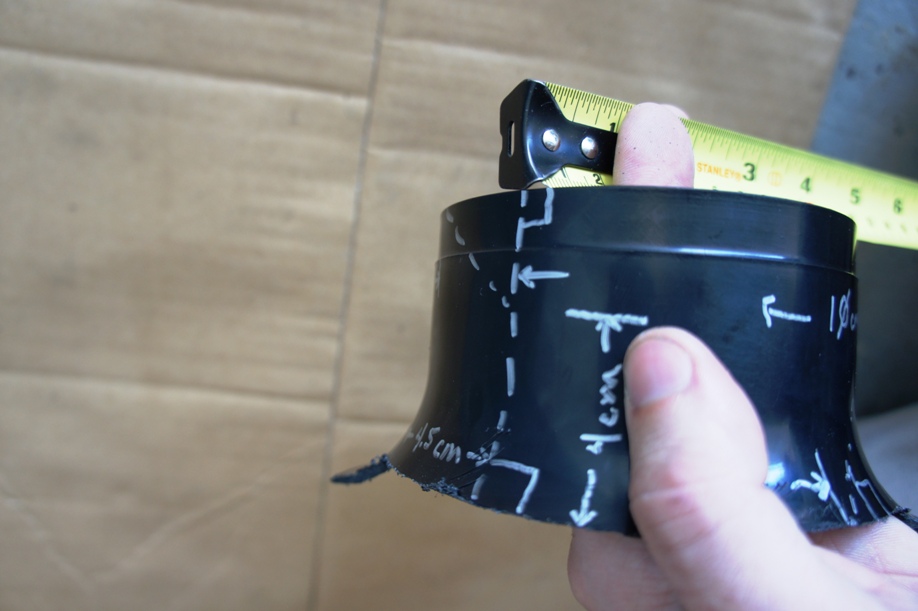
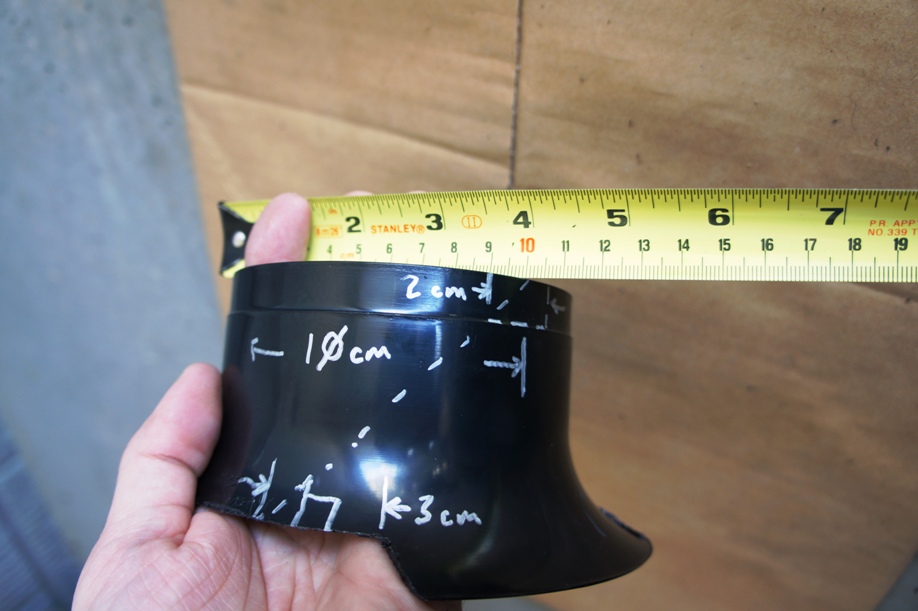
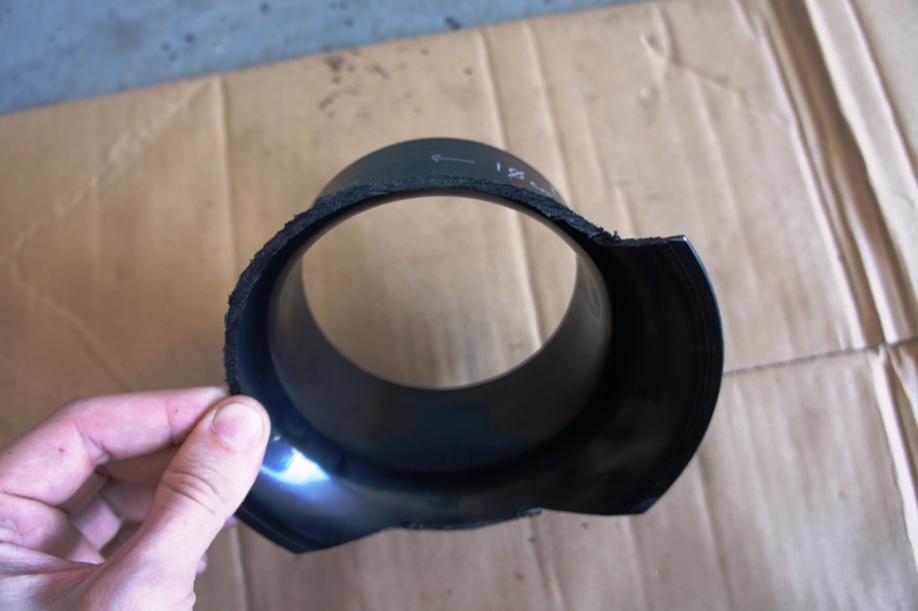
 5) Trim the filleted edge like so. The fillet (lip) is what will keep the port from falling into the bumper
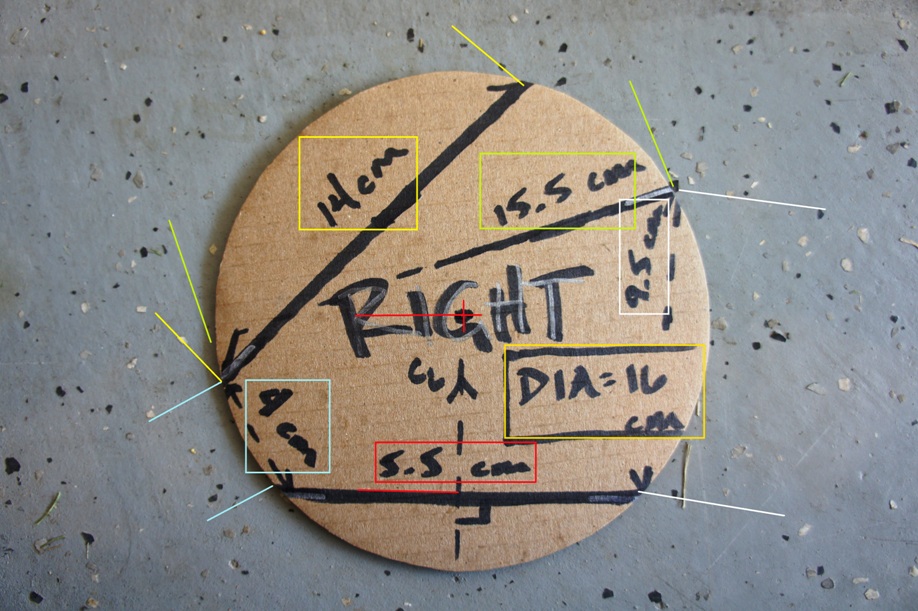


Make sure not to cut deeper than the height of the blade! A little over half is best. See below...
Now cut perpendicular to your first cut. This is what will keep the port from falling out of the bumper...
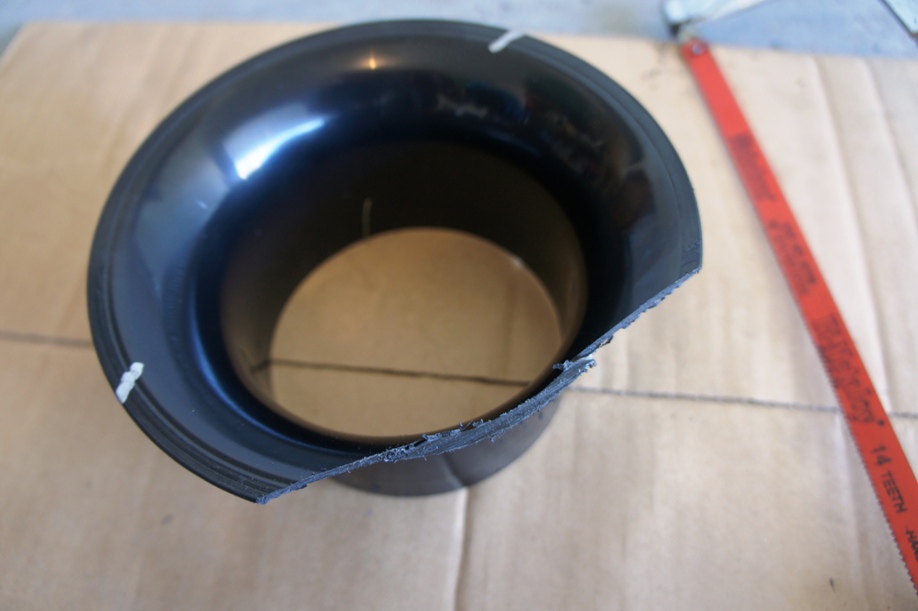


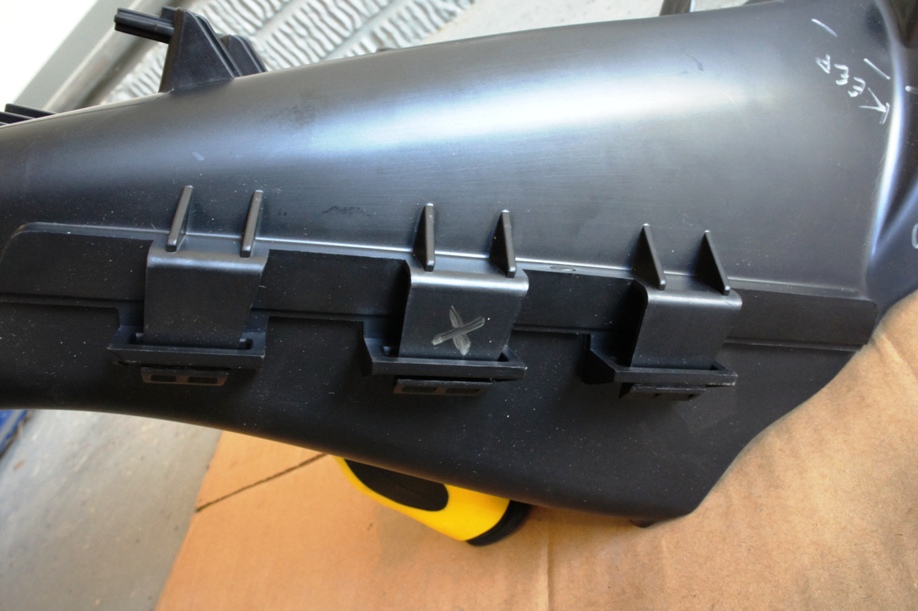
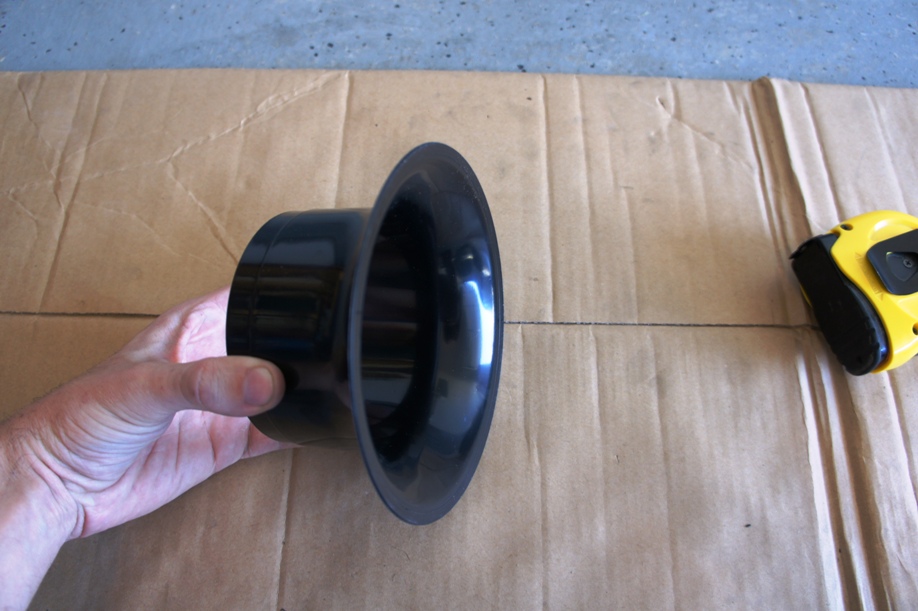
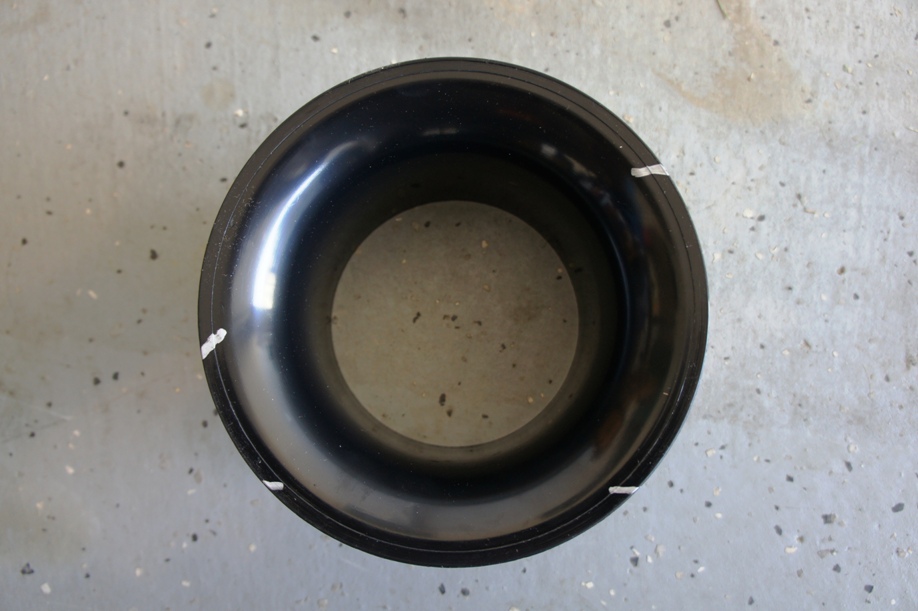
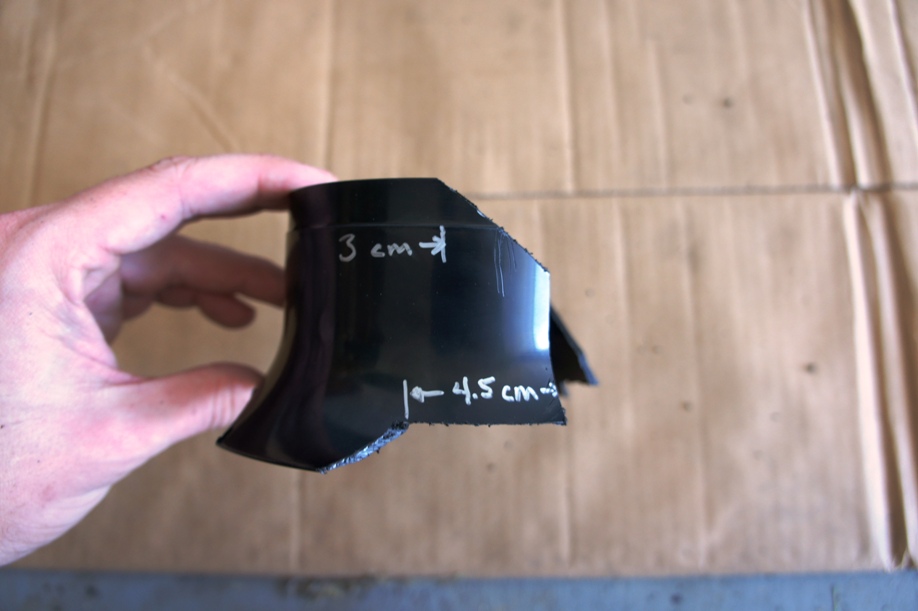
6) Trim the back of the port like so


 7) Remove the fog lamp access panel
8) Use the fender side of the Passengers side duct to trace your cutout for the Drivers side duct (mirror for the Passengers side)
7) Remove the fog lamp access panel
8) Use the fender side of the Passengers side duct to trace your cutout for the Drivers side duct (mirror for the Passengers side)
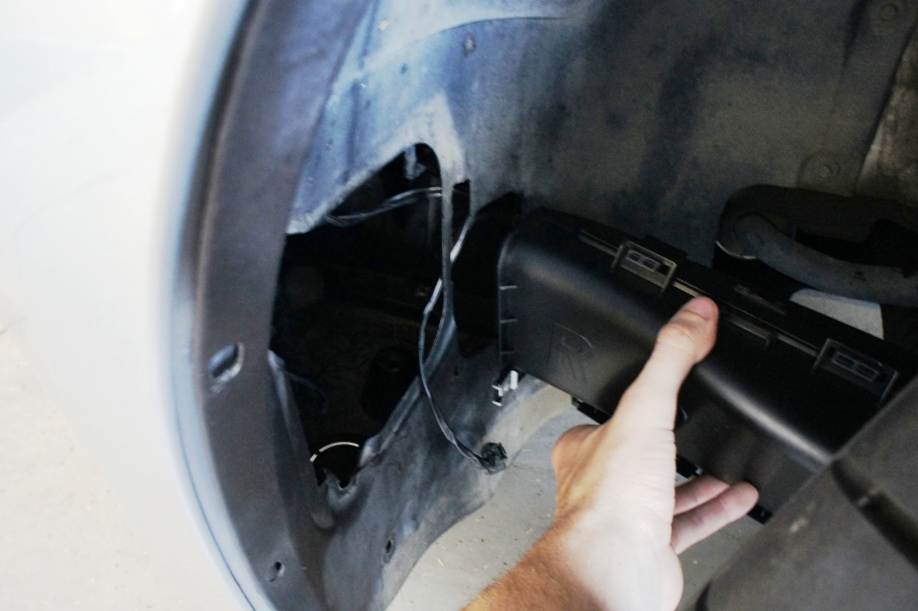
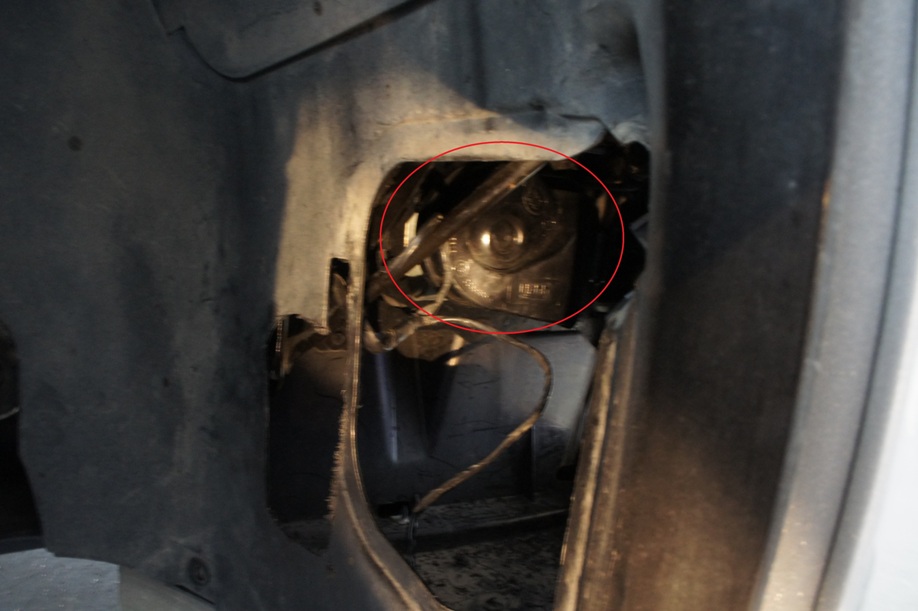
Be careful not to cut into the support plate and bar, and also the wiring. All are marked in yellow below.
If I had it all to do over again, I would shift the exit of the duct down by roughly 1/4". Direction of red arrow below.
 9) Additional weather sealing can be added around the duct exit hole if you so choose.
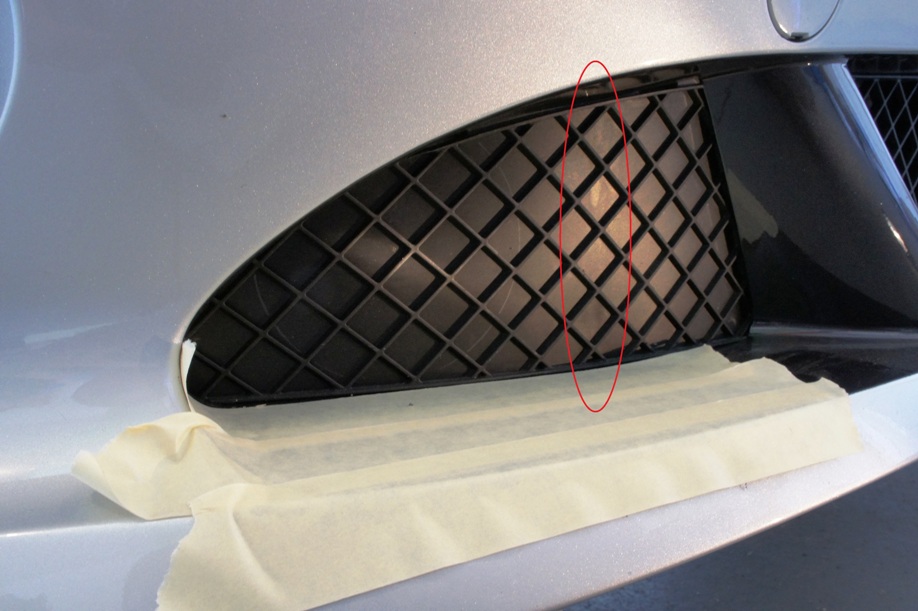
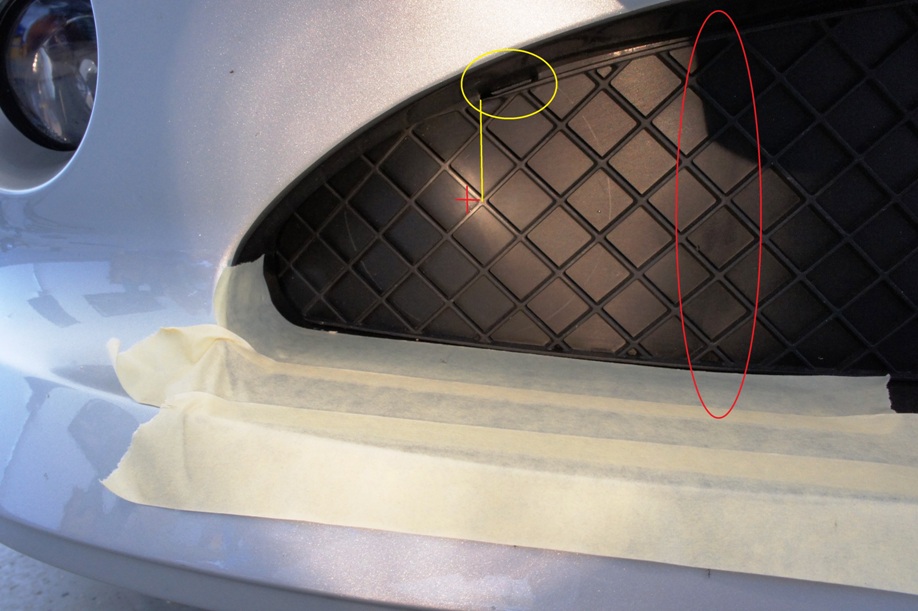
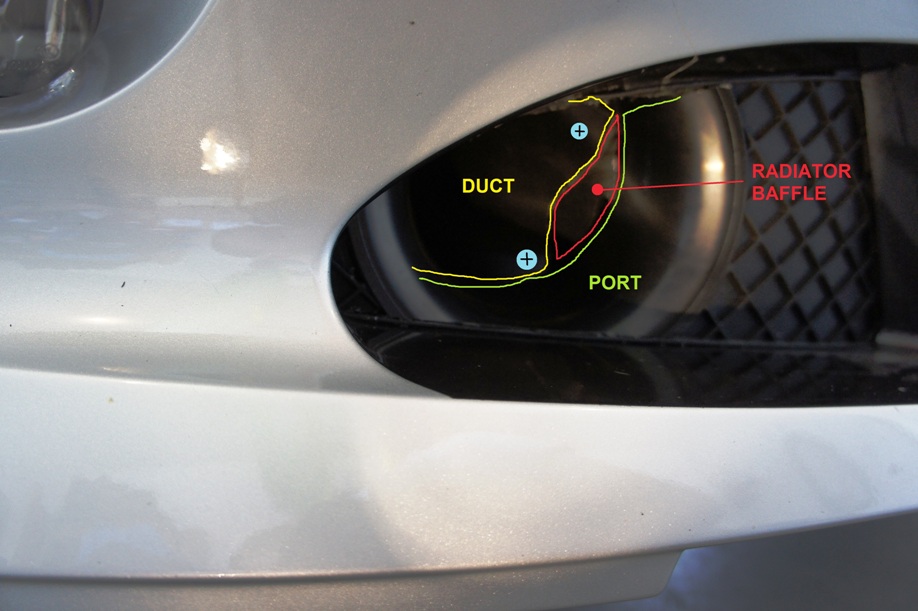
10) Find the center of where the duct will go on the face of the faux grille and mark your radius. Make sure your radius is smaller than that of the outer-most edge of the port (we dont want it to fall through and into the bumper). Also note the faint vertical, shiny line in the center of the faux grille. This is where the molding Ts behind it, mating with the radiator air baffle. This is the reason for the off center placement for the port

11) Cut out the circle, but be careful! Make sure you leave the "frame" of the faux grill intact. Do not cut the tabs that hold the grille onto the bumper. After the hole is cut, this is your chance to sand down any grossness caused by the blade. See arrow below...
 12) Remove the lower liner bolts and fender arch rivets
13) Bend the horn up and out of the way
 14) Slide the port in place from inside the bumper. The lip of the port will keep it from falling in whereas the trimmed fillet will keep it from falling out. Its its own attachment

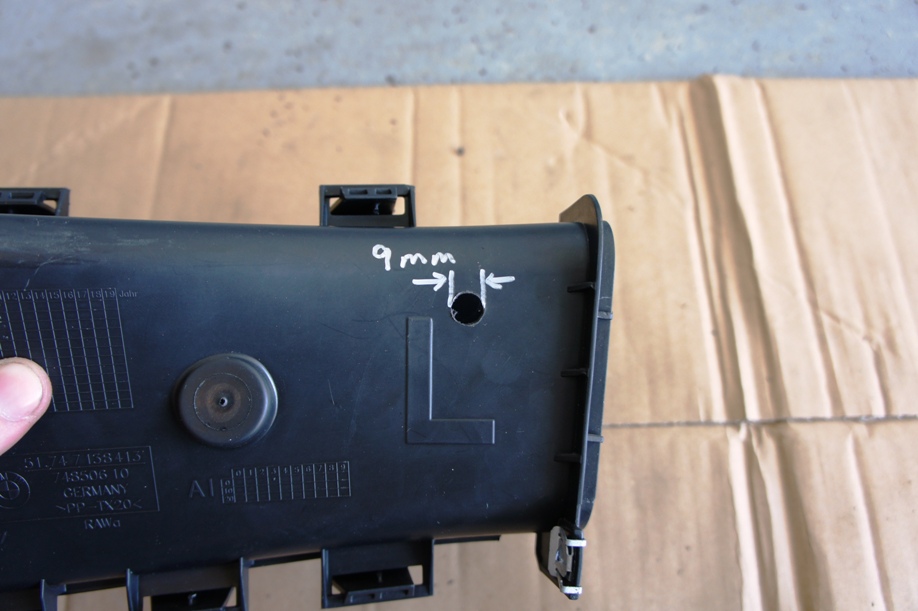
15) For the drivers side duct only, drill a hole for mounting the ambient air temp sensor. 8mm is a bit small. 9mm is a bit large, but it will still stay in there without fear of it falling out
16) Slide the trimmed duct in behind the port. The step-down on the inner top edge will slide into the open spot between the radiator air baffle and the back side of the port. I have added 2 black self-tapping screws into the front for the duct and into the radiator baffle for additional support (marked in blue below)
17) Use a liner screw to anchor the back of the duct to the liner...

18) Use a large zip tie to stabilize the front of the duct. This will be what holds a majority of the weight, keeping the screws from egging out larger holes. I went around the horn on each side.
19) On the drivers side, insert the ambient air temp sensor into the mounting hole.
20) Reinstall liner clips, and bolts.
21) Trim the fog lamp access panel like so (if you need more clearance for tires, consider purchasing the ///m brake ducts, cut the ducts off, and use just the panel)

22) Enjoy cooler brakes!