The following is a step by step process for installing a K&N 69 series typhoon intake kit for the E46 M3 into a Z4M. This method was sucessful for me, but may not be for you. Procede at your own risk.
This project came about as I began searching for an aftermarket intake for the Z4M and came to the conclusion that both of the two main, perhaps only?, choices were overpriced imo. We all know what the two intakes are, one is $500 and the other is $800. The $800 intake is made from carbon fiber, the $500 one is not. I felt I could recreate the $500 intake for much less than that. My goals for this DIY intake were simply to gain a meaner intake sound, ala the CSL, wihtout losing any horsepower. I never expected to gain any horsepower. I initially intended to fabricate the entire intake myself, save for a cone filter. The problem is that the MAF is built into the stock airbox and can not be seperated unless you hack up the oem airbox, and that was not an option for obvious reasons. I looked into fabricating a custom MAF pipe with a welded on adapter plate for the MAF sensor, but I didn't have access to welding tools and wanted precise placement of the meter to avoid any codes that may have been thrown due to improper placement. This lead me to pre-made E46 M3 kits with the MAF meter connector already built into them. The cheapest and most appropriate one seemed to be the K&N 69 series/typhoon kit. It retails for about $280 (but can be picked up for $250 fairly easily as I was able to) and comes in a black finish that doesn't look out of place in the S54 engine bay. Here it is
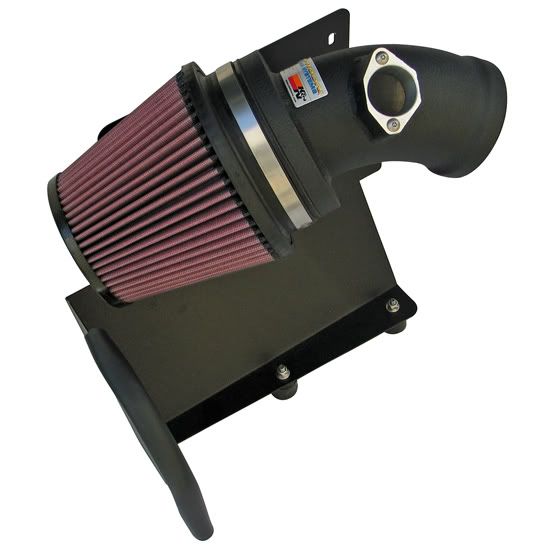
Items used and/or modified from the M3 kit include the cone filter, the new velocity stack, intake pipe, M3 heat shield, one of the two rubber grommet's with bolt, and the weather stripping.
First, remove and disassemble the stock air box. Instructions for doing this can be found elsewhere, but the entire procedure is pretty self explanatory.
Unscrew the torx screw from the top lid of the airbox and remove the oem velcoty stack and screen from inside the lid.
Unscrew the two torx screws attaching the MAF meter to the box. Handle carefully. It takes a little pressure to pull it out, just be steady and firm and it will come out.
Now install the MAF screen into the K&N pipe with the plastic screen facing towards the end where the cone attaches.
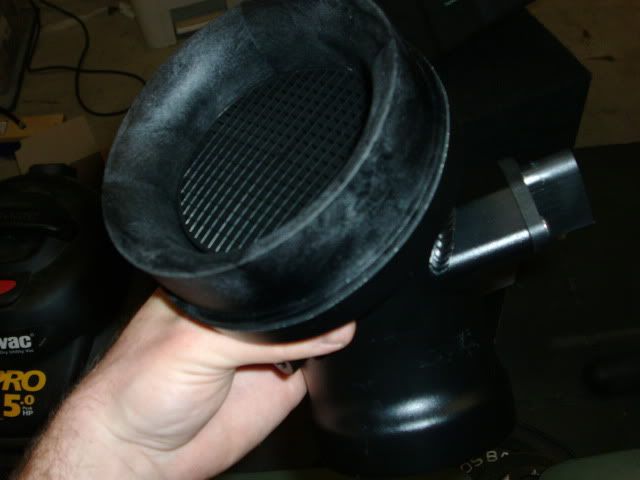
This was the most difficult part of the entire project. The little tab on the screen will need to be clipped off or shortened.The Z4 screen is angled differently from the M3's and it is a tight fit, but it will go in once angled correctly. It won't sit flush within the K&N pipe, but the velocity stack will attach over it and secure it in place. Attach the velocity stack per the K&N instructions and attach the K&N filter over it. Now attach the MAF sensor into the K&N pipe and secure with 2 new supplied screws.
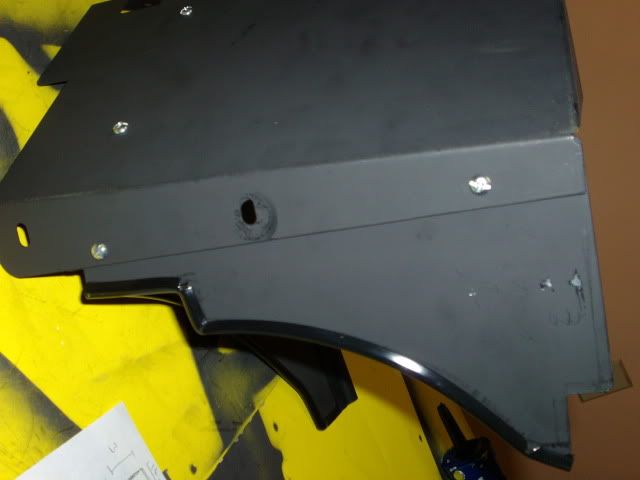
You can now begin to build the heat shield. I was able to use the M3 shield by simply removing one section to make it fit into the Z4M engine bay.
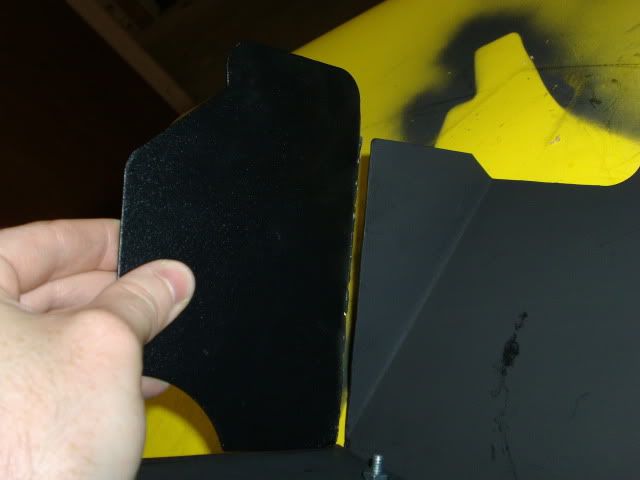
The rest of the heat shield consists of 2, 26 gauge metal sheets purchased at any big box hardware store. Both pieces attach the the heavier duty M3 peice to create fairly good shielding for the cone. I used some small "L" brackets to secure the fabbed pieces to the M3 shield where I saw fit.
The dimensions for the two pieces are here and you can deduce from the pics how to attach them to the M3 shield.
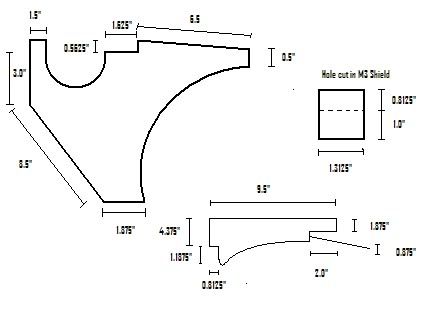
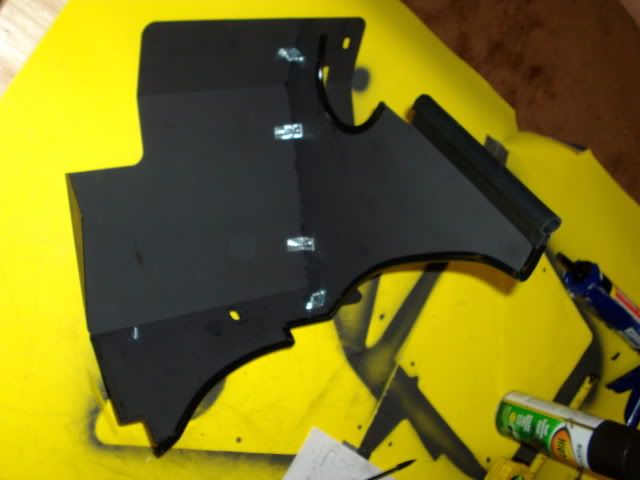
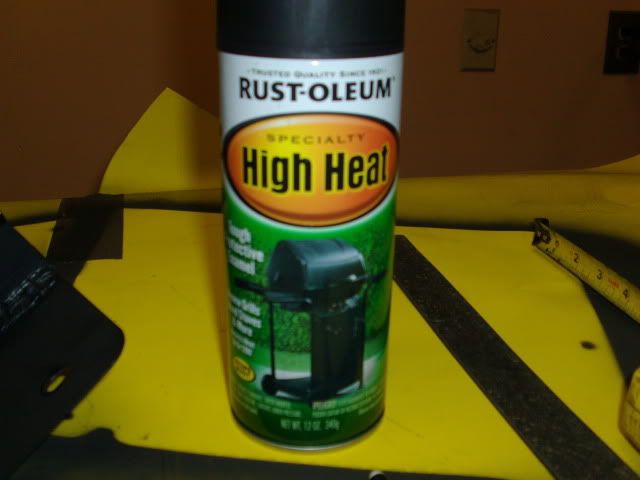
The custom rear sheet attaches inside and to the rear of the M3 shield and the smaller sheet attaches to the bottom of the M3 shield. Once I had everything fabbed up, I sanded all 3 pieces and panied them in flat black heat resistant bbq grille paint.
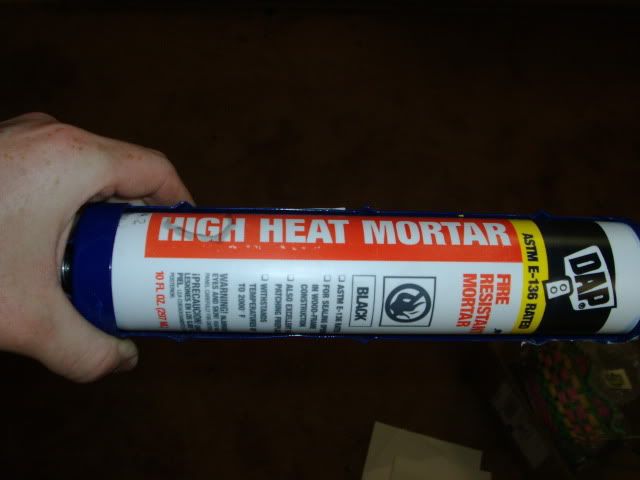
It matches the flat black of the front engine bay plastic quite well. I sealed the rear plate to the M3 shield on the back side using some high heat mortar, again in flat black.
The bottom piece is bolted the the bottom of the M3 piece sufficiently enough to not require any further sealing.
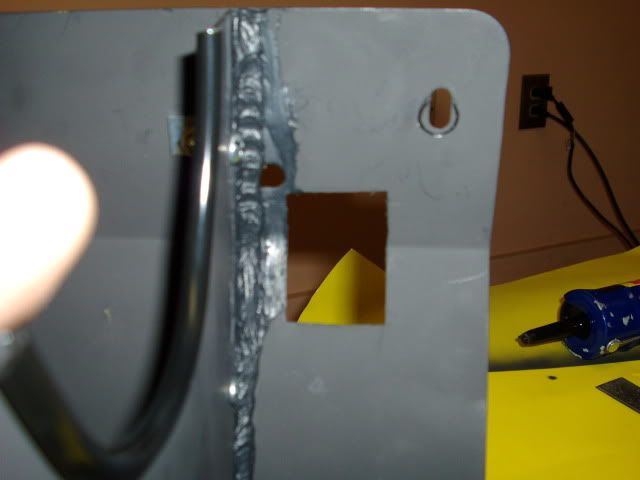
A small cut is needed in the M3 shield to make way for the dipstick attachment on the intake manifold. I was able to use a dremmel tool to cut the M3 shield easily enough. This is the hole, see the shield dimension pic for the specs.
I picked up some cheap door trim at Autozone to use for shield edges that would make contact with the bodywork.
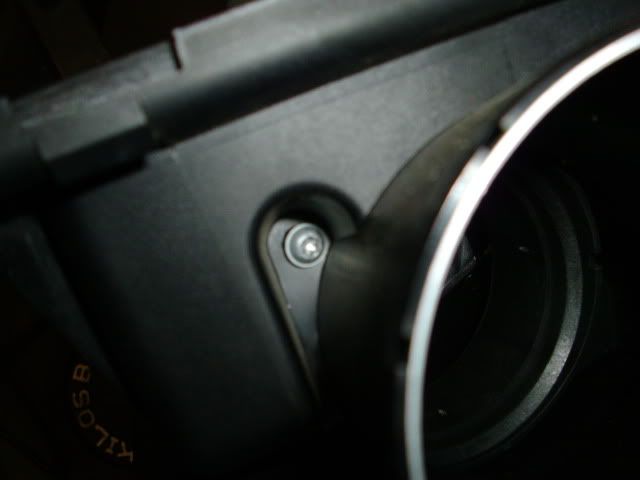
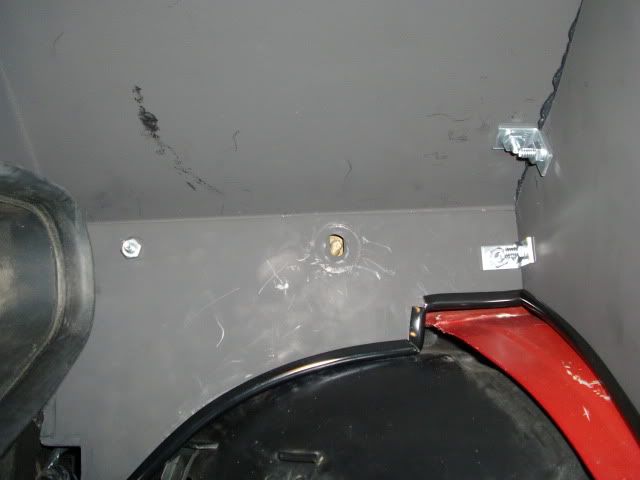
Now back in the engine bay. Remove the oem rubber piece and replace with one of the two supplied rubber pieces with built in bolt.
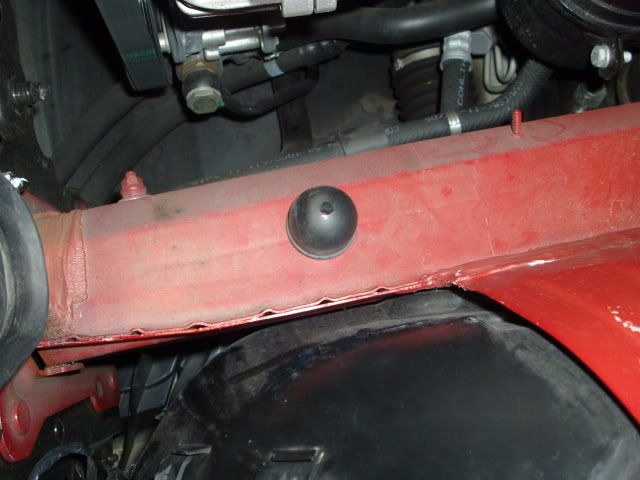
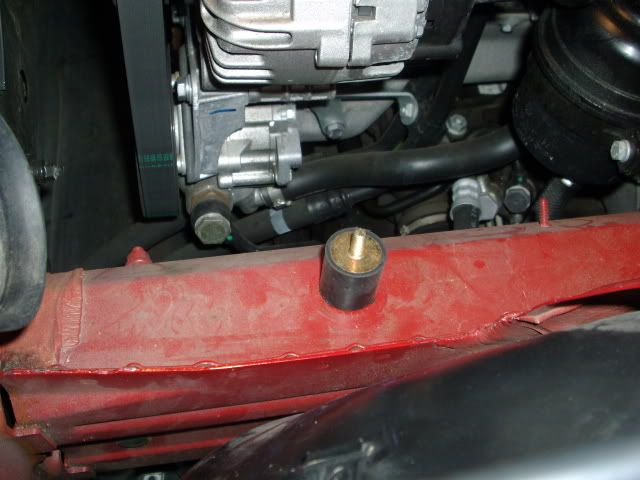
The shield will be attached here with the supplied nut and also to the intake manifold with the chrome bolt.
Slide in carefully and secure at the two mentioned points. Now attach the assembled pipe and cone filter. The cone and pipe will have to be positioned down and to the left as much as possible so that the MAF meter does not make contact with the hood.
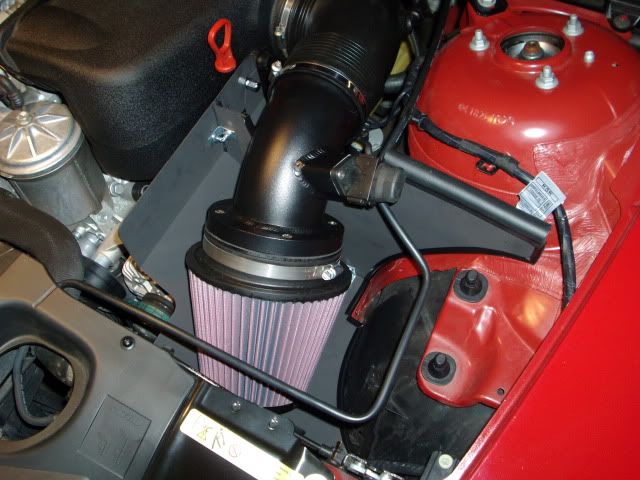
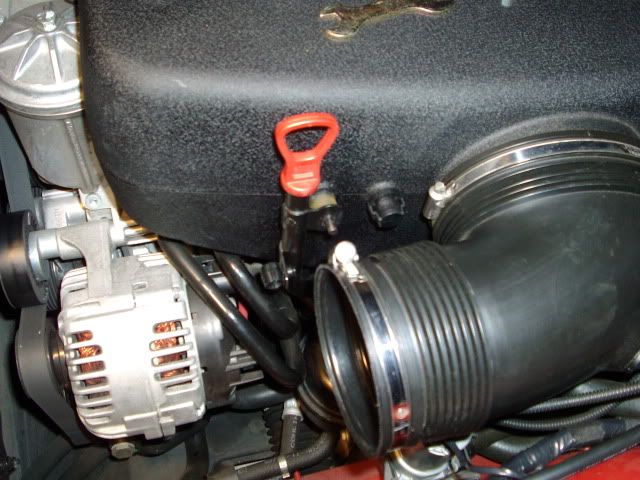
This positioning also places the cone directly in front of the stock cold air routing point.
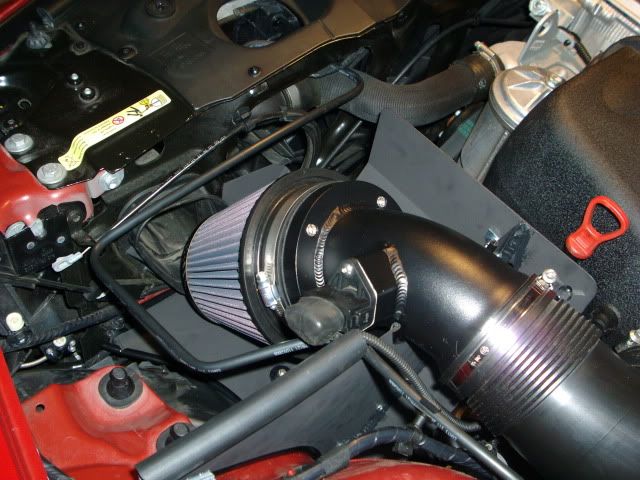
That's pretty much it, the pics will do most of the explaining.

Impressions: Looks wise I think it looks about as good as a home made intake can look. The flat black certainly is worlds better than regular polished sheet metal.
Driveability: I've had it on for about and I can say I haven't felt any power loss (but also no gain to be honest) and no codes.
Noise: The growl is noticeably deeper and louder than stock. I have yet to hear it outside if the car myself but from inside the car I would say it is perhaps not as hardcore as a Gruppe M from the clips that I have seen. Overall I am very happy with the setup and very happy I didn't just give in and spend $500 as I was close to doing.
For anyone attempting to do this, forgive me, it's late and I may have missed something, any questions just let me know.
Thx