A bigger challenge to the fangs was filling in the reflector and squirter openings.
Not really more difficult, just a bigger job.
The first step was to cut back some of the plastic behind the openings.
You have have to support across the opening, and you have to provide a good amount of surface area for the epoxy to adhere to.
pic1
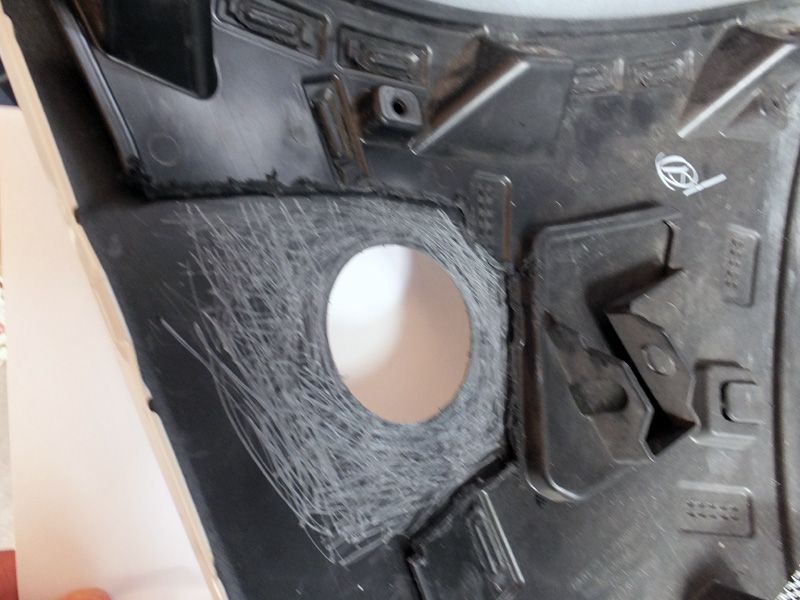
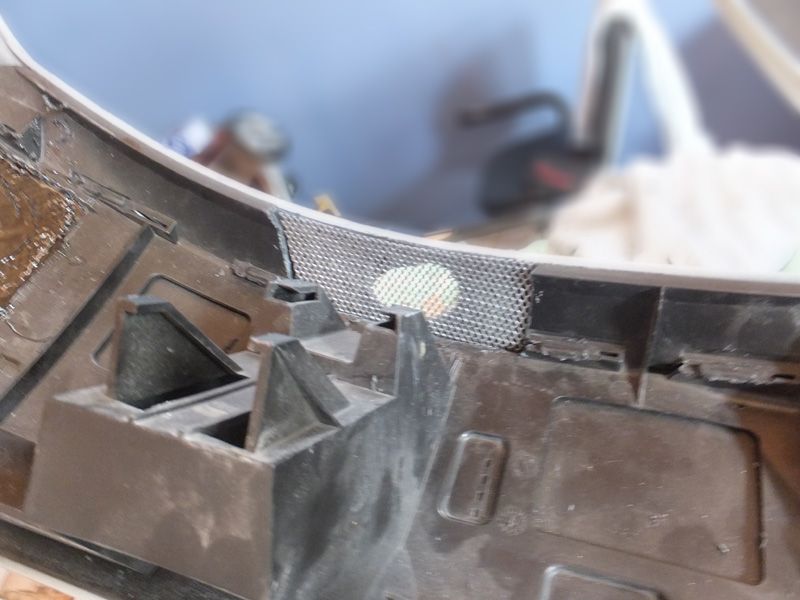
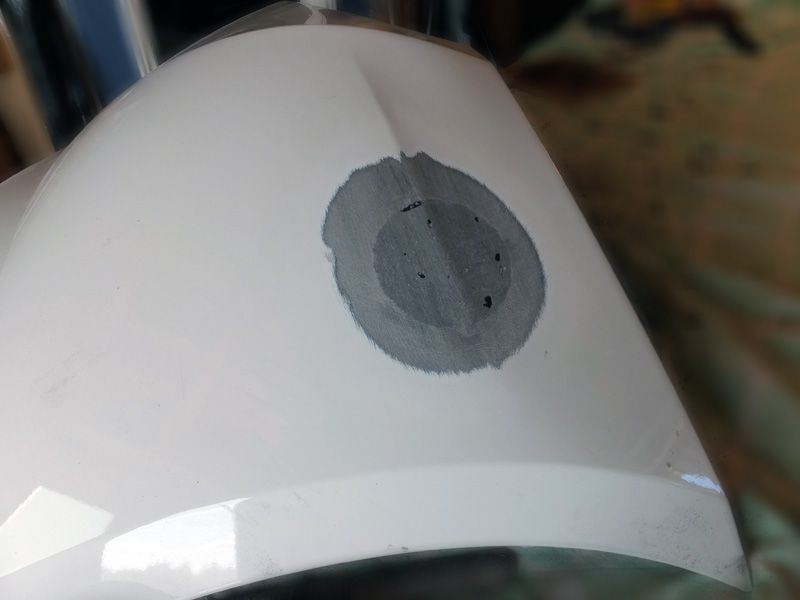
In this pic you can see how some of the plastic was cut back and also see how the surface is roughed up.
After the plastic was cleaned with acetone & sanded with course paper, the surface was roughed up with a rasp file.
 pic2
pic2
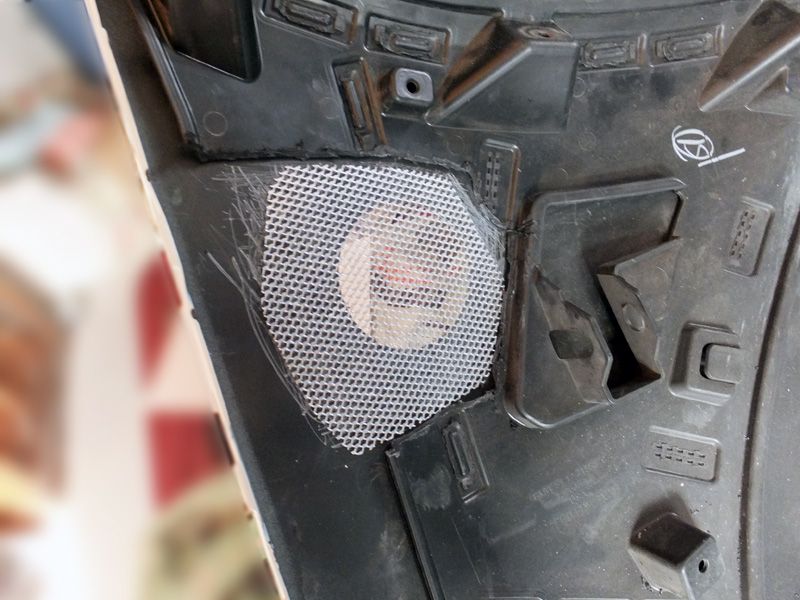
This is the aluminum support mesh laid roughly in place.
This mesh gets embedded in the epoxy.
 pic3
pic3
Similar pic to above showing plastic cut back & mesh for squirter openings.
 pic4
pic4
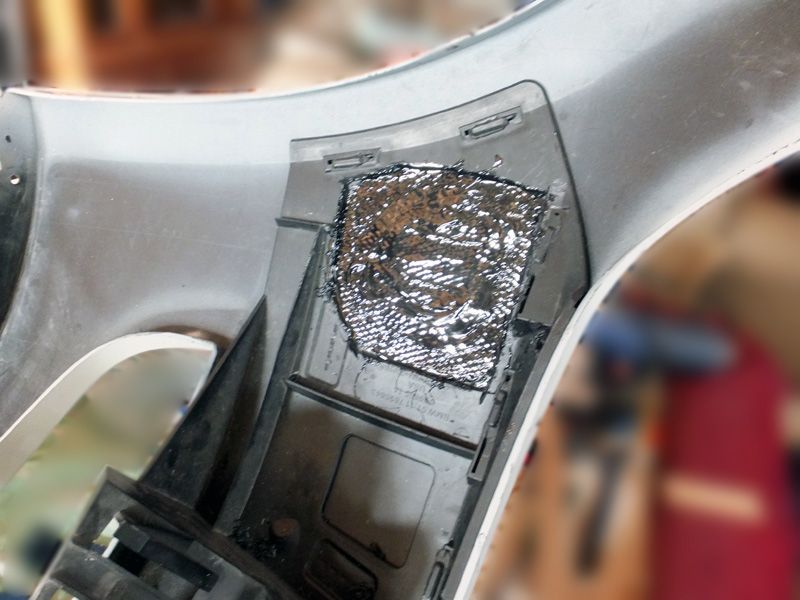
This the support mesh bonded in place.
-spread the epoxy on the bumper surface; press the mesh down into the epoxy; then trowel on more epoxy to cover.
 pic5
pic5
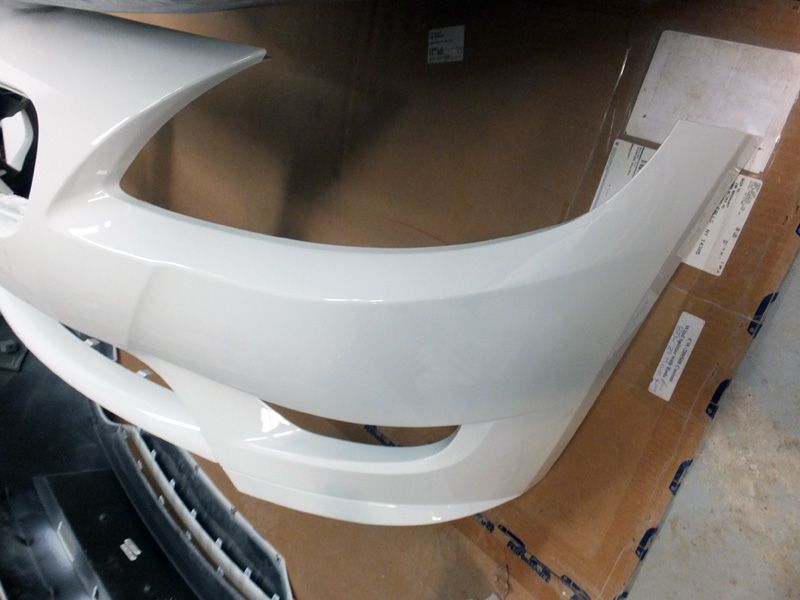
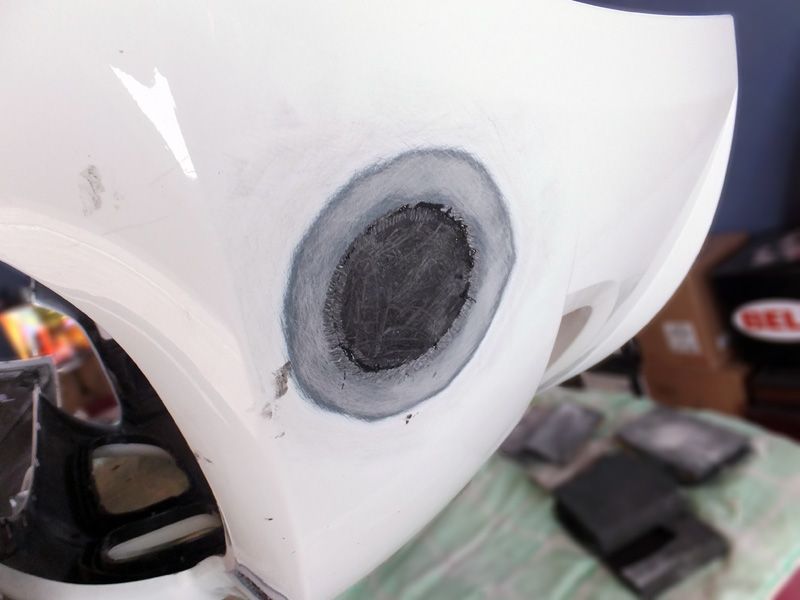
This is the front side showing a donor piece cut to fill the opening.
- NOTE how the edges are feathered back on both the opening and on the bumper fill piece.
I used a half round rasp for this.
This is a really important step in getting a strong bond.
 pic6
pic6
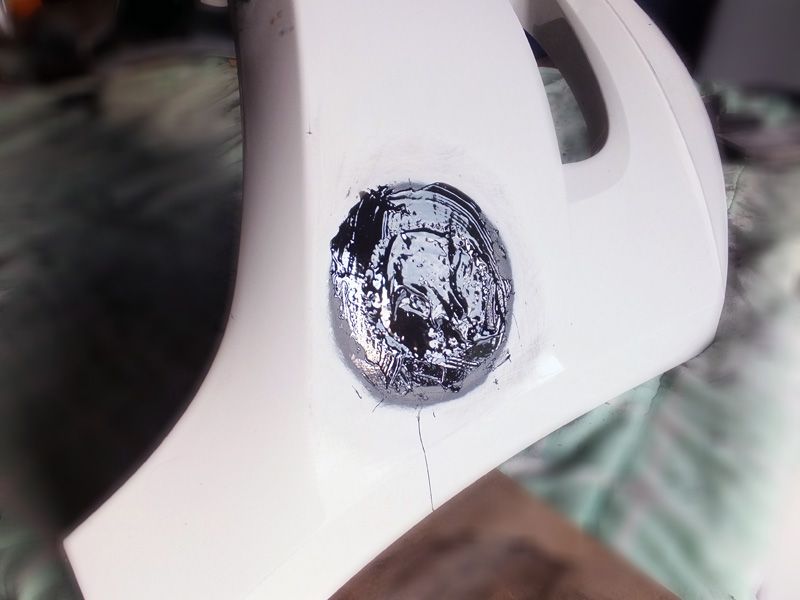
This is the first rough fill coat.
Don't try to be too fancy, just make sure that its worked into that feathered edge joint.
You don't want any trapped air bubbles at this stage.
 pic7
pic7
The second pass.. still some more to fill.
(rear bumper)
 pic8
pic8
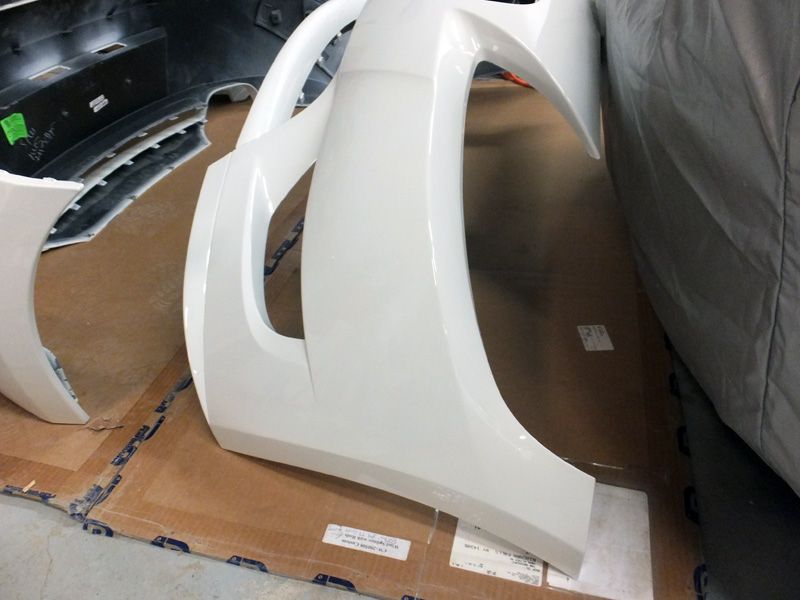
Almost ready for paint; final blend pass still needed.
 pic9; 10
Back from paint....