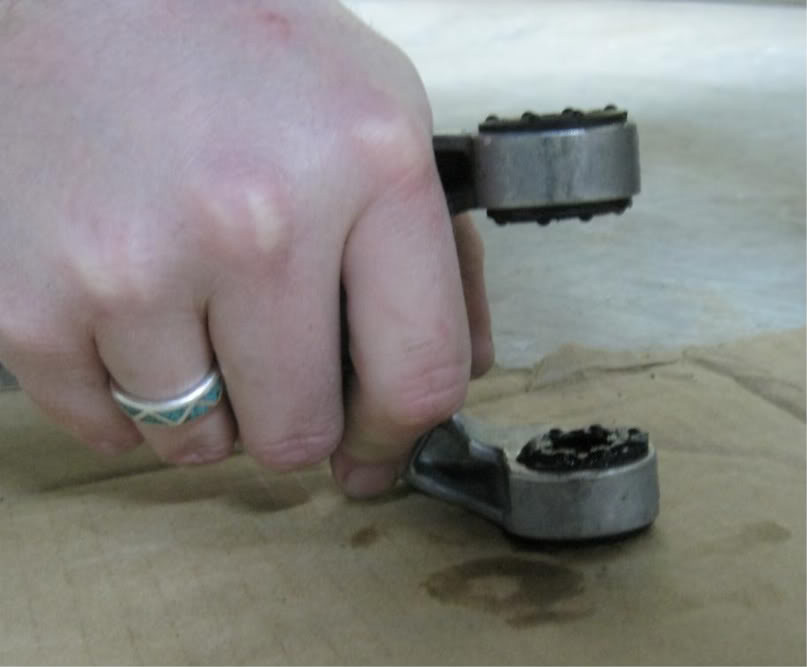
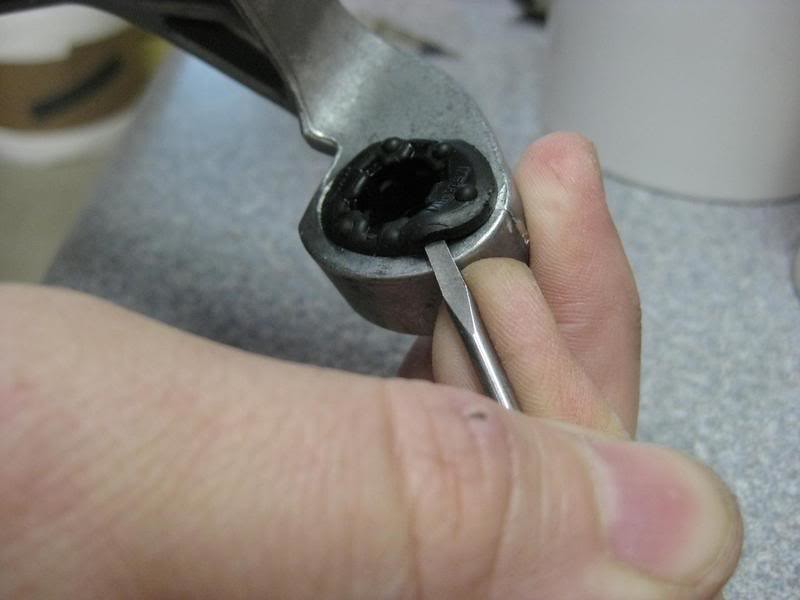
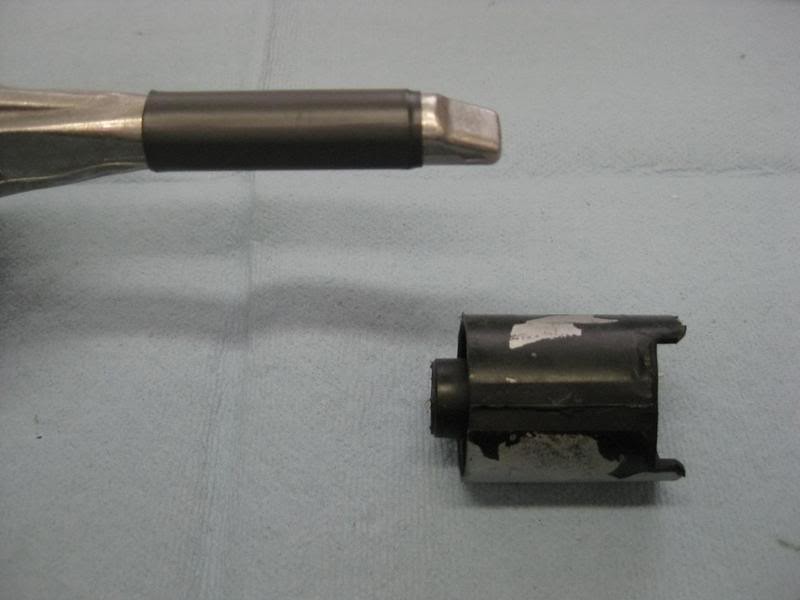
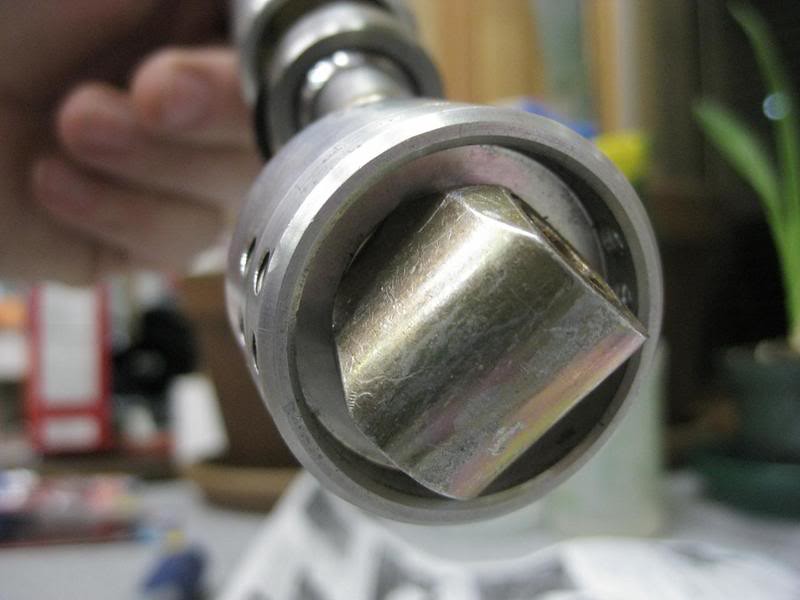
Once you have the shifter assembly out, may as well get through the absolute worst part of this job. There is this little front coupler – I like to refer to it as the spawn of satan himself. It’s probably best to lay with your head to the front of the car and feet to the rear, allows you to reach up along each side of the drive line to get to it. The forward coupler, which connects the selector rod to trans, is totally hidden and can only be removed/replaced by feel. The coupler has this little circlip ring that is meant to drive you to insanity. The circlip ring has to be removed to push the pin through. I finally got the circlip off and then could not get the dang pin out to remove the factory coupler. I think I finally worked an allen wrench up in there and used a small piece of wood to pry and force the pin out. Putting the AS coupler in is no fun either. The coupler has this little piece of foam in it – it’s supposed to be there by the way. I reused the factory foam piece, trimmed maybe 0.5 – 1 mm off of it, and was able to somehow get it on, pin pushed through, and circlip on. The forward coupler will be a major hurdle for any DIYers with this job. What a milestone when you finally are done with it!!! No pics cause you can't seen it anyway. Maybe the attached PDFs will help visualize the issue.
The new front bushings go in best after being sprayed with a little WD40. Make sure the flange is all the way out on the inside and oustide, shoud be even.
The rear end of the carrier had some rather rough ridges on it - I filed them down to make it nice and smooth. Didn't take much, you're just knocking down a slight casting line. Can't hurt to remove them, ridges like this will chew up a bushing over time. I wiped it down with alcohol to de-grease it and then applied two layers of 1/2" heat shrink tubing - Ronald's tip from the instructions. Figured heat shrink might be better than electrical tape. If it comes out, it will just fall on the heat shield - pretty harmless and if it works, great.

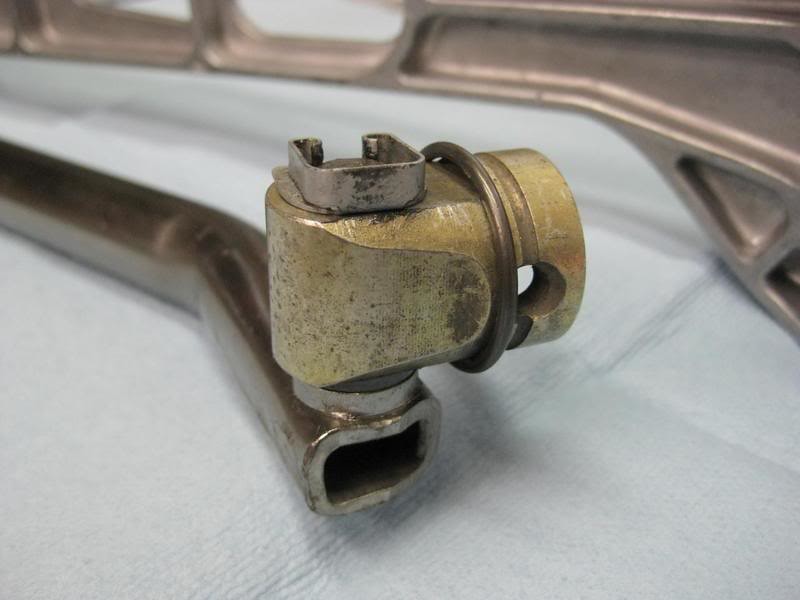
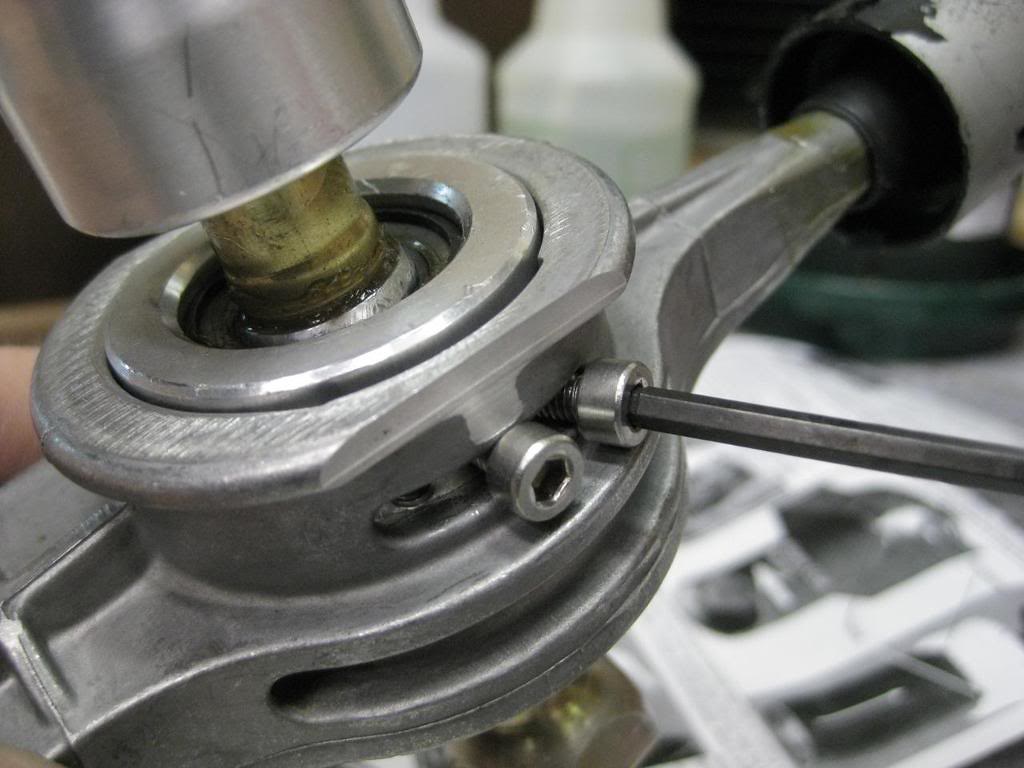
I decided to unclip the spring clip in the shifter cup to prove the point that the cup can’t come off the shifter. Ronald must have assembled the shifter cup before adding on the upper part of the shift lever. On reassembly, I greased this up with some synthetic all purpose grease. Use blue loctitie on the bolts that hold the shifter cup to the carrier. No torque settings available here, just keep in mind you are threading a stainless steel screw into an aluminum carrier and too much torque will destroy the threads in the carrier.
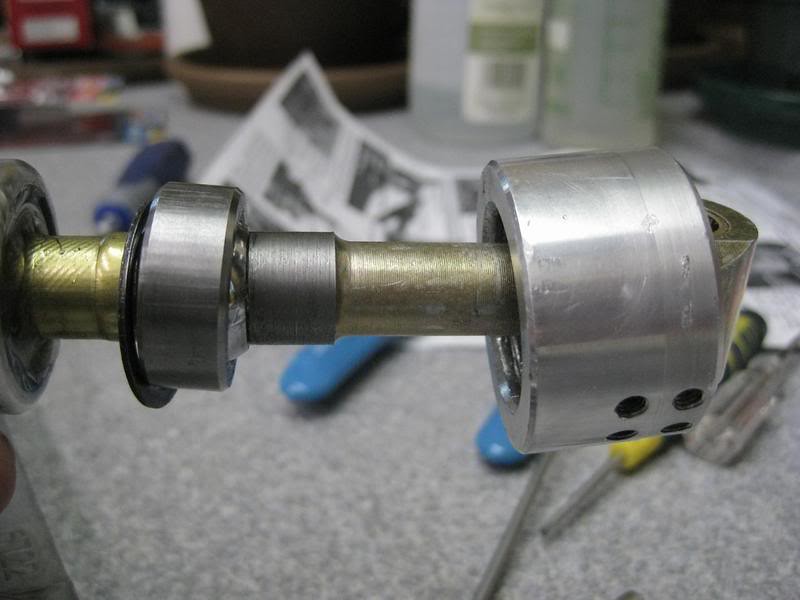
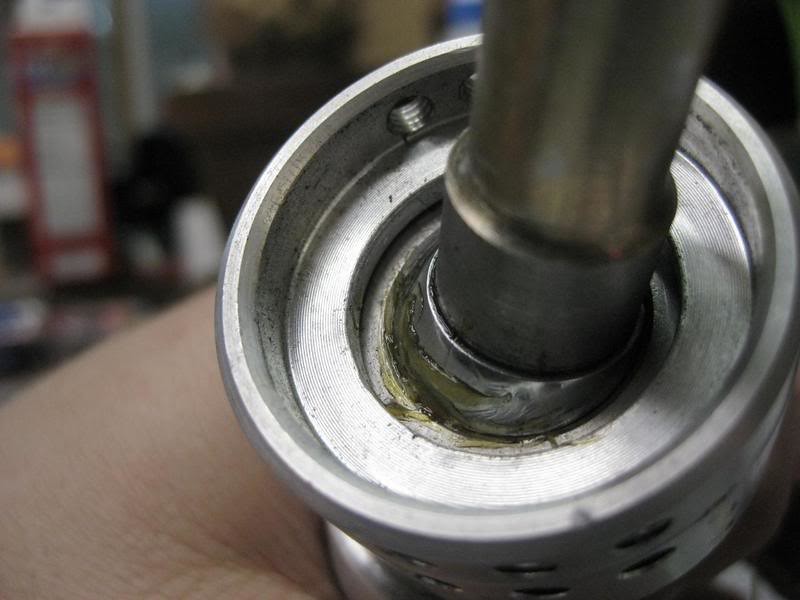
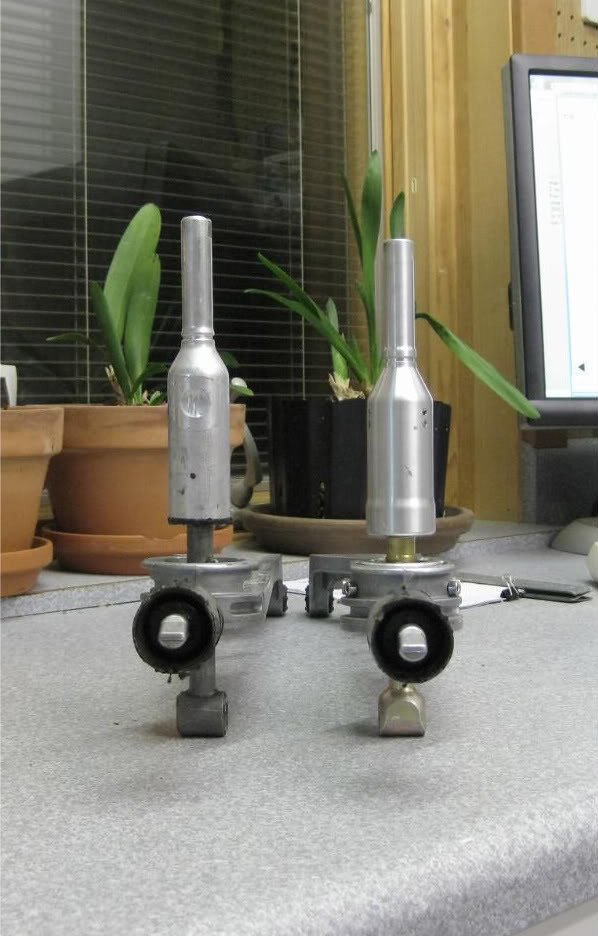
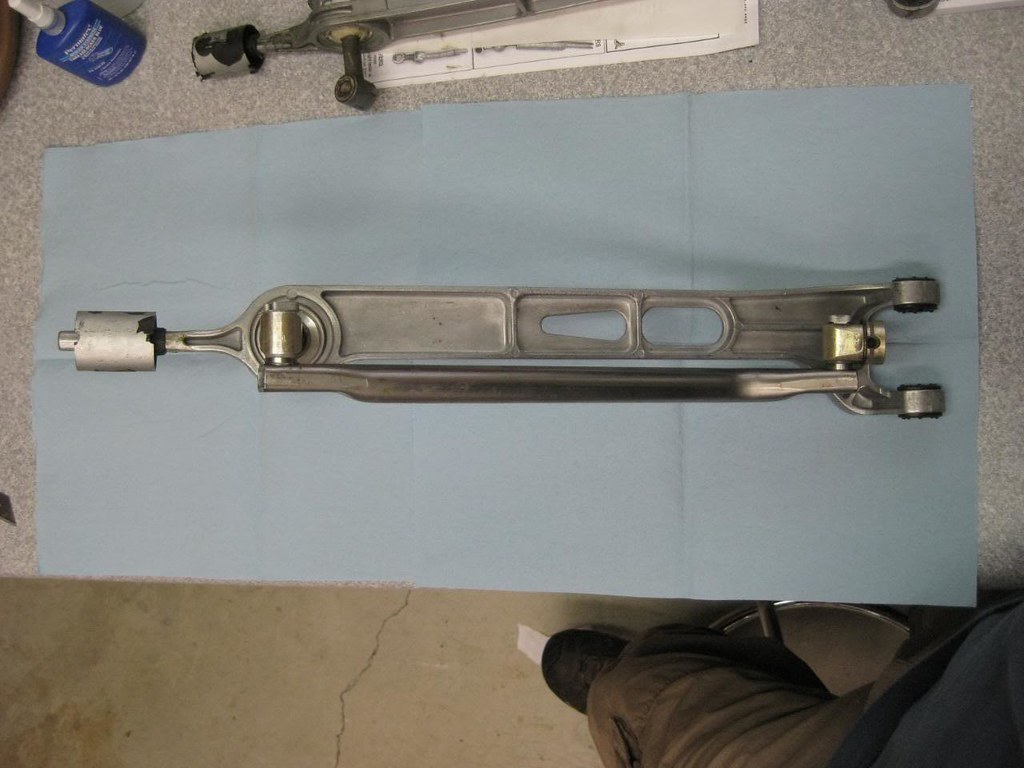
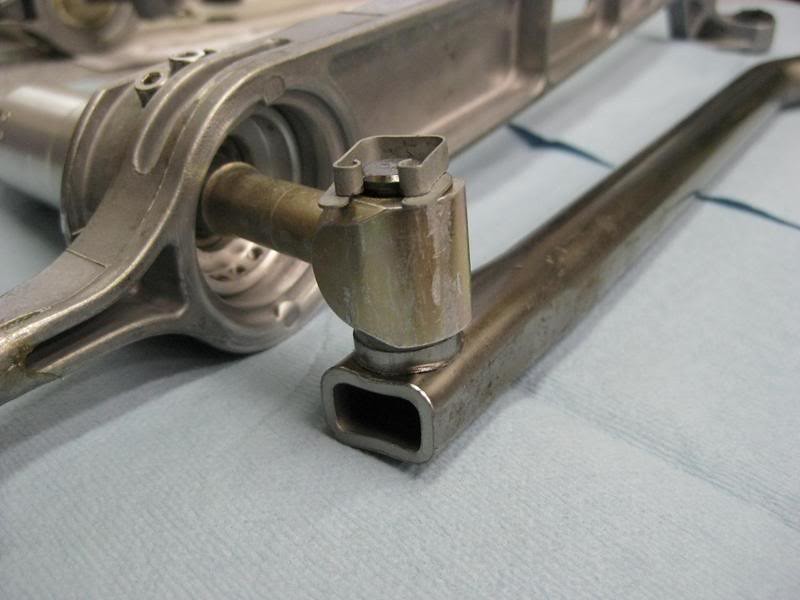
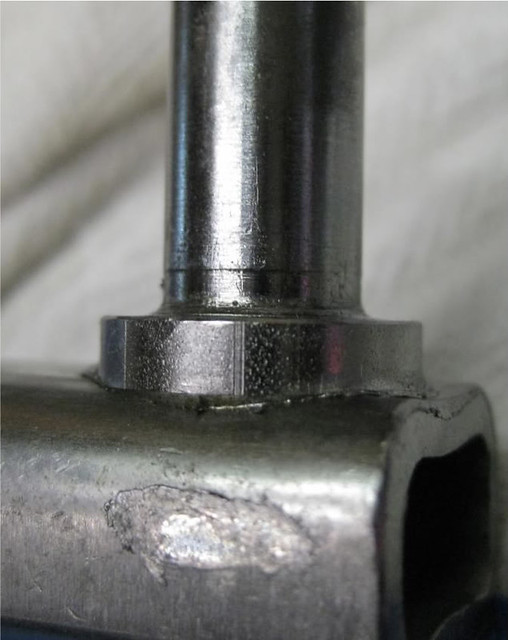
I spent a lot of time assembling the new shifter/carrier assembly on the bench before putting it in the car. One thing I didn’t like was that the supplied plastic bushings were too thick and I kept getting this little gap between the bushing and the sector rod. See pics.
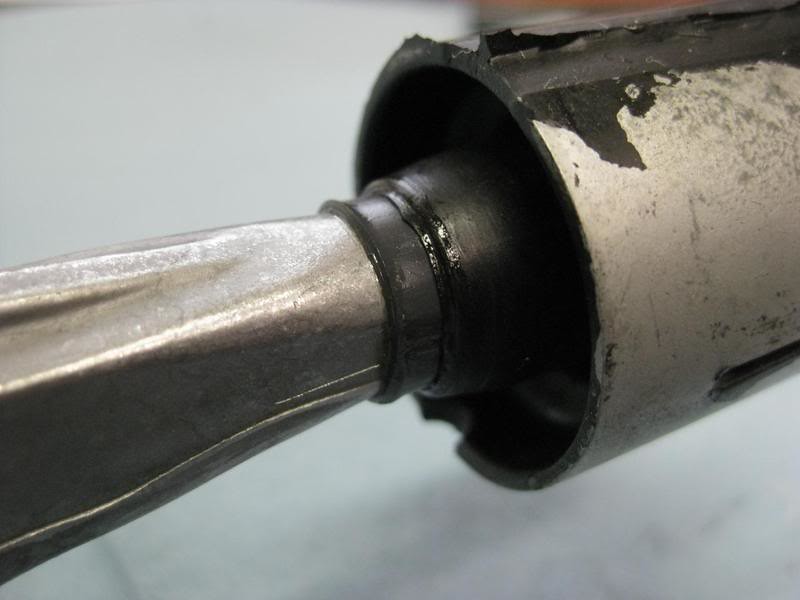
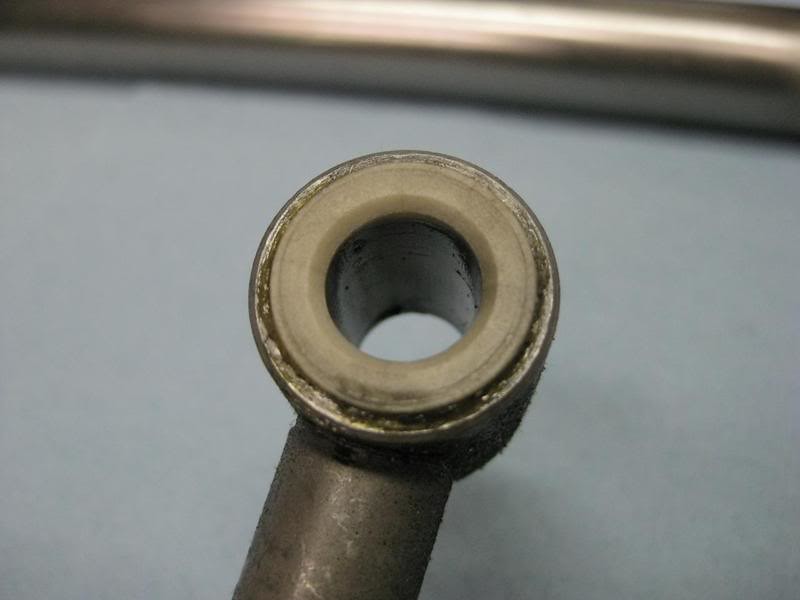
It occurred to me that on the factory coupler, the plastic bushing is slightly chamfered. This is to accommodate a slight curve at the base of the pins on the selector rod – where the pin meets the flat face on the selector rod, it’s not a perfect 90 degree angle. You can see in the on pic there is a clear gap between the plastic bushing and the selector rod – and this is with me applying lots of pressure to push the pieces together. I chamfered the bushings I used to get zero gap. I reused the factory selector rod clips because they are not flat, like the supplied clips, but have a slight spring to them. I’m talking about the flat part that slides into the slot on the rod pin – it is slightly bent to provide some pressure on the shifter coupler or the trans coupler in addition to clipping on the rod. I didn’t get any pics of this, you’ll have to compare them for yourself.
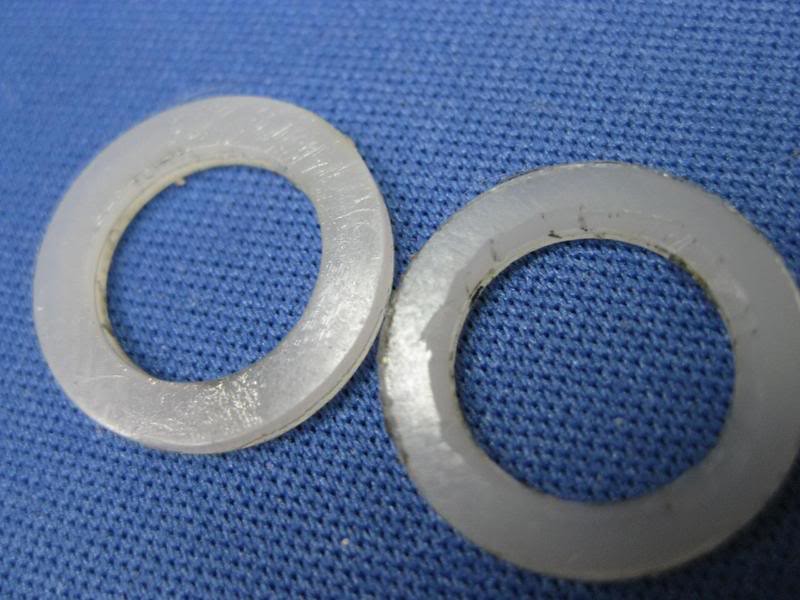
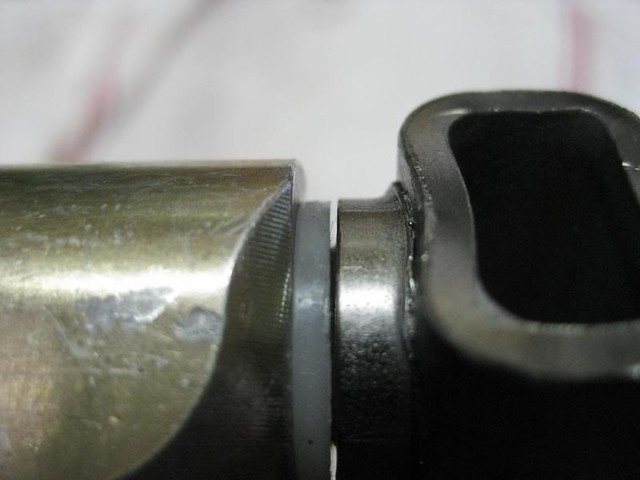
Factory coupler, chamfered bushing
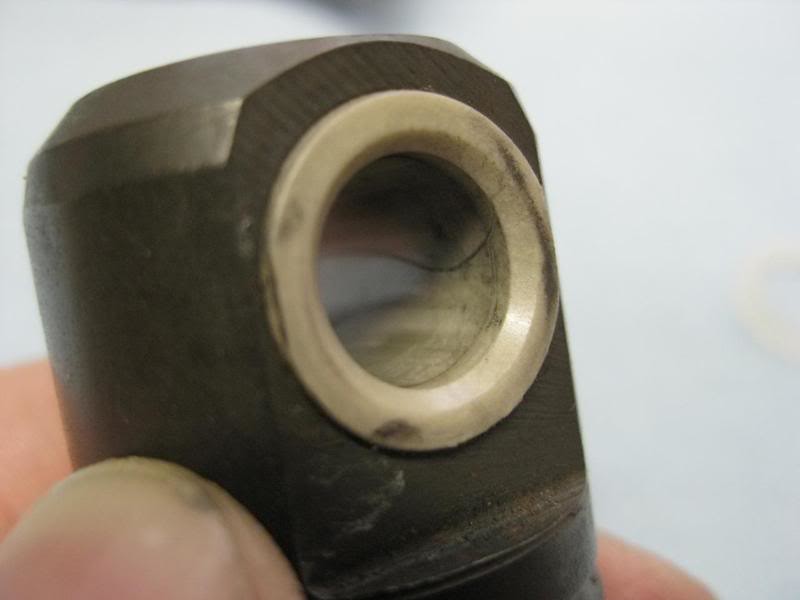
Factory shifter, chamfered bushing
Factory and AS coupler, AS no chamfer - needs bushing between it and the selector rod....
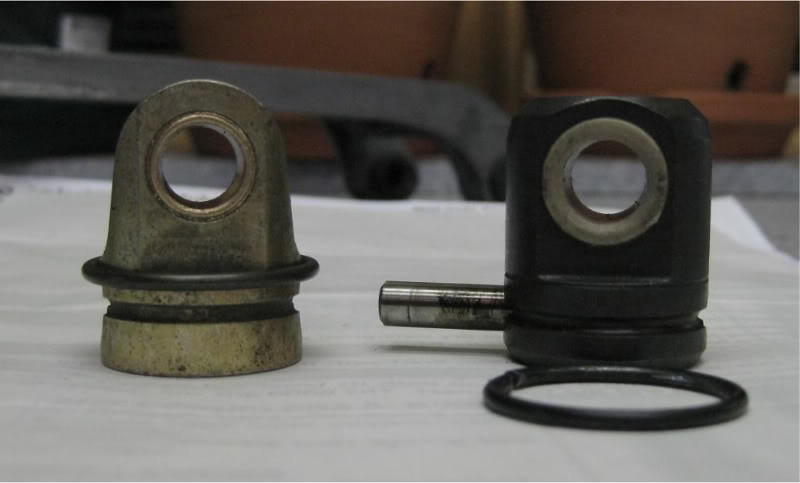
...because the base of the pin on the selector rod has this little flare to it - why the OE bushings are chamfered....and why a lot of these shifters feel overly tight...
Interference from AS bushing with no chamfer - gap and binding, tight motion
Chamfered AS bushing, no gap, not too tight - just right
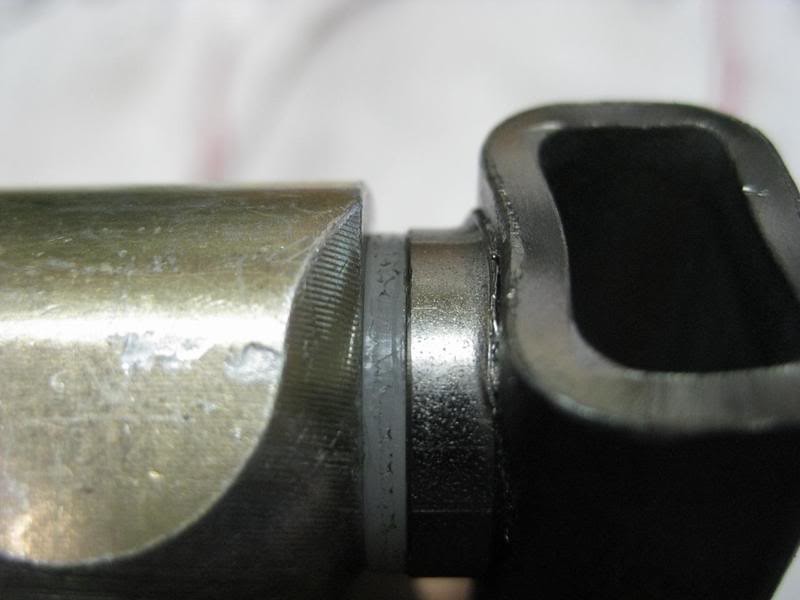
Chamfered next to not, AS pieces - details, details.....