Here's the latest on what I've been up to.....
After having a realistic look at what it was going to take to make this front kit for a group buy, there was just no way that the balsa core production method was going to cut it.
It would be far too labor intensive and too difficult on the QC side of things.
Also, the thought about doing some out sourcing (post above) was going to drive cost up too much.
So I had to look at materials and methods to keep things in house.
I also wanted to look at making these as robust as possible, to stand up to track use over time.
I've done a fair bit of testing and below is the result.
First of all core material.
Instead of multi layered lamination of balsa as used in the original, I ended up selecting EPS foam.
This is similar to the white polystyrene that you see at Home Depot etc., except its a higher density.
The benefits to this material is:
- can be obtained in blocks that eliminate the need for lamination of layers
- easily shaped with hot wire foam cutter(s)
- lends itself to better QC with the use of templates to guide foam cutter
- compatible with epoxy resins
......................
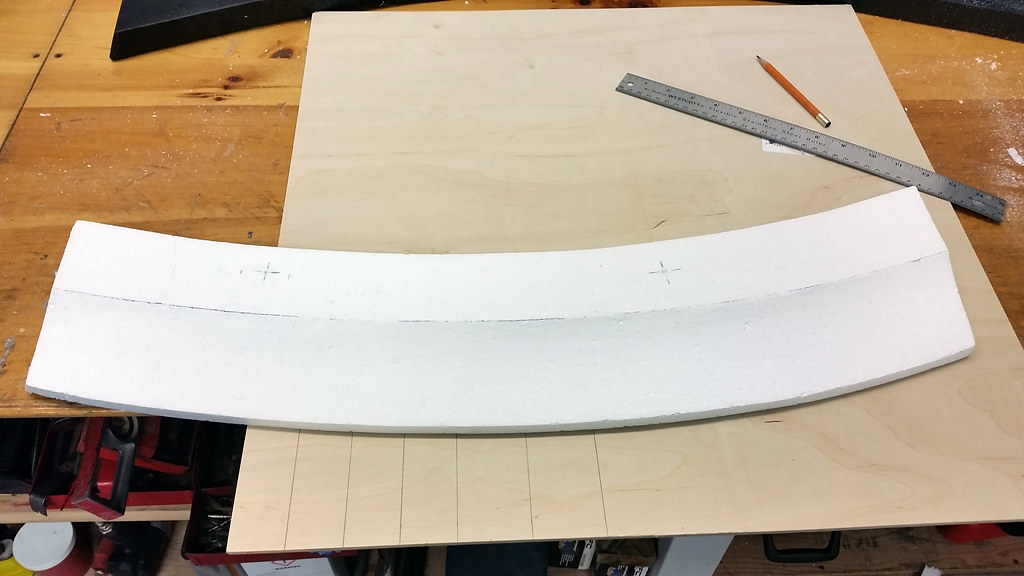
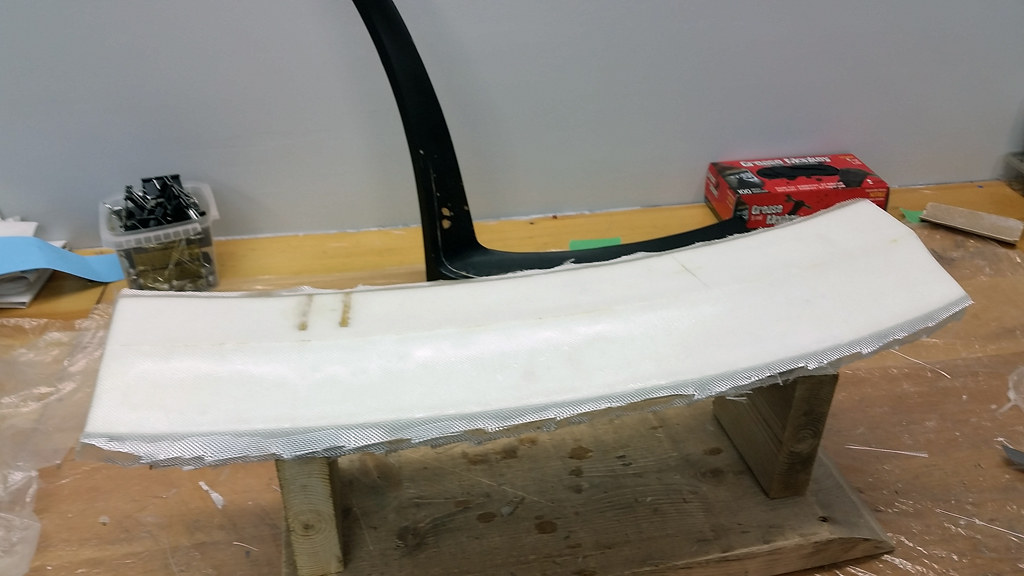
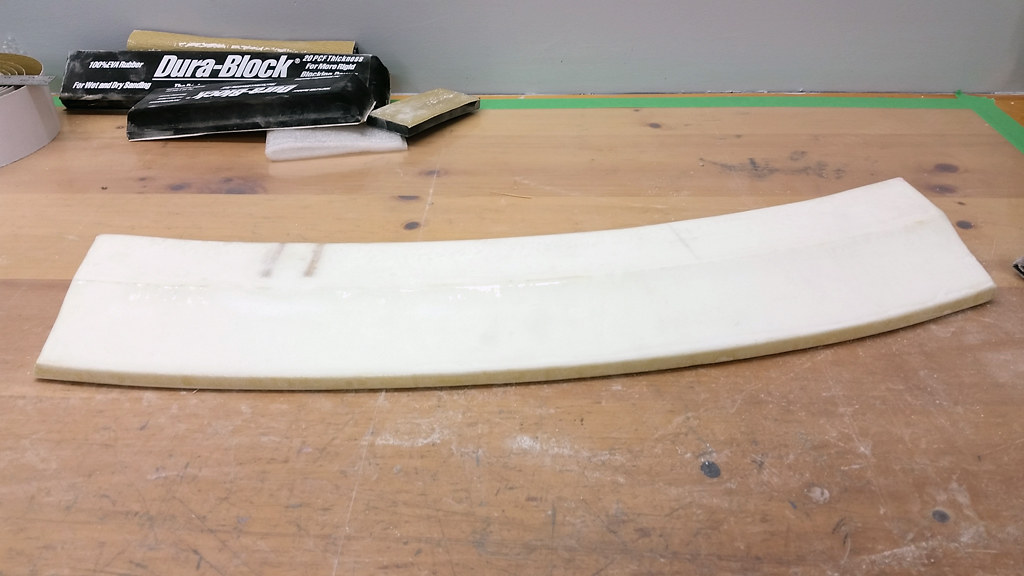
Here is a test block that's roughly 2/3rds the length of the center splitter.
Its the same curve and roughly the same section profile.
The test piece is rough shaped by hand as I'm not making templates and building a foam cutter until we know if this GB is going ahead.
Under the foam blank is some1/4" plywood that is used for reinforcing mounting locations.
(in the production piece this would be marine grade ply)
......................
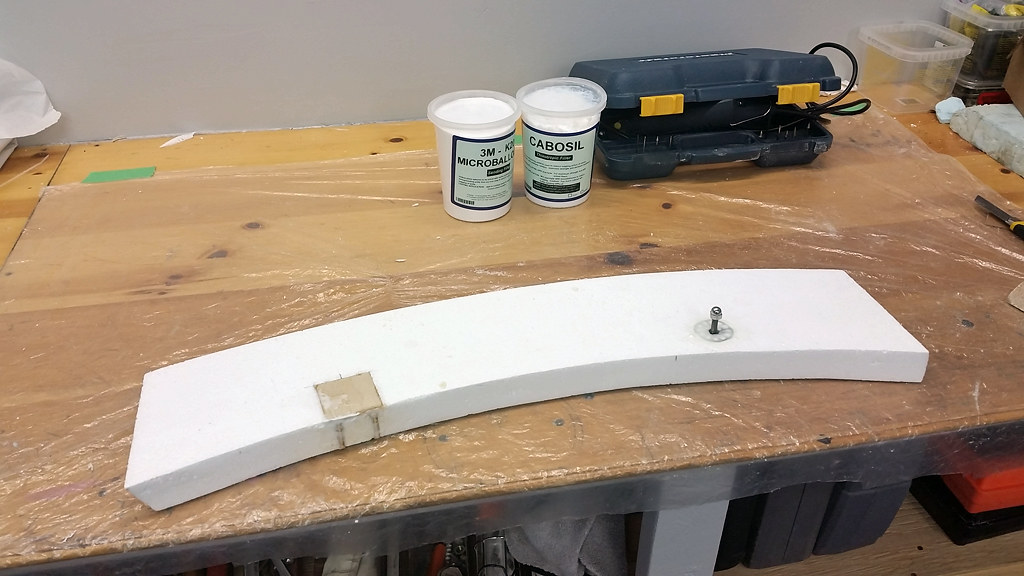
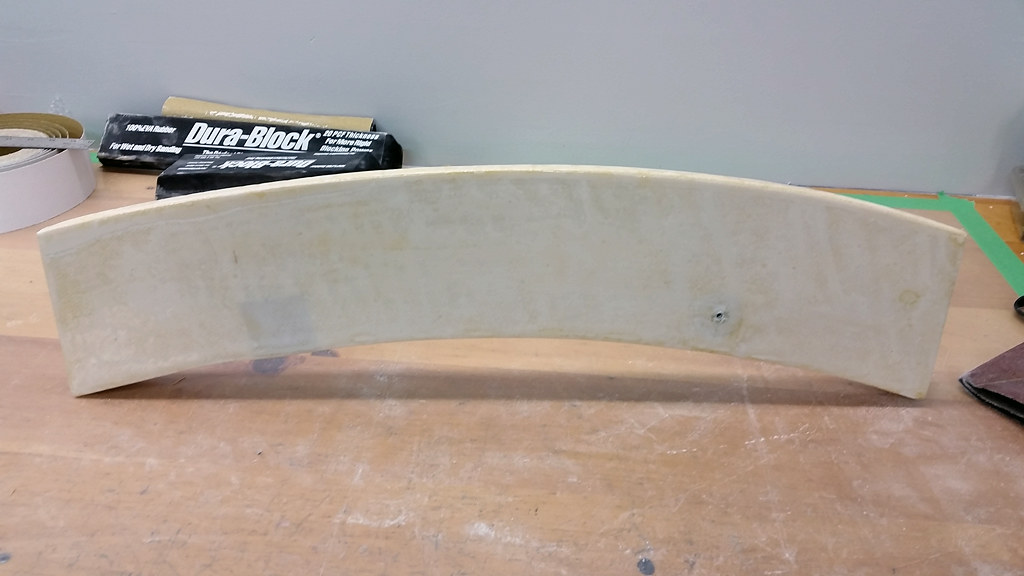
EPS foam blank with mounting reinforcement installed.
This pic shows two different things.
- The 1/4" ply reinforcement for through bolt mounting of center splitter
- the other item is a threaded insert. This will be used for mounting of the side pieces. Its installed here for testing only.
..............
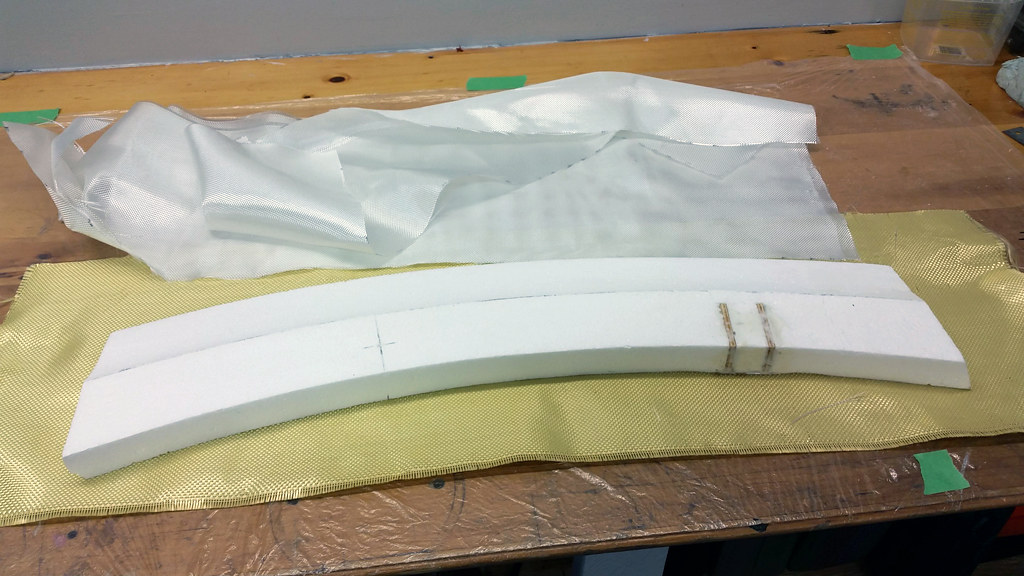
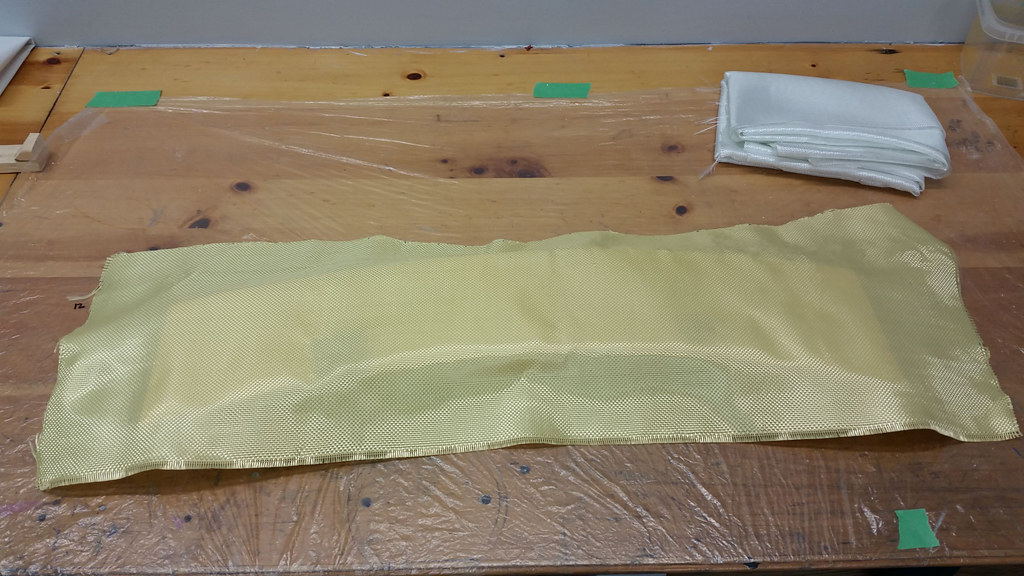
Getting ready for test layups here are materials
- 6oz glass cloth cut & ready to go
- kevlar cloth (yellow) for bottom and leading edge protection.
 Layups done
There are two layers of 6oz glass top and sides.
Bottom has one glass and one kevlar
Layers are staggered and overlapped.
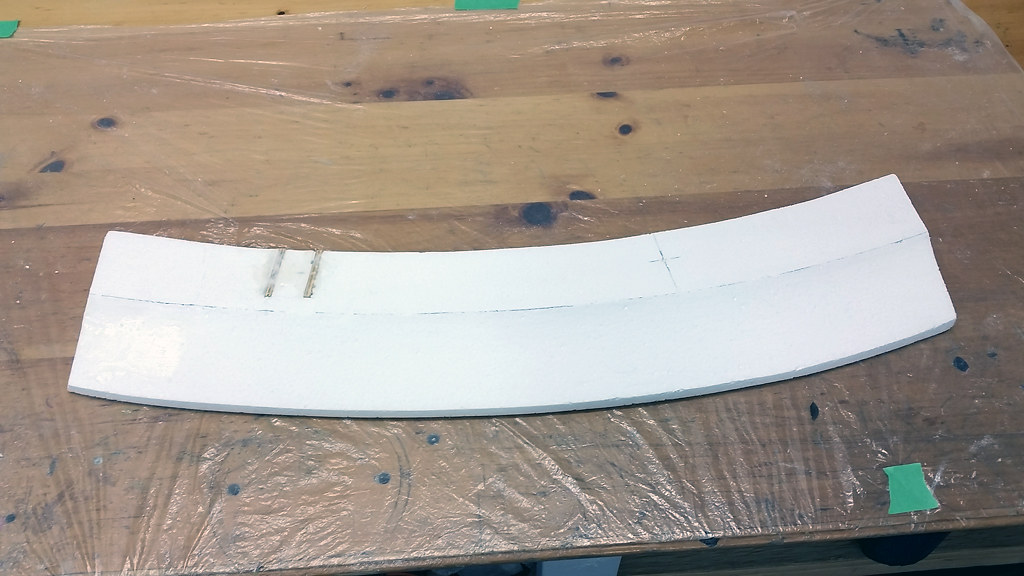
Detail on threaded insert hardware to be used on side pieces.
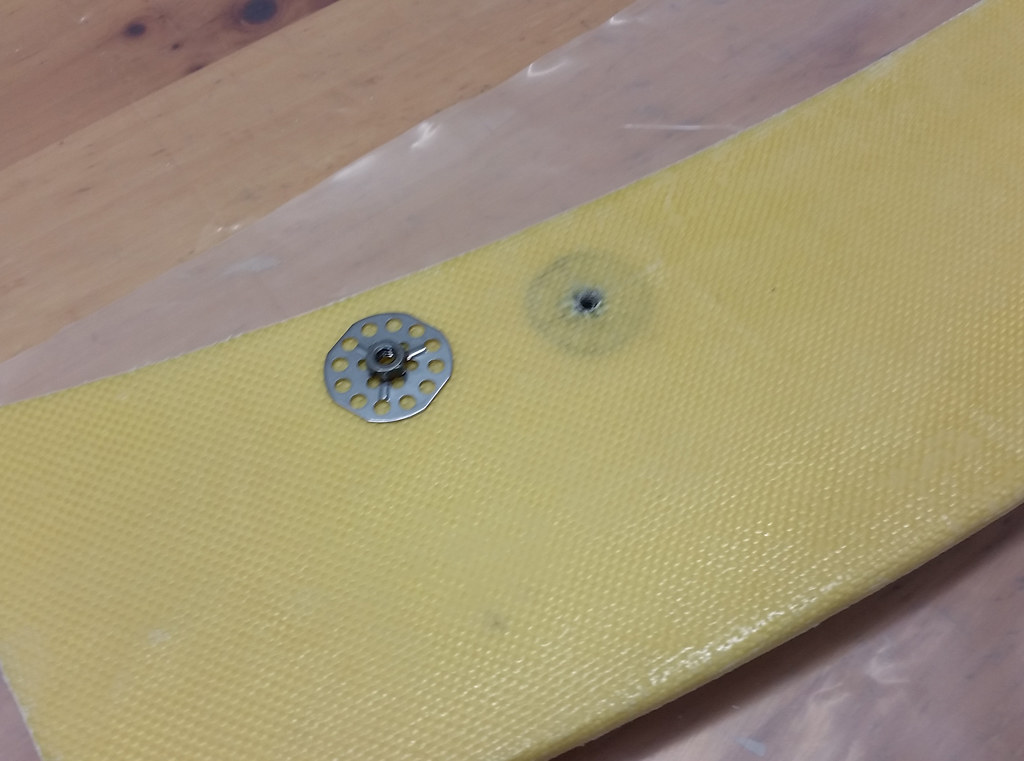
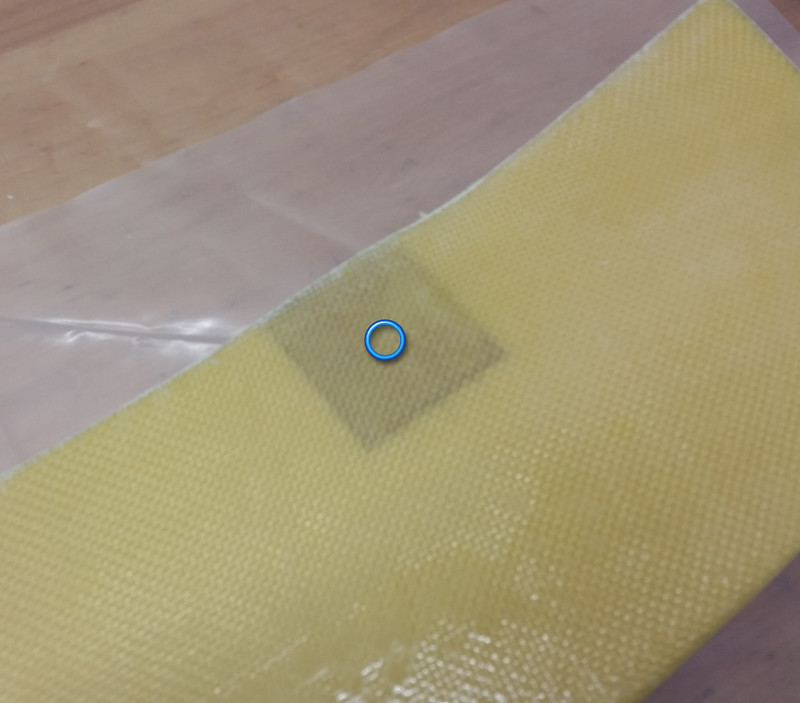
close up of reinforced section where hole will be drilled to mount center splitter. (blue circle)
.....................
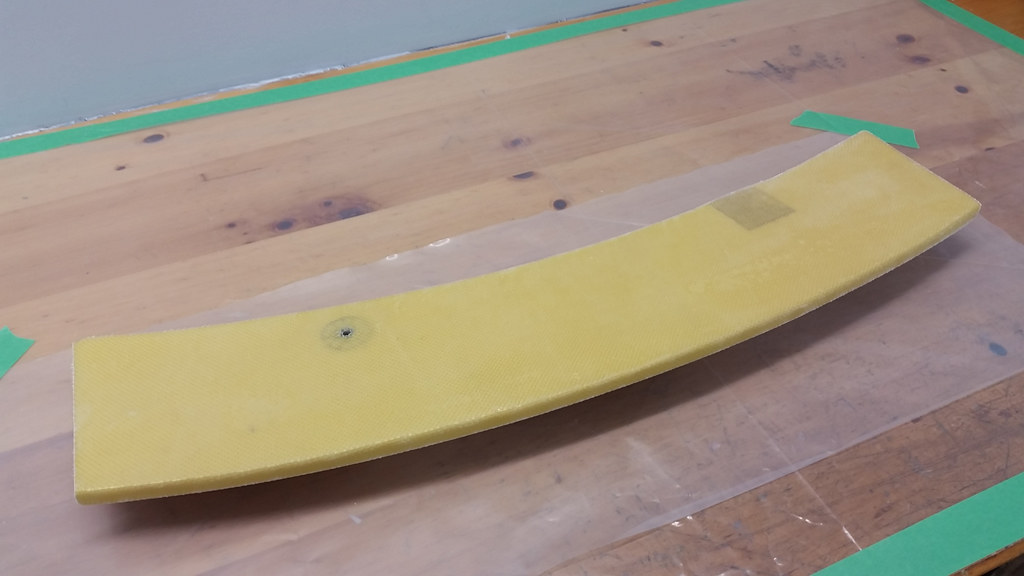
fill coat and top coat of epoxy complete.
It has been partially blocked out in these pics.
In the top coat I add pigment (white in test piece) to make it easier when block sanding to see any imperfections.
After testing with white I'll probably go to grey on production pieces to stand out better against white foam.
Please note that test piece is not completely blocked out to final finish.
The finished pieces would be fully blocked out, sanded ready for paint.
.........
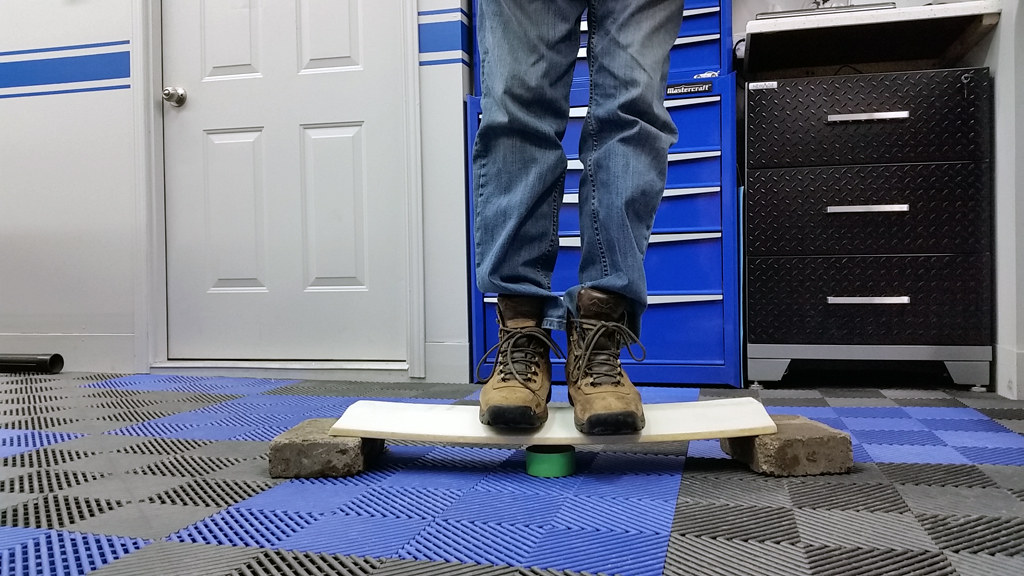
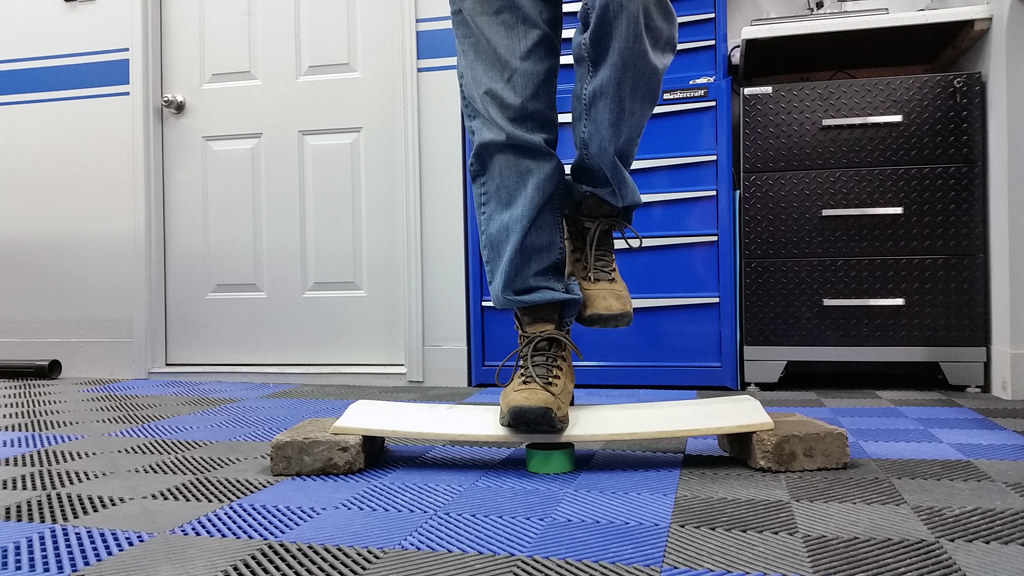
The torture test; .....lets see how strong this thing is.
1. no load..... the step up
the roll of tape is underneath to approximate the deflection.

.
.
.
2. two feet up, load spread out a little.
we have some deflection but piece is doing nicely

.
.
.
3. the final test... full load in the center.
I wont say what the final load is quantitatively, but i'm a little over 6' tall and definitely not skin & bones

 The next step is to see how much interest there is in going forward with a GB.
I'll post up a separate thread for this in the next couple of days.
.